
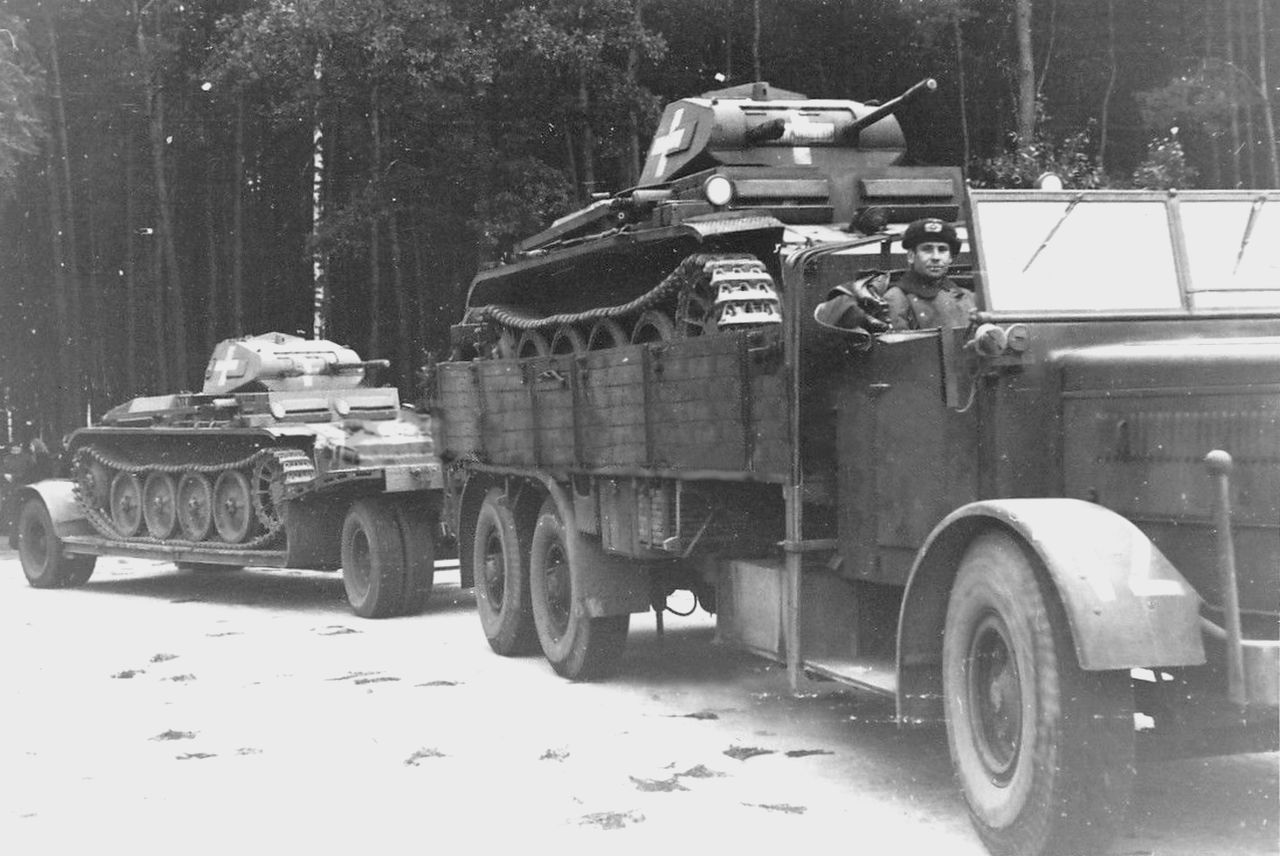
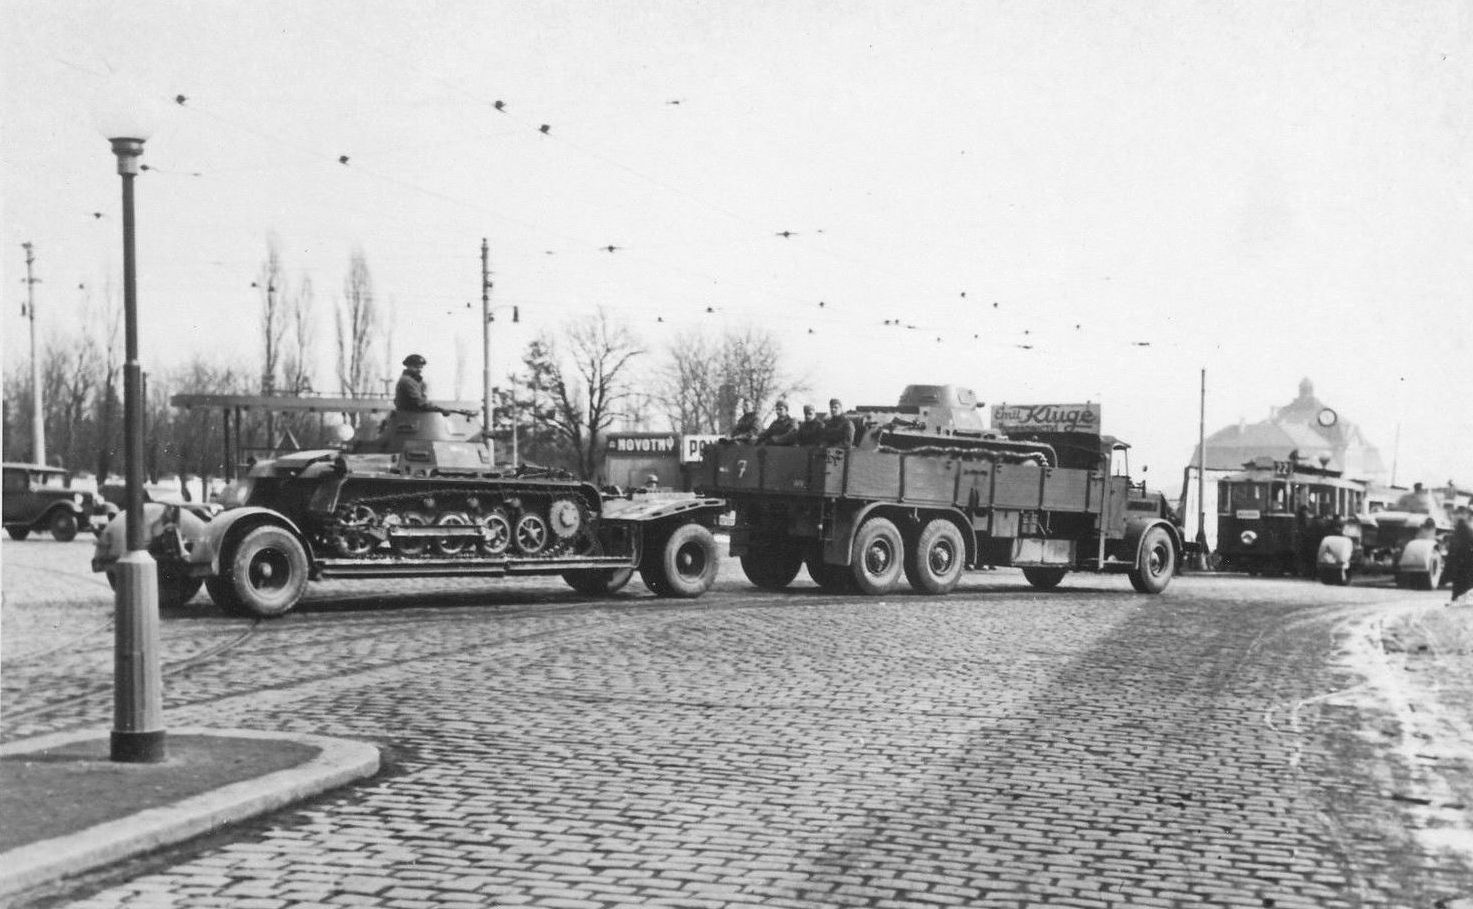
 In support of their Blitzkrieg tactics, Germany took full advantage of their newly built boulevards and autobahn road networks to quickly and easily move mechanized material from the factory floor to the front. Mobility was key in the Blitzkrieg, and one integral cog in Reich’s mechanized war machine was the Faun heavy transporter. The Faun L900, manufactured from 1937 to 1939, was one of the heaviest German trucks in service during WW2, weighing in at an impressive 8,800 kilograms, measuring 10,4 meters in length and with a cargo capacity of 10,000 Kg, the Faun L900 and SdAh 115 trailer were perfectly suited to carry the lighter weight tanks of the time (Pz.1, Pz.II, Pz.,38). In later years, the necessity of war required that divisions replace their light tanks with heavier armor, and with that, the Faun’s armor transport services came to a conclusion. The vehicles, however, remained in active service throughout the war on all front working to troops and other lighter vehicles.
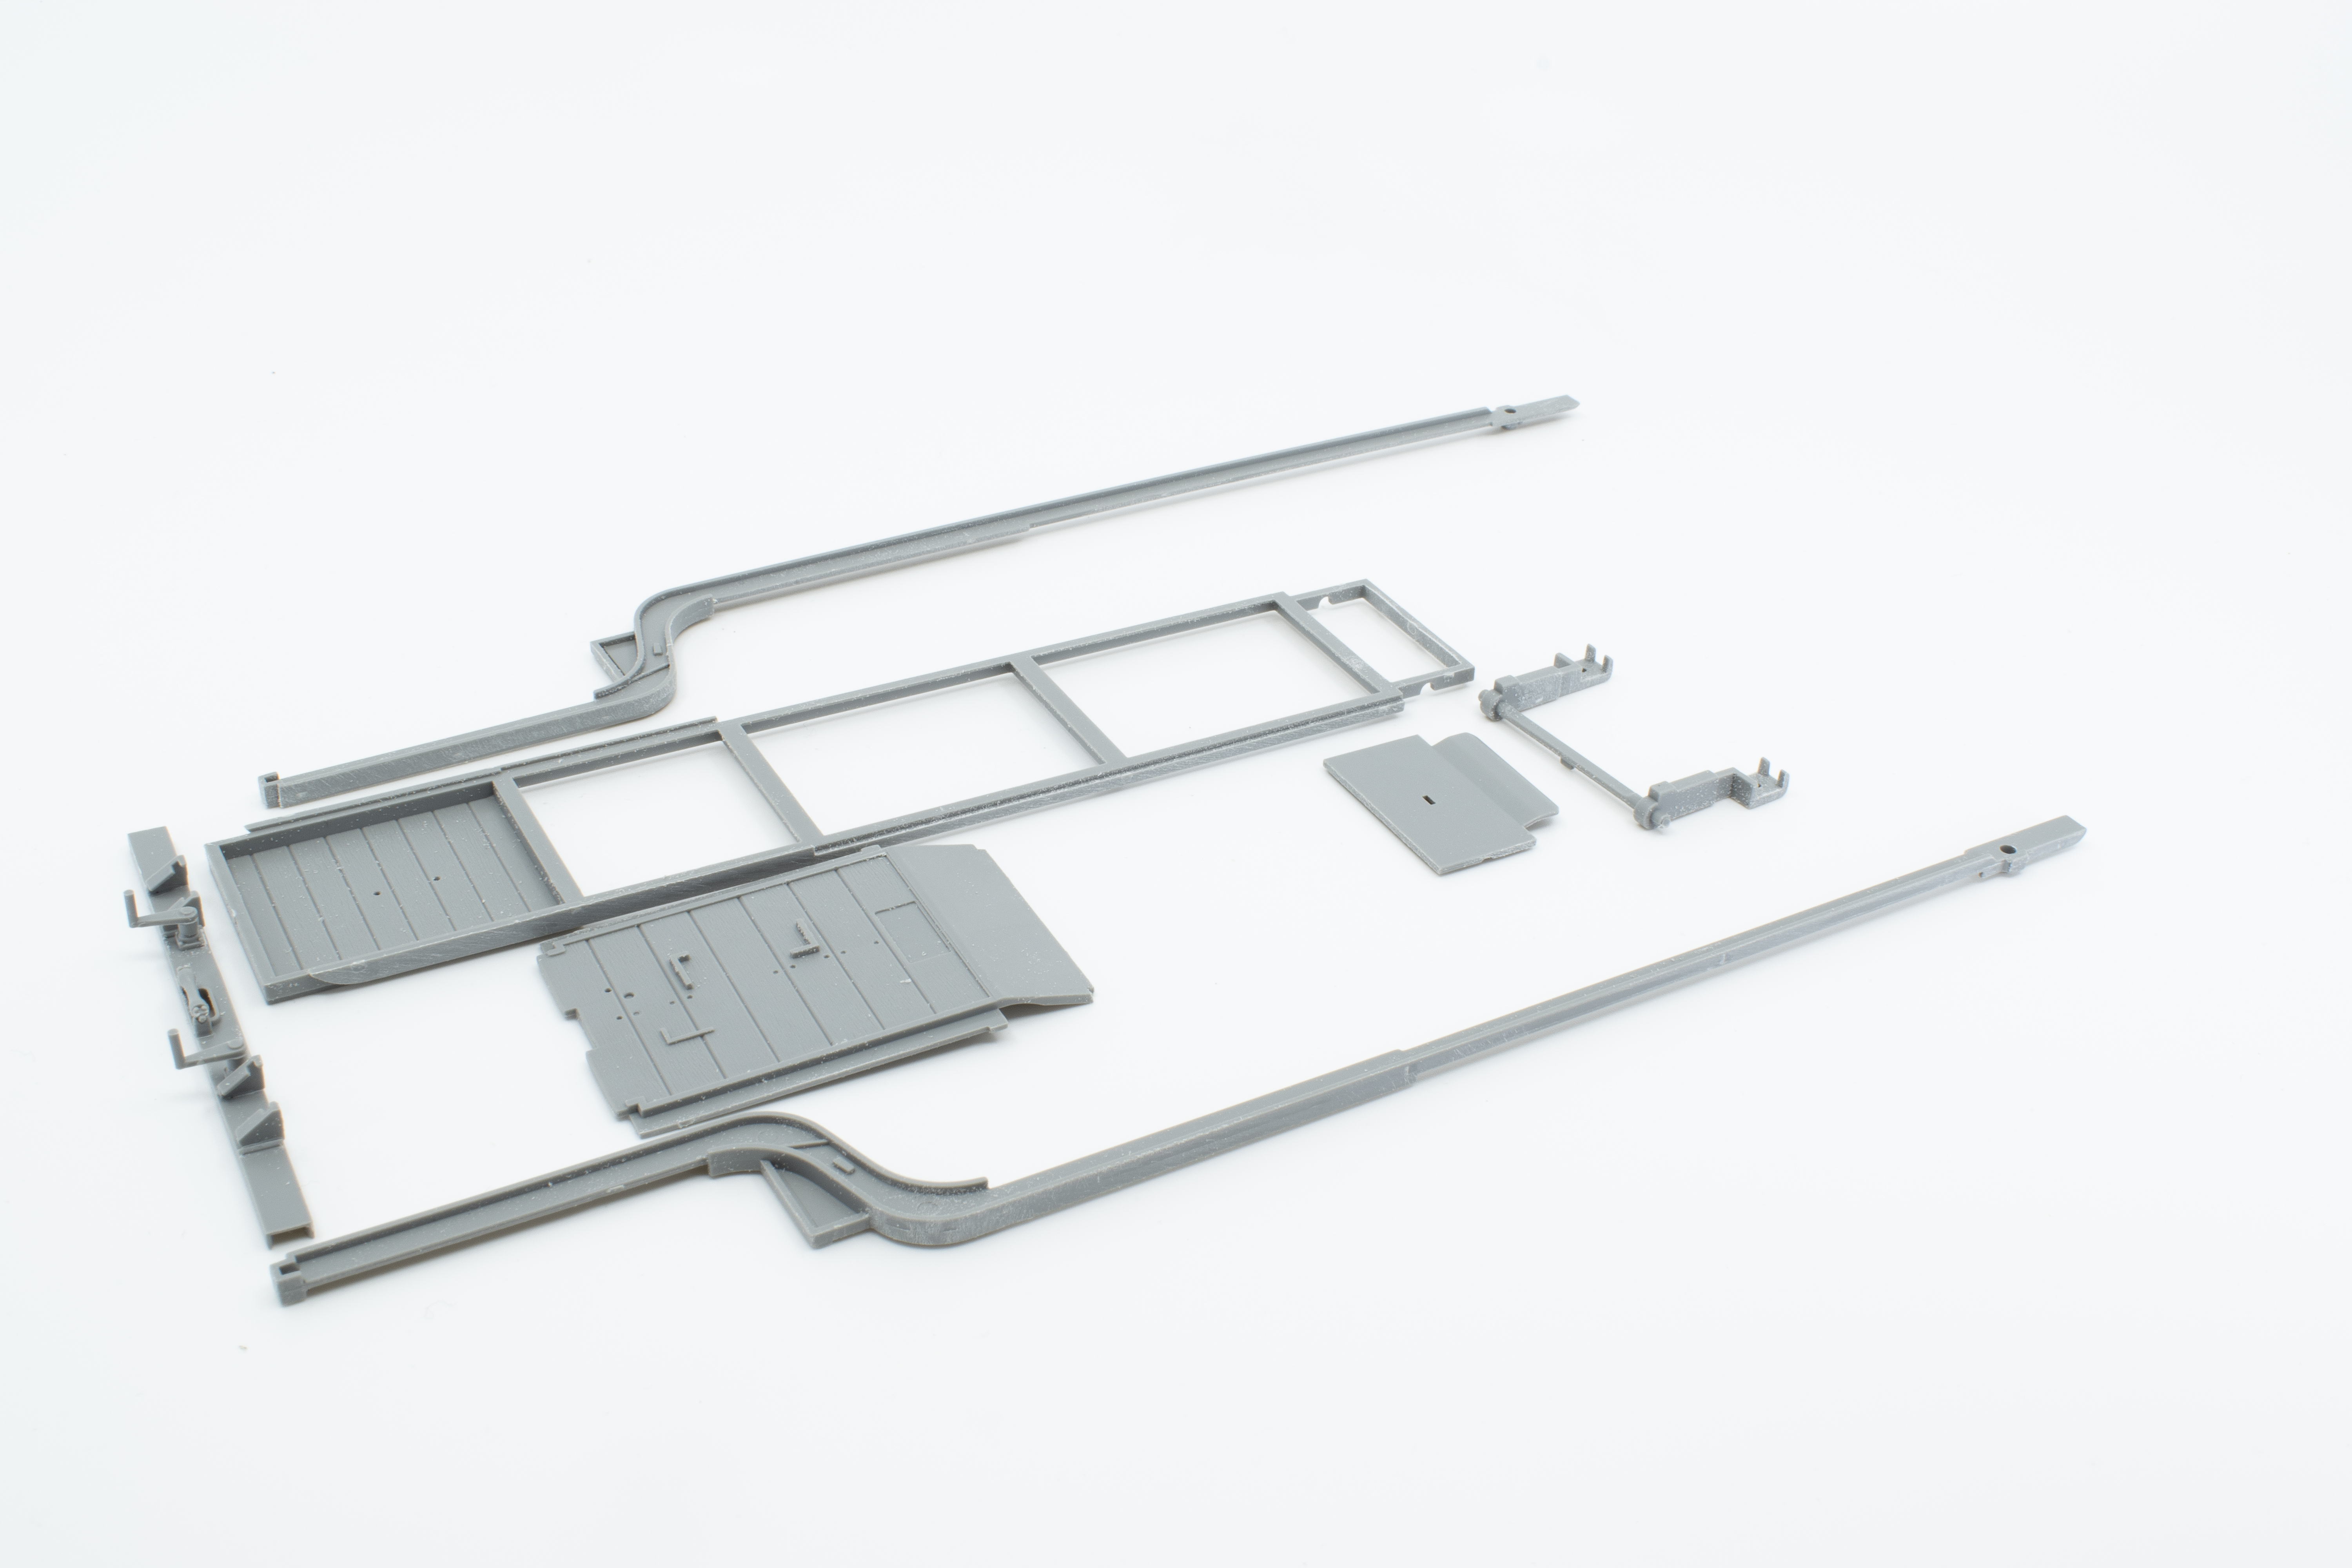
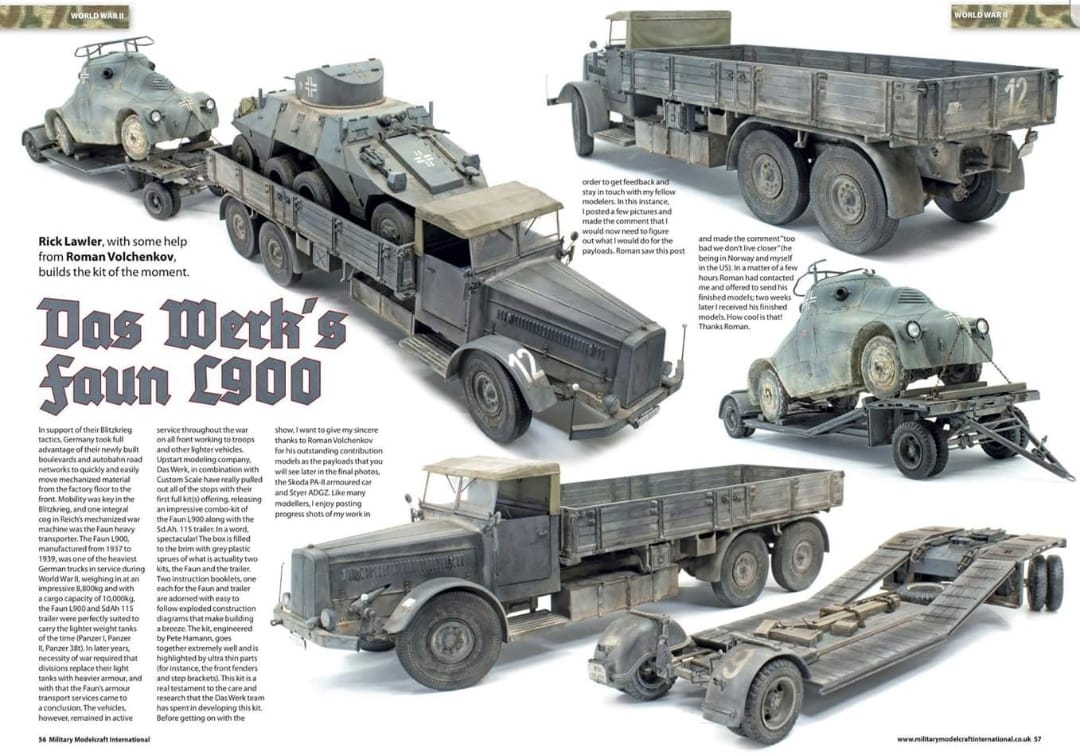
Upstart modeling company, Das Werk, in combination with Custom Scale have really pulled out all of the stops with their first full kit(s) offering, releasing an impressive combo-kit of the Faun L900 along with the SdAh 115 trailer. In a word, spectacular! The box is filled to the brim with grey plastic sprues of what is actuality two kits, the Faun and the Trailer. 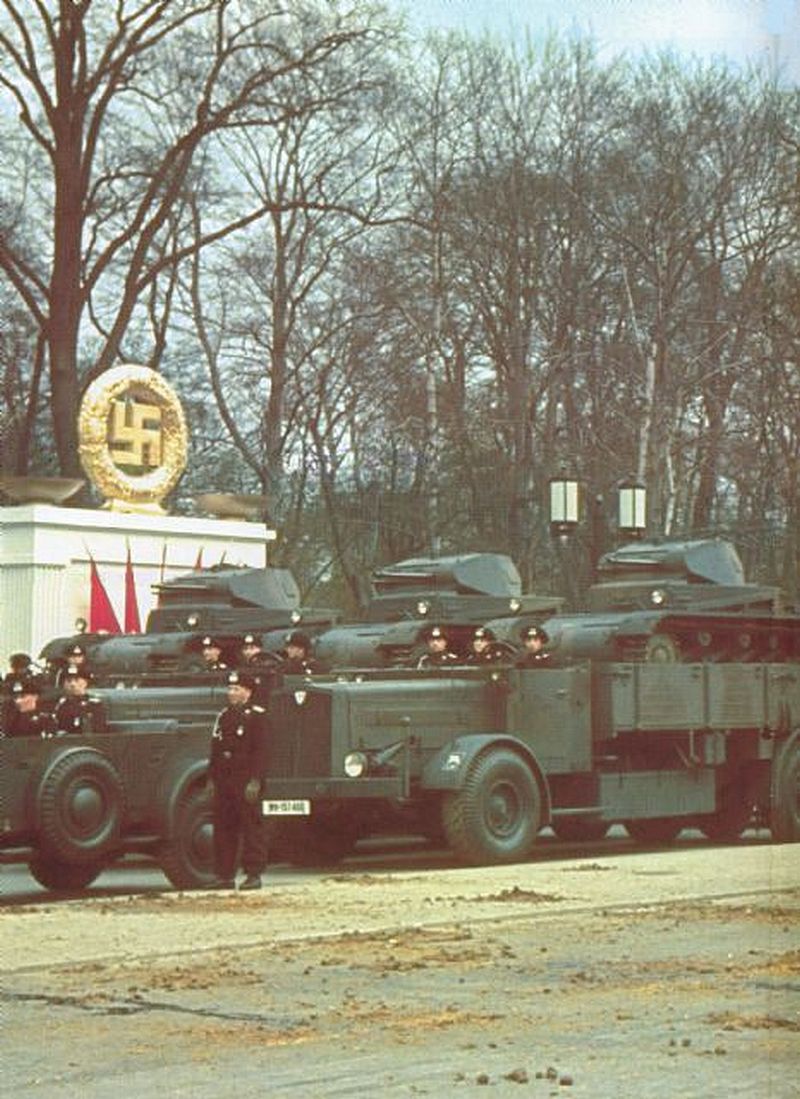 Two instruction booklets, one each for the Faun and trailer are adorned with easy to follow exploded construction diagrams that make building a breeze. The kit, engineered by Pete Hamann, goes together extremely well and is highlighted by ultra-thin parts (e.g. front fenders, step brackets). This kit is a real testament to the care and research that the Das Werk team has spent in developing this kit.
Before getting on with the show, I want to give my sincere thanks to Roman Volchenkov for his outstanding contribution models as the payloads that you will see later in the final photos, the Skoda and Styer ADGZ. Like many modelers, I enjoy posting progress shots of my work in order to get feedback and stay in touch with my fellow modelers. In this instance, I posted a few pictures and made the comment that I would now need to figure out what I would do for the payloads. Roman saw this post and made the comment “too bad we don’t live closer” (he is in Norway and me in the US). In a matter of a few hours Roman had contacted me and offered to send his finished models; two weeks later I received his finished models. How cool is that!!! Thanks Roman.
The Faun follows a traditional construction path by having you begin with the assembly of the chassis, along with representative engine (no engine included – we’ll have to wait for the aftermarket folks) and drive train fixtures. The instructions through-out are presented as large,  exploded diagrams that are easy to follow, along with concise construction notes. Of particular note is the inclusion of 3 styles of rear leaf suspension options, each with a slightly different radius so as to mimic load weights – empty, medium weight, or fully loaded. This is a nice feature, but it does force you into making an early decision for the final load and presentation. I hadn’t thought that far ahead and simply elected to install the no-load option – which I now later regret – oh well. Also, pay attention to the orientation of the load bed mounts as shown in the instruction diagram.
 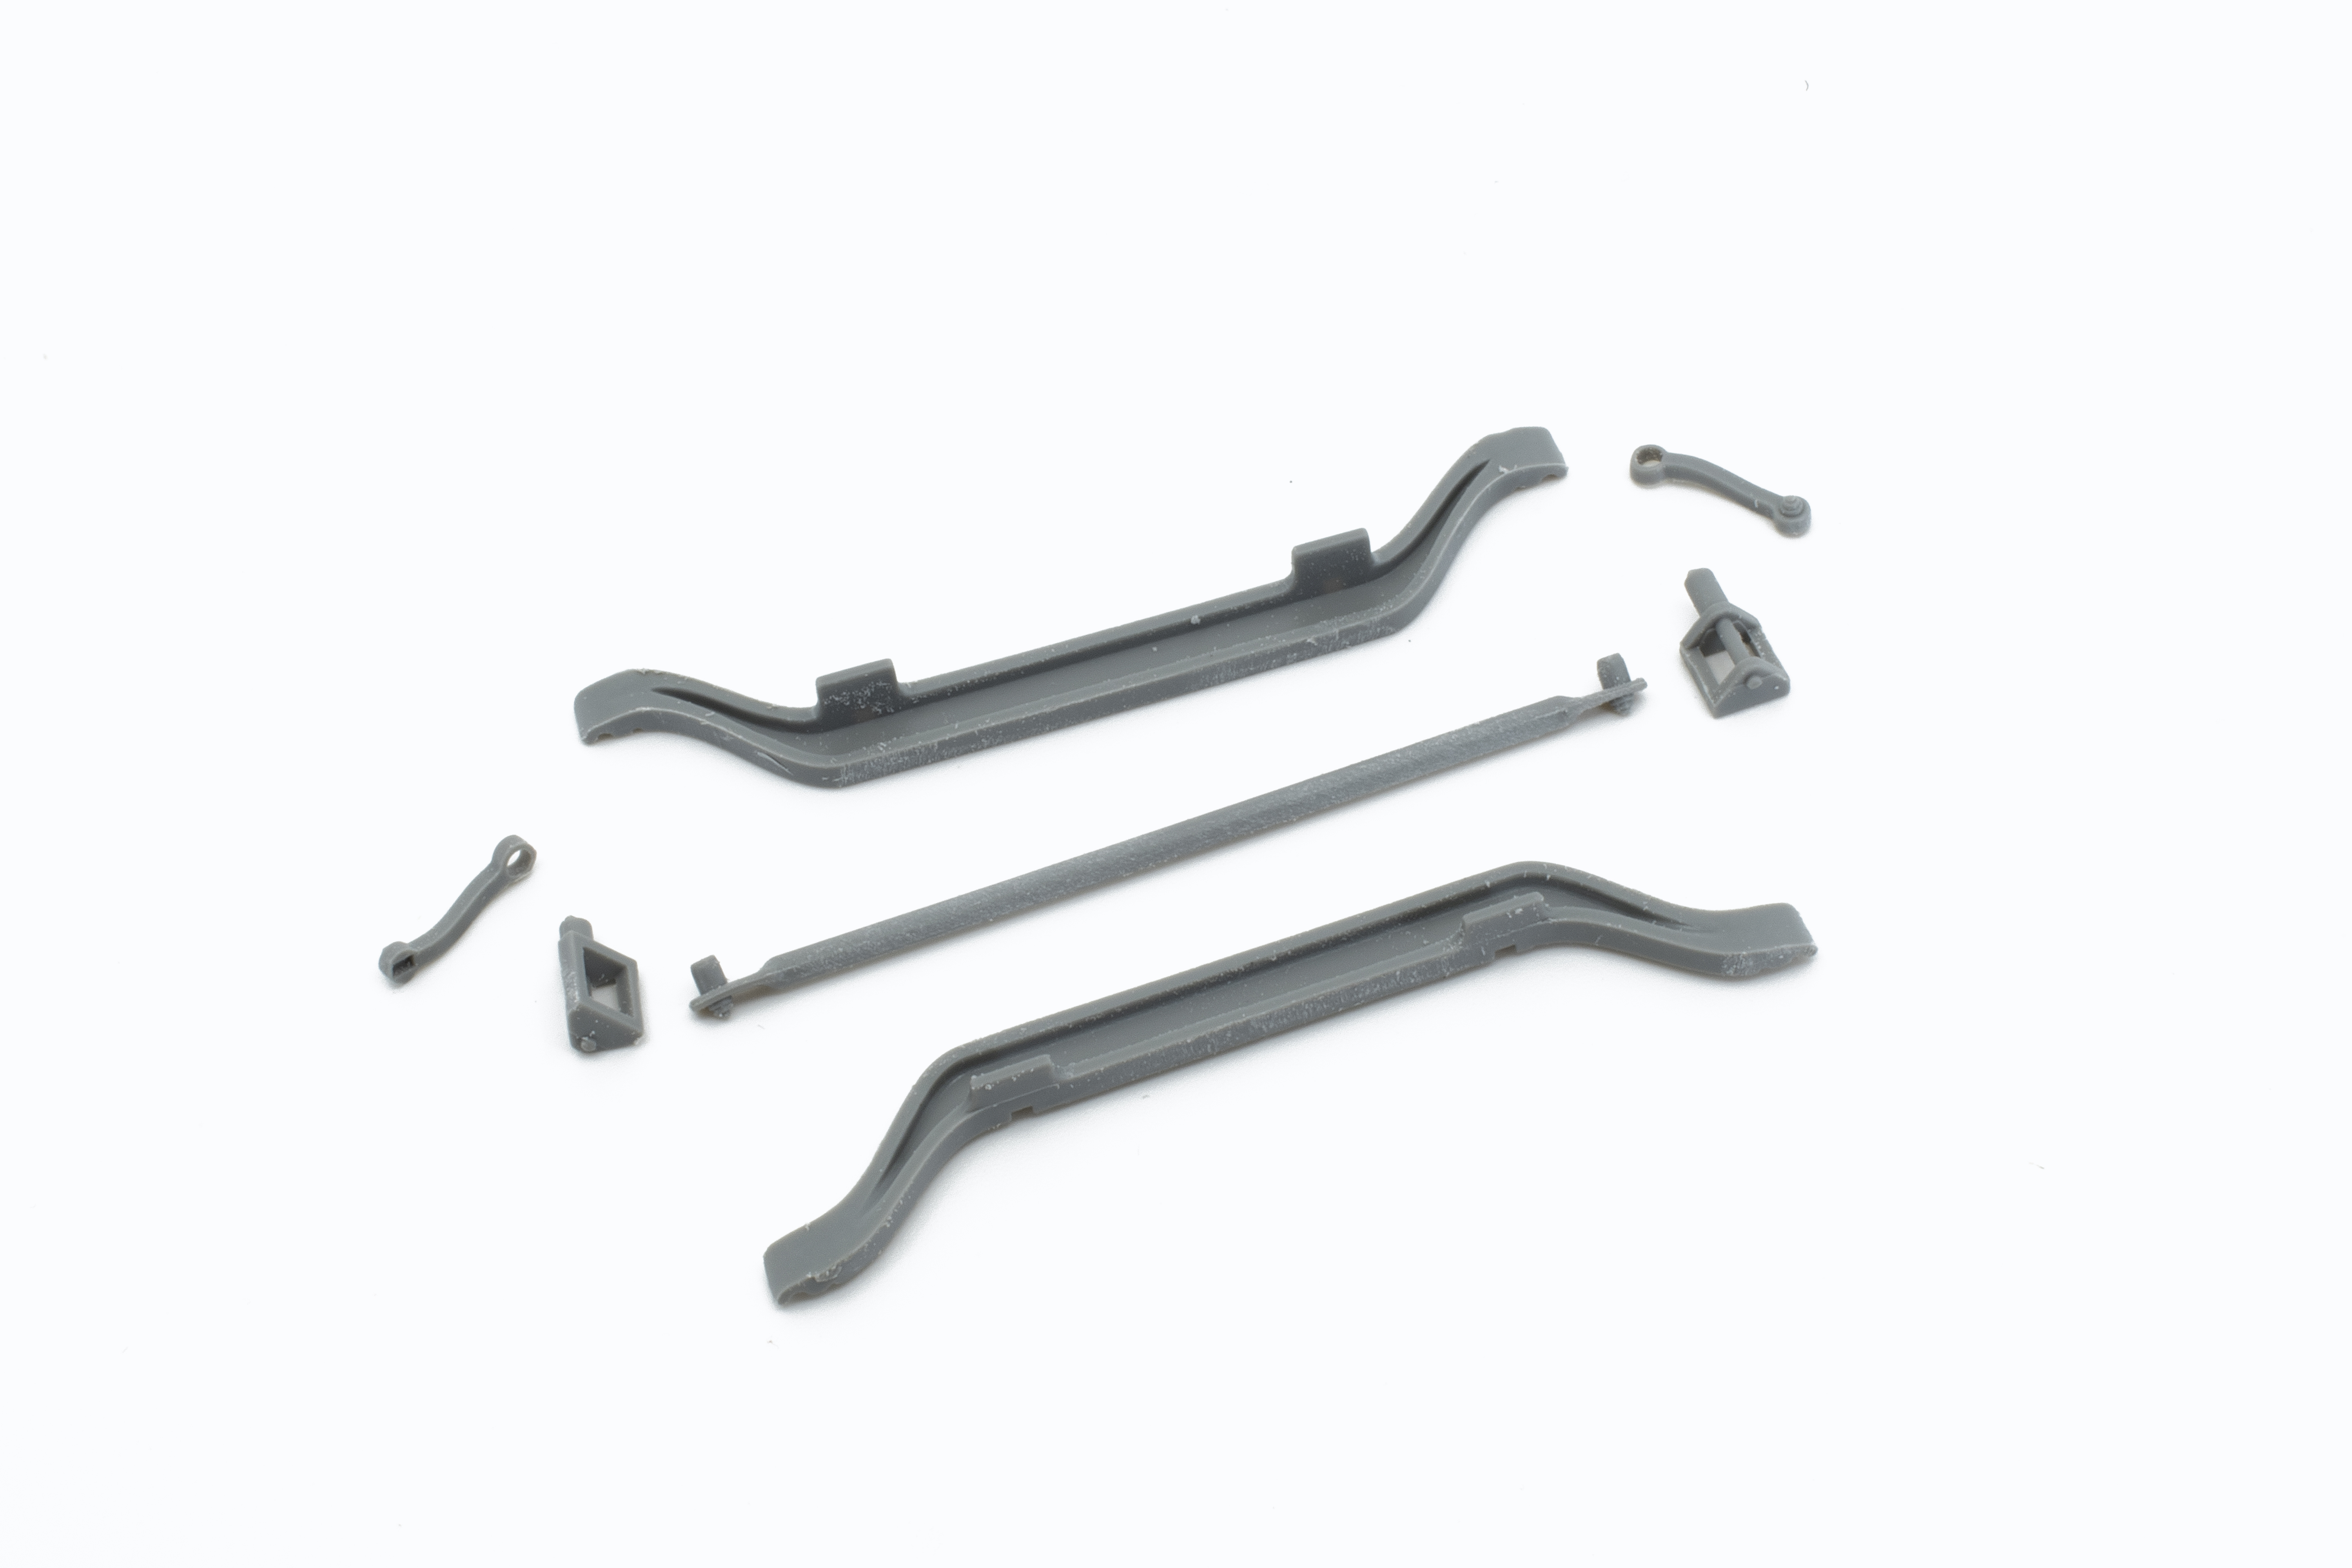 The steering linkage is designed to remain moveable so as to allow the front wheels to remain steerable; just be careful with the glue. The utilitarian driver cabin is presented as a stand-alone sub-assembly, a nice feature as it allows for easier painting. Decals are provided for the dials and gauges, and with a touch of clear varnish over-top, they look very nice.
I’ll admit that I was a little apprehensive when I saw the construction diagram for the front hood (bonnet), as it is a multi-panel assembly. In my experience, these types of assemblies tend to have fit and alignment issues. However, my fears were laid to rest with nice secure joins between panels and no alignment issues at all. Since I intended to paint the entire vehicle in German Grey I went ahead and installed the driver cabin, less the seats, which I painted separately to be installed later. With the mating of the hood to the cabin, I was assured of the fit and that everything was square.
 The rear deck is wood planks and features a fine wood grain relief. With the installation of the load bed, the very large size of this vehicle really begins to hit home. Matter of fact nearly fills my entire workbench! (small bench?) The rear sideboards to the cargo bed can be installed in either the upright (as shown) or down position. Of note is how quickly the Faun goes together, easily a weekend project. At this point, the remaining steps simply involve adding some of the smaller details such as the (very) fragile side mirrors, windscreen, front fenders, and cabin doors. An optional feature is the tarp standards for the rear bed. Sections of brass wire are included with the kit, along with a handy bending jig. In the end, I chose not to install them, but I do appreciate the consideration and forethought in the design of the jig to allow modelers presentation options.


Now, I turn my attention to the SdAh 115 trailer. Before I get into the construction let me say this right out of the gate, Das Werk might think about releasing the trailer as a stand-alone kit, it’s a super nice kit and such a great subject. (I’ll also make mention that on my set of instructions, the sprue callout labels were incorrect, ie. Sprue B is really H, and so forth. I understand that Das Werk is aware of the issue and has begun to insert correction notes.)
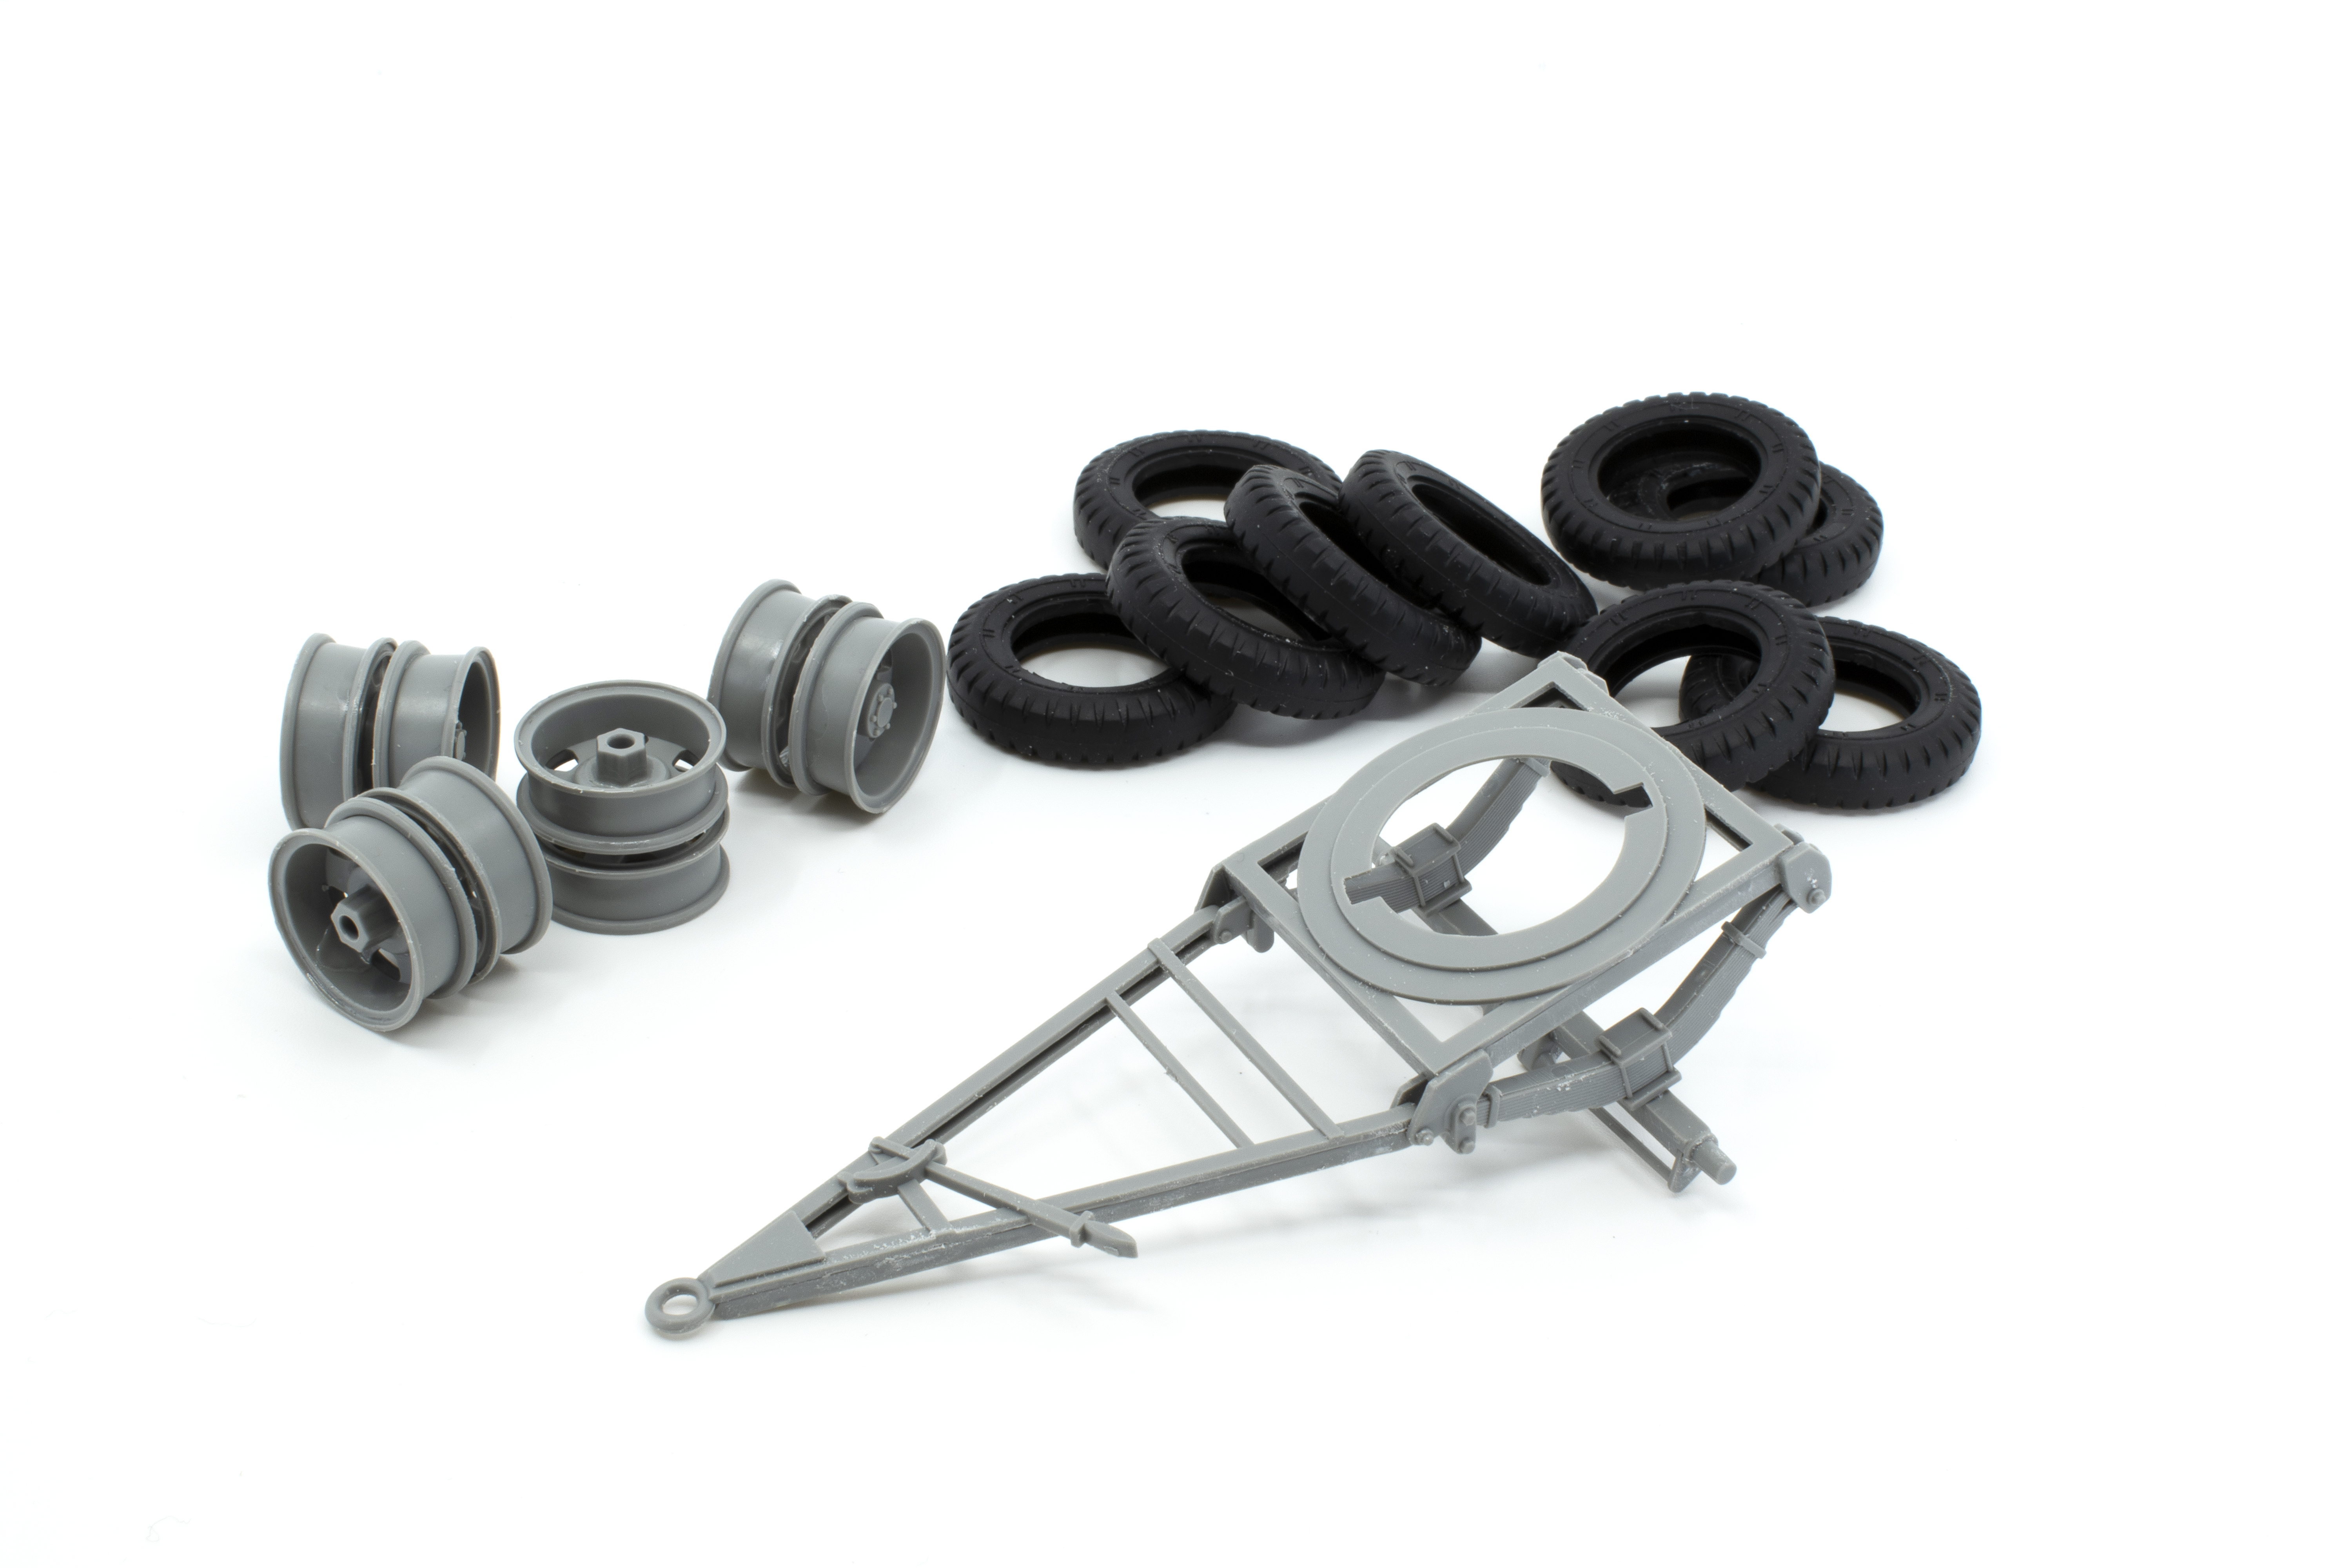
 The trailer begins with the assembly of the numerous wheel hubs, quickly followed by the front axle and front carriage and hitch. I mentioned earlier that the instruction booklet(s) are very well illustrated and easy to follow. As an added bonus, the trailer instructions also include periodic QR codes that, when scanned with your phone, open a short YouTube video that shows the construction that particular construction step. It almost feels like cheating, but I really enjoyed the option to watch someone tackle a particular step before I committed glue to plastic.
Adding the decking requires another decision for the modeler. Specifically, the forward ramps can be configured in either the down or up travel position depending upon the length of the load. Short loads, a panzer 1 for example, the forward ramps would be in the down position. The 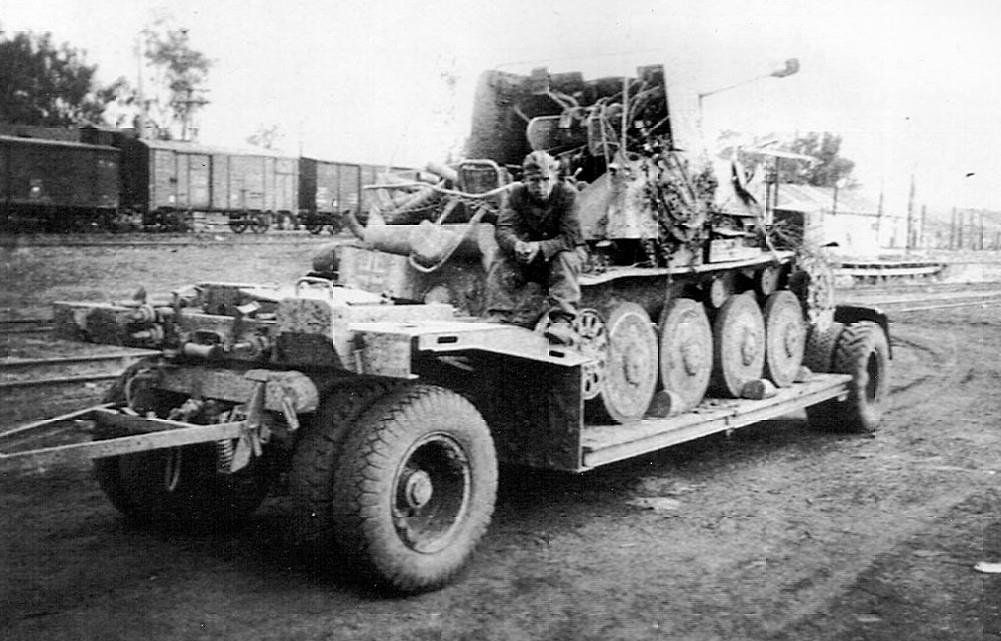 ramps will be in the raised position for long loads such as an SdKfz 231 8-rad. There is also an option to configure the trailer in loading mode. In all cases, notches must be cut out of the sub-frame to allow the tabs found on the forward ramps to be inserted. At first blush the intention of the diagram might be a little confusing, luckily, there is a QR video link that walks you through this step. The decking is complete. This photo shows the forward ramps in the down position as if configured for a shorter load. The tab and notch assembly allow for the forward ramps to remain adjustable, and as such, can later be set in the up position if carrying a long load.


Decision time again. The rear axle and fenders are built as a separate assembly, and depending upon your choice of configuration is either affixed or not, to the trailer frame. If configuring in the loading mode, this assembly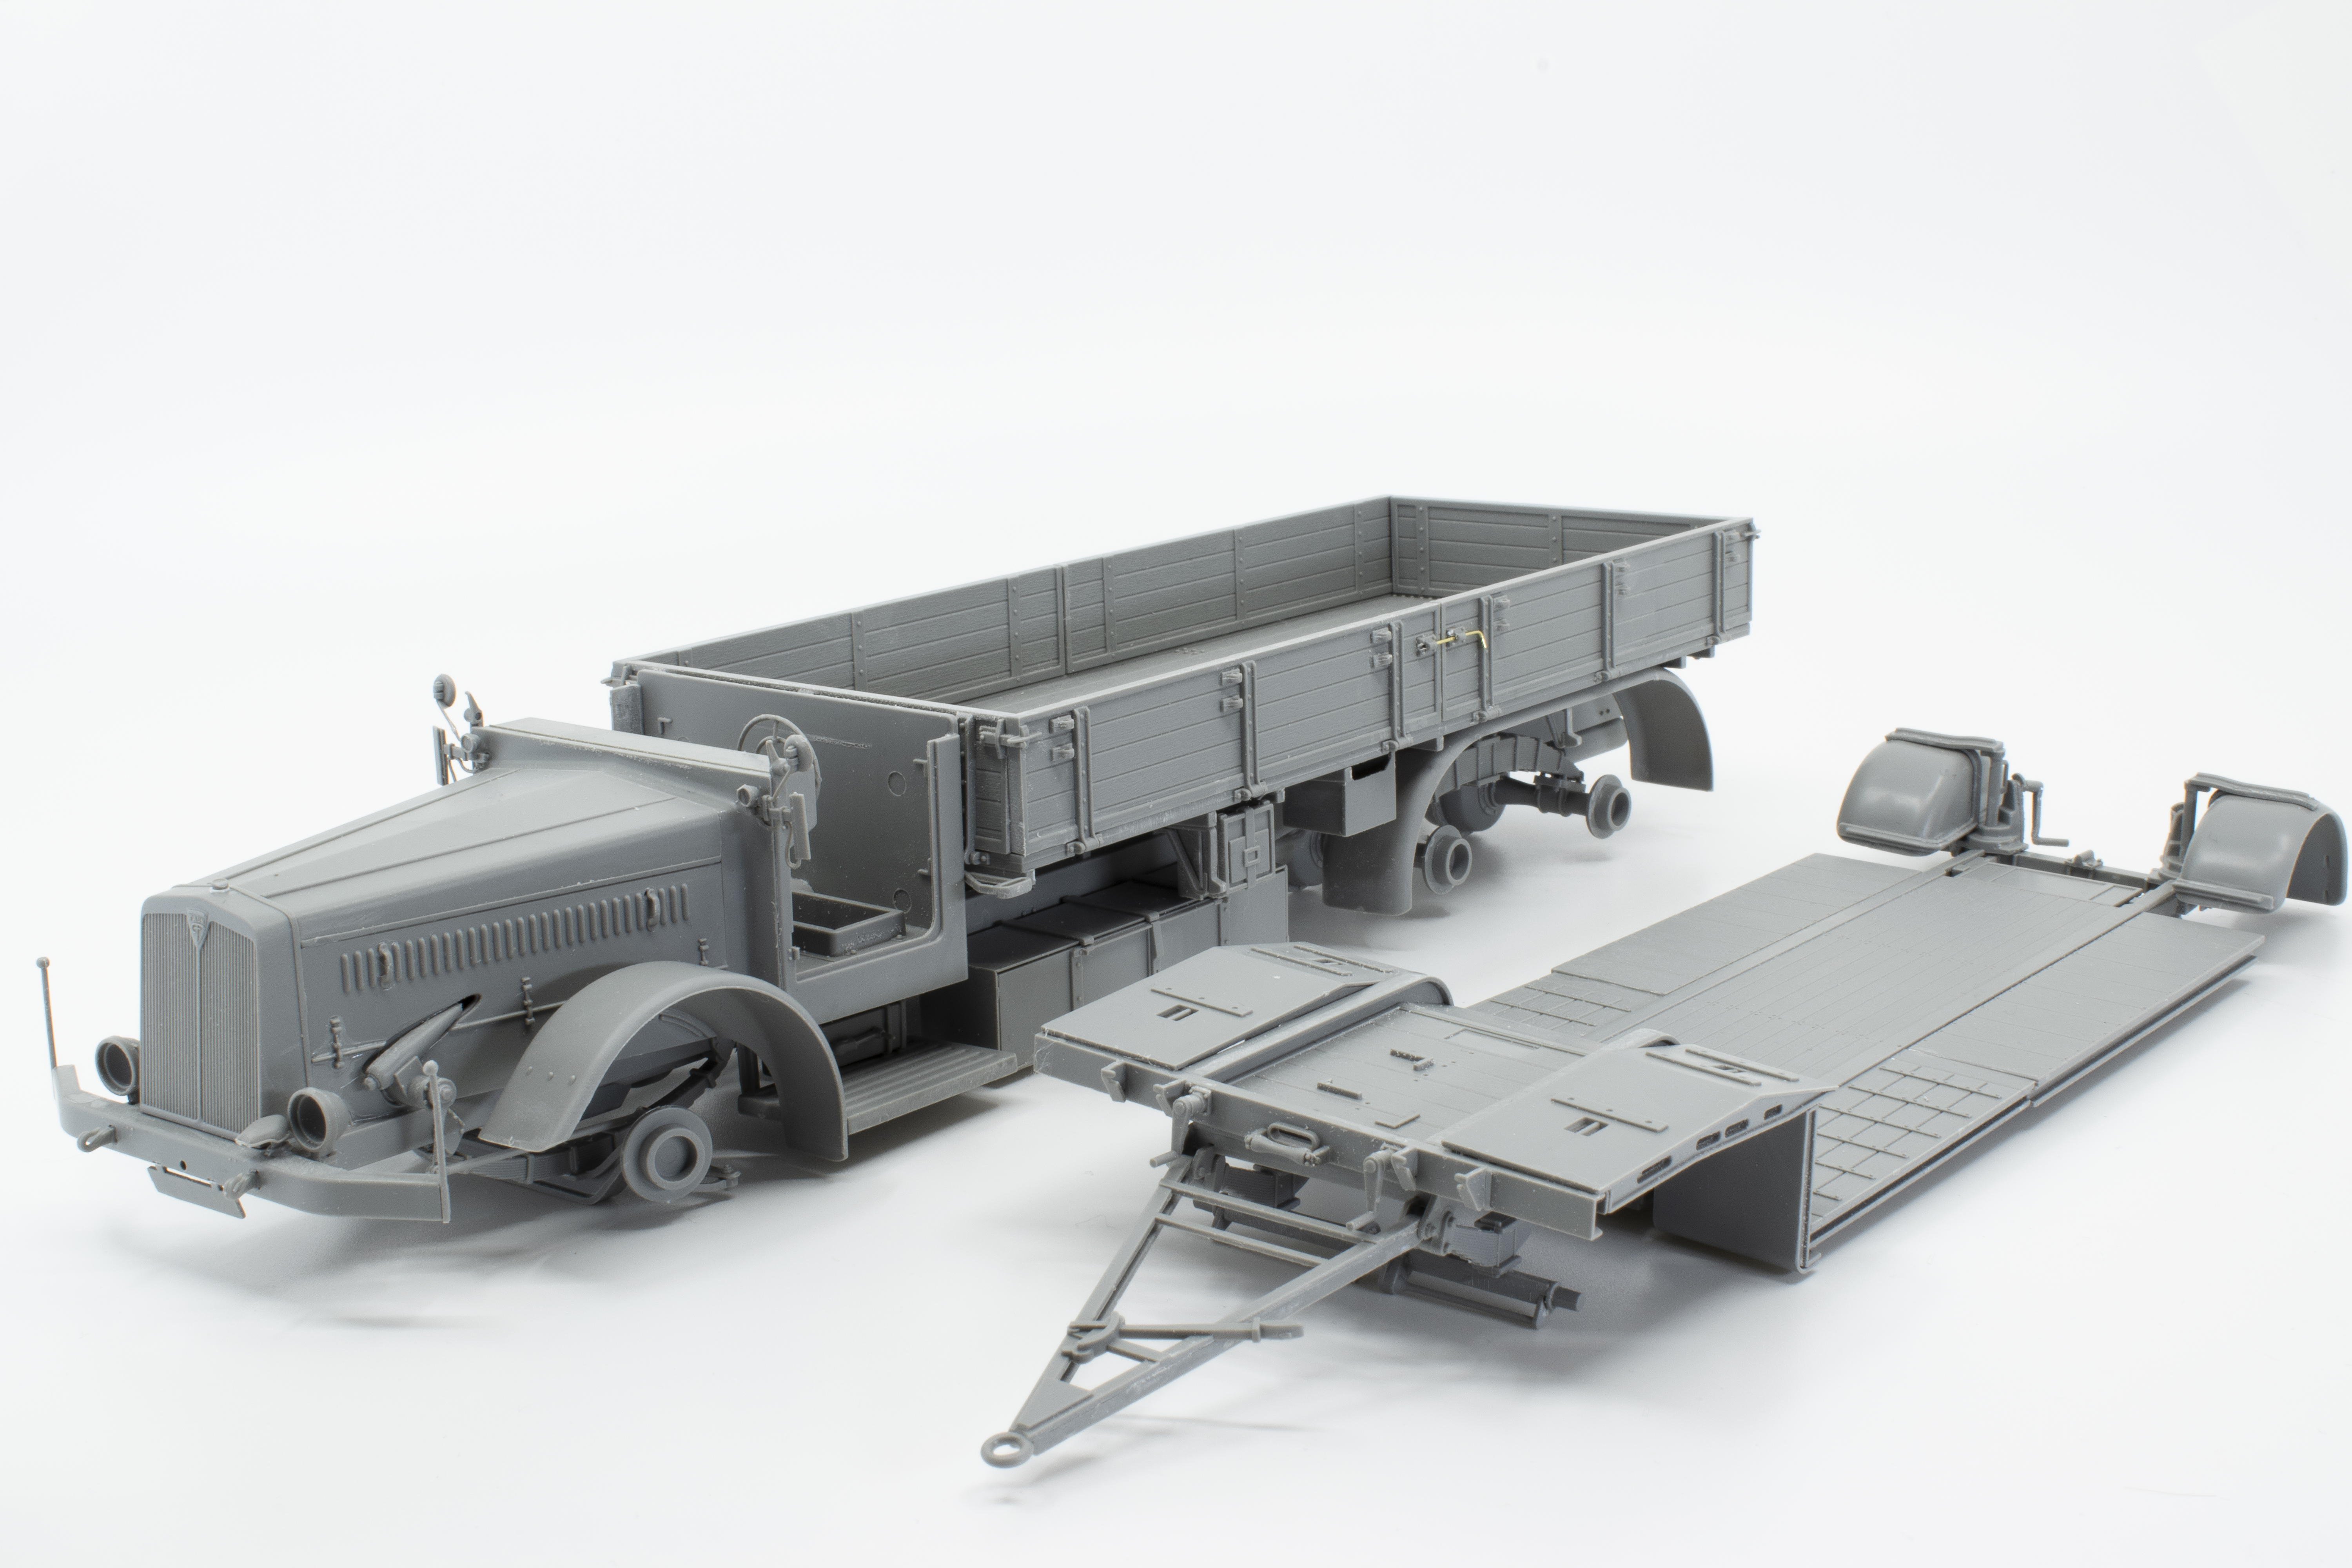 remains un-attached so as to allow the vehicle to simply drive (or be winched) onto the trailer. I have decided that it would remain in the travel mode, rather than loading mode, thus I have attached the rear axel/fenders to the frame. The forward ramps remain in the short load position, but I imagine that I’ll be moving them to the up for at least one longer load that I have in mind.
Let’s start painting. One of the things that I like to do, from time to time, is to change up my paints. For this model I decided to paint using Vallejo products, including their Mecha line, finding some 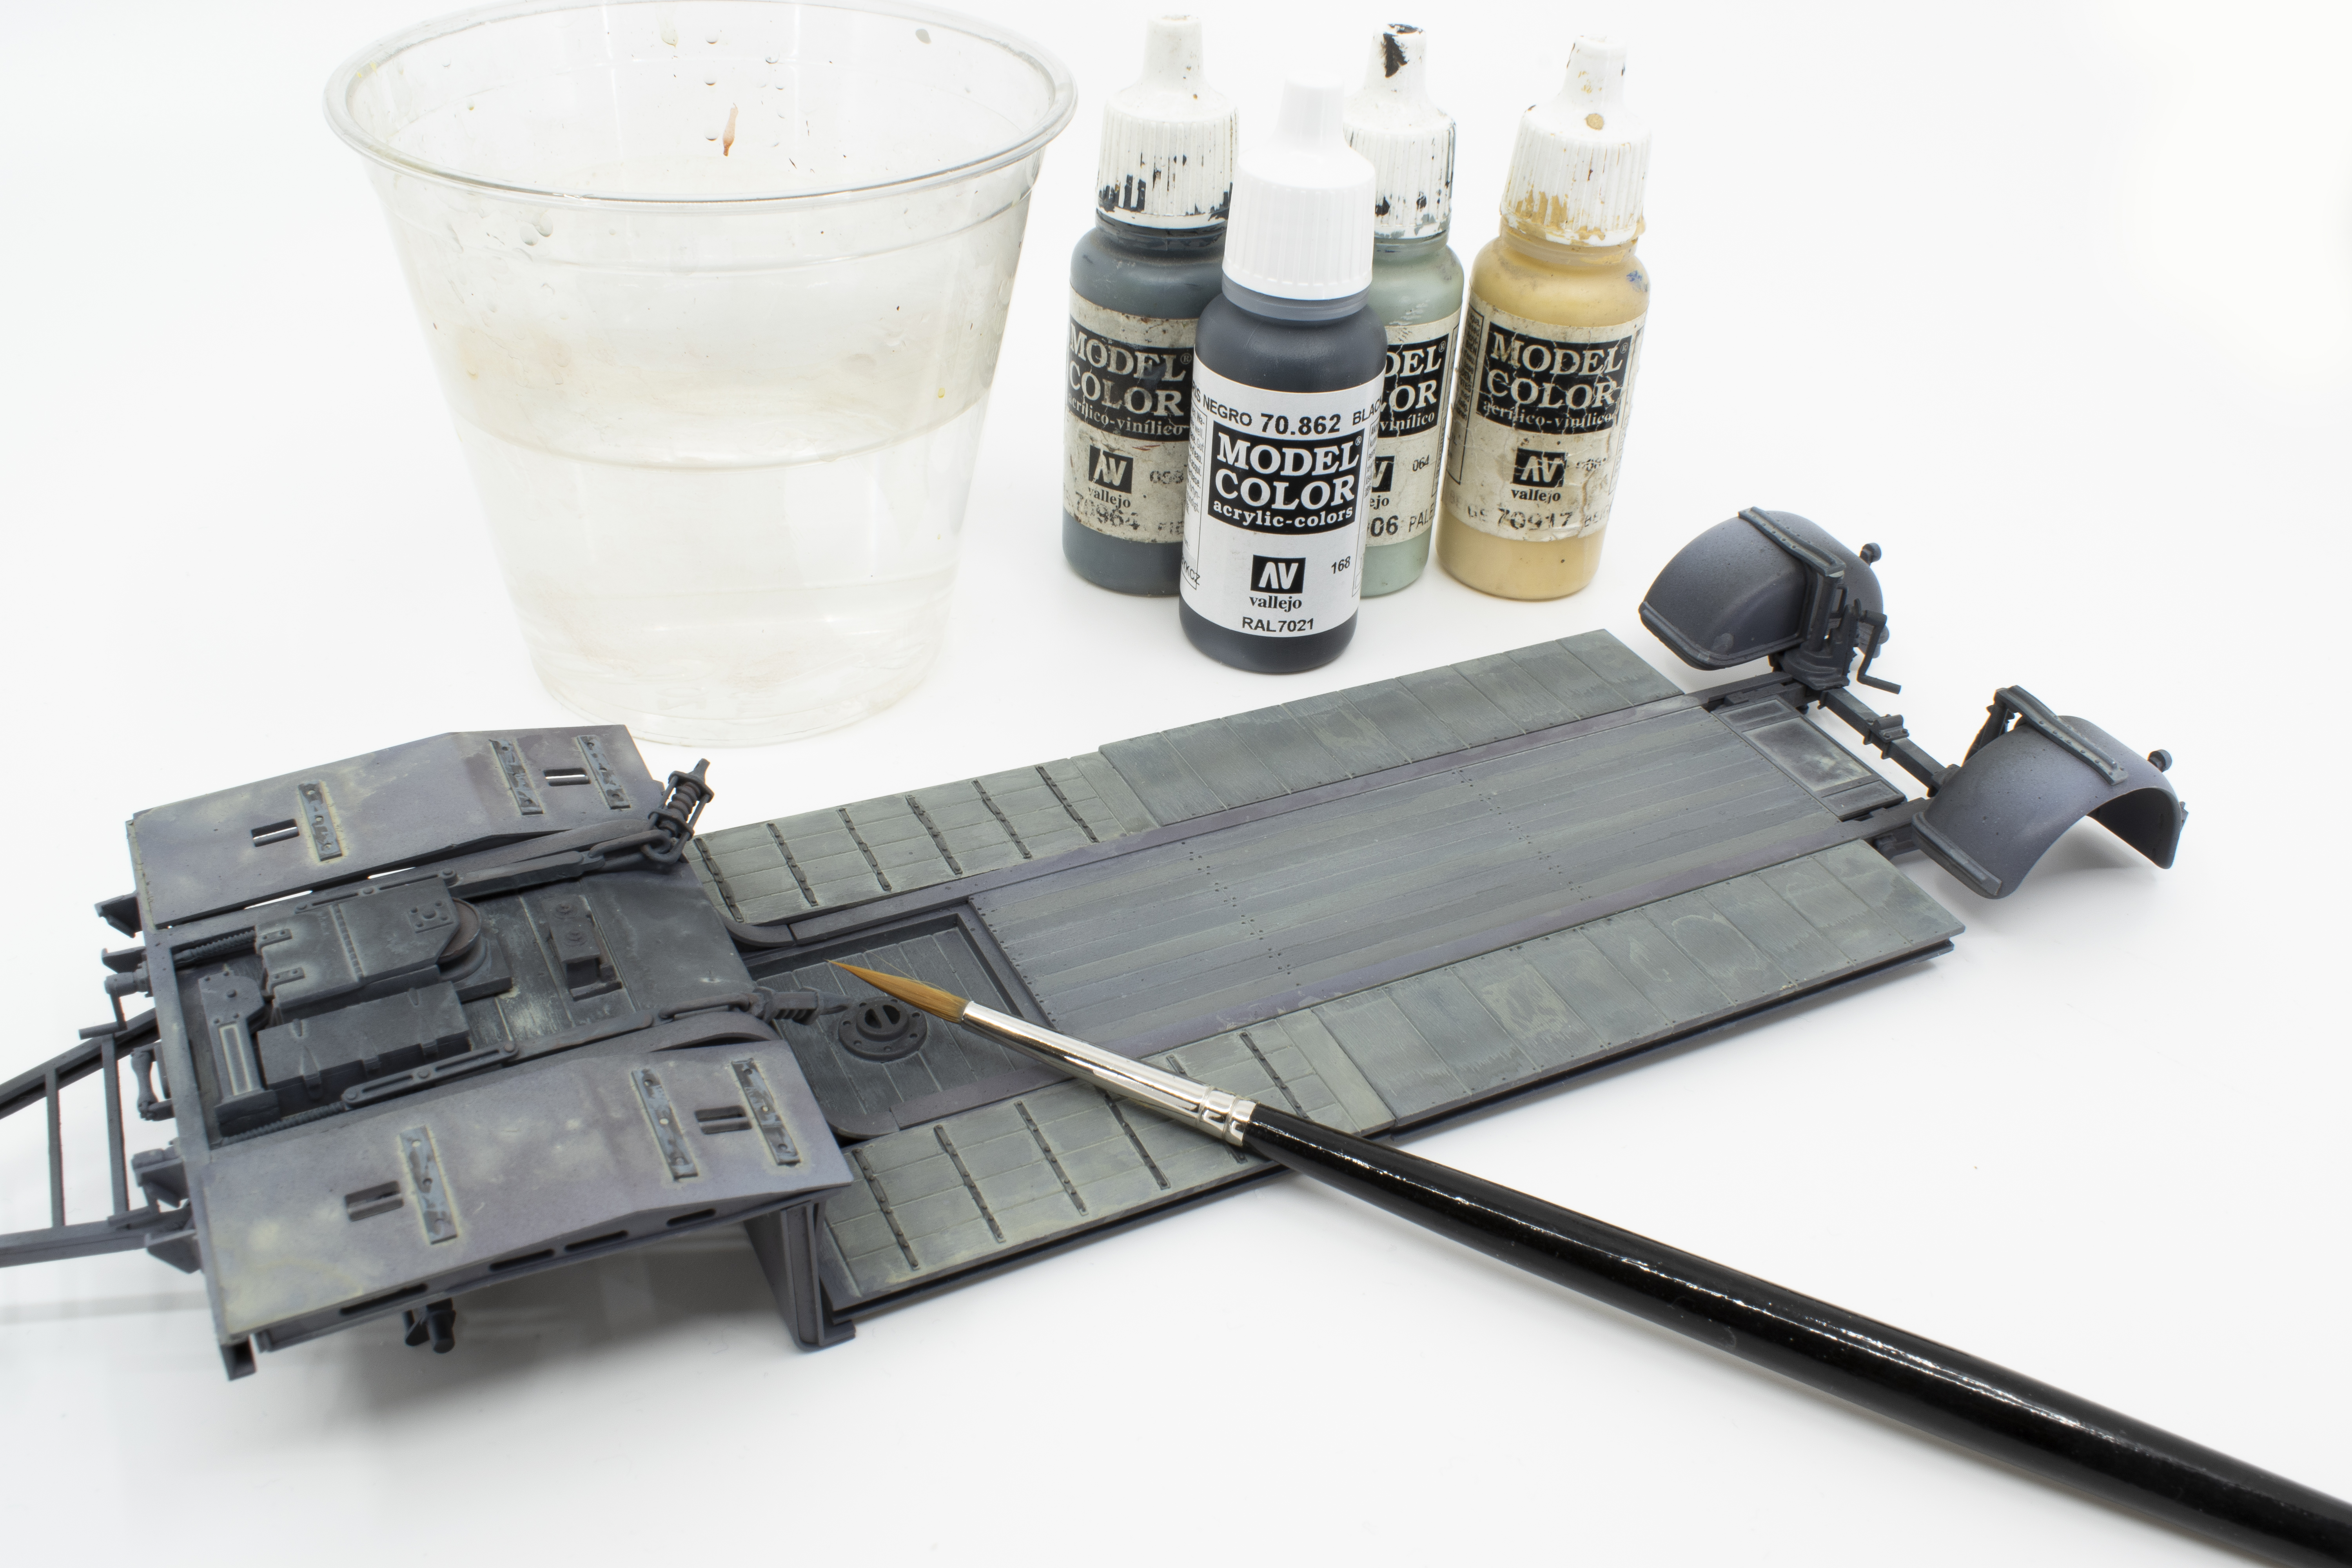 nice dark grey colors for the overall base as well as using colors from their traditional Model Color range for details and highlights. One of the more important steps in my painting/weathering process is to add the “happy accidents”, that is, to play a little fast and loose with the paint in these early stages to hopefully create an interesting starting point for weathering. In this case, I used highly thinned acrylic washes to subtly change and fade the base grey color tones, and add light dust deposits.
Over the past years, Artists’ oils have become my primary weapon of choice when it comes to finishing and weathering. I begin by painting out certain parts, in this case the metal straps, as well as adding subtle pin washes between the boards. Different effects can be had simply by changing how much thinner is used during application.
 The photos show that the oils are beginning to produce an overall rich finish. I also wanted to indicate the wear of tires and treads on the loading boards. To realize this, I airbrushed a thinned layer of Vallejo acrylic on the ramps where treads would impact the finish. Yes, I know that I’m working back and forth using oils and acrylics, this is something that I do quite often without issue, it just takes a little experience in knowing how the various chemicals will react to one another. The wear on the trailer boards is reinforced by adding scuff and chip marks, again using acrylics. By this point it is probably obvious that my weathering path tends to wander about; it is all about creating layers using the best method. The oxidation effects on the metal supports are highlighted using a dark rust-colored enamel wash. This paint is highly thinned and applied more like a light filter, rather than a wash.


Grease and grime stains are created using a mixture of yellow ochre and raw umber colored oils. For fresher stains, I will add a touch of gloss varnish to this mixture. Finally, a light application of black pigment to the centers of the loading boards helps to tone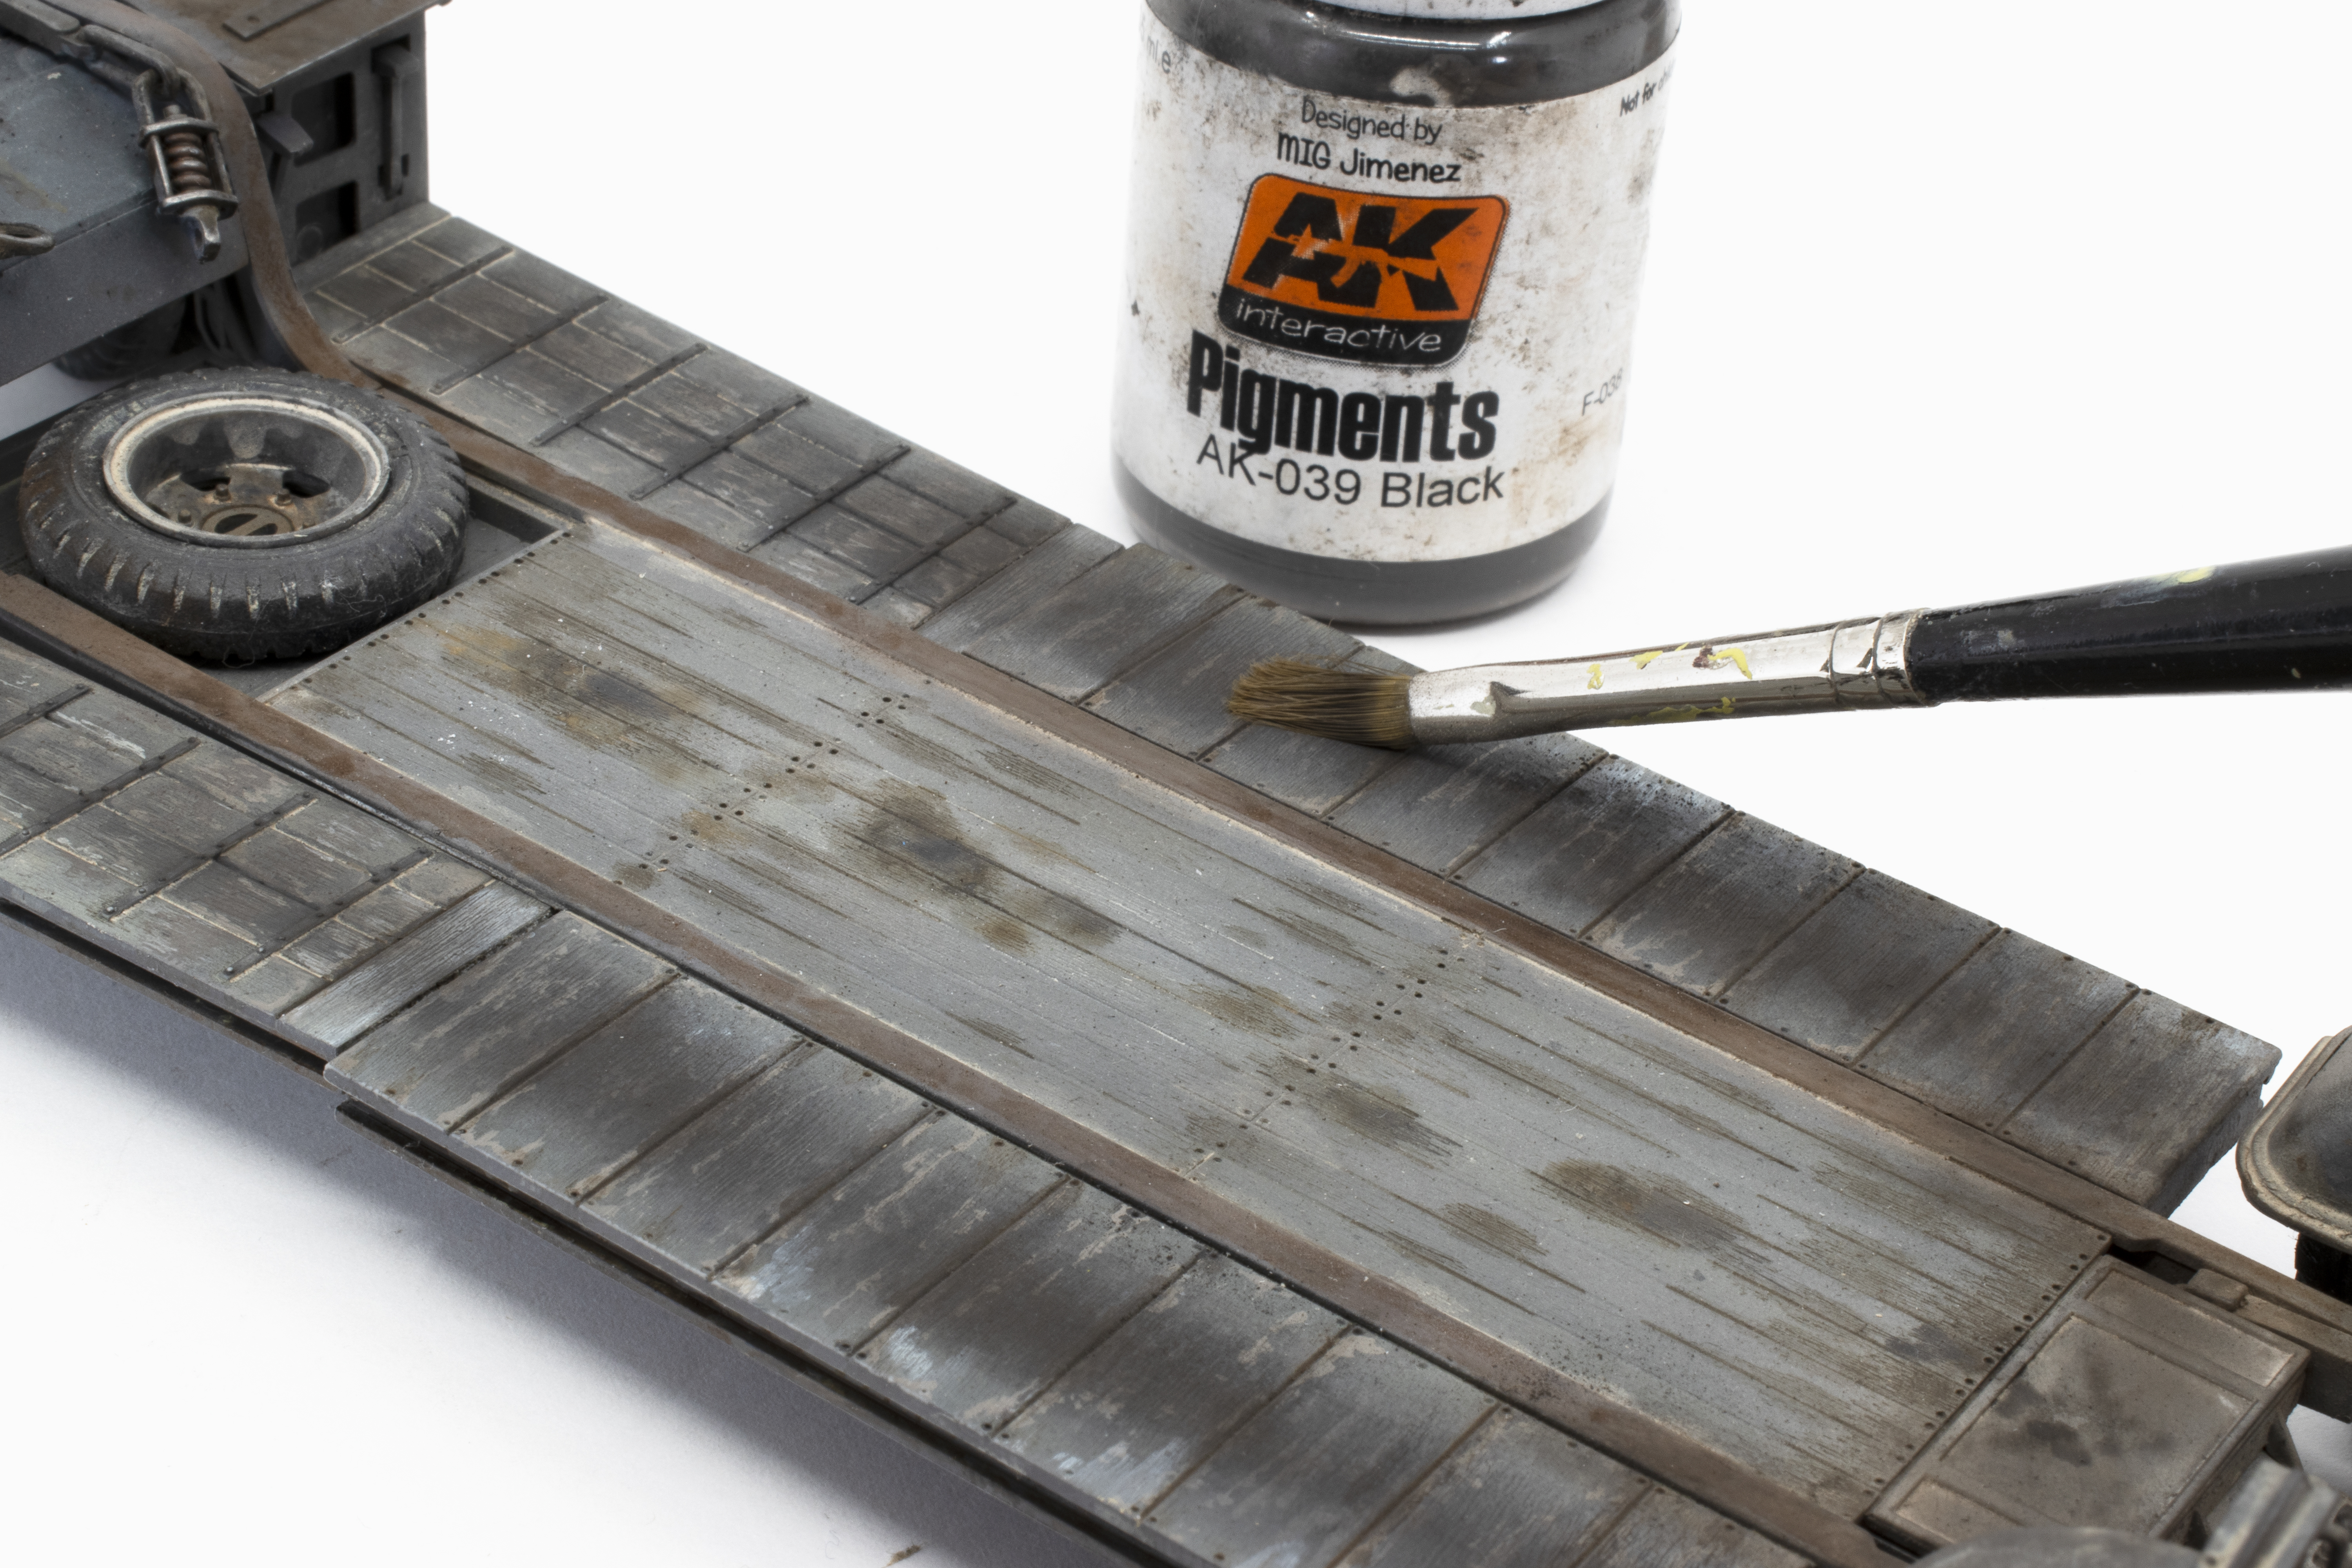 down the chips and scuffs and reinforce the idea of vehicles being loaded and unloaded. A little black pigment mixed with light dust-colored pigment is also dry brushed in other areas to increase the sense of dirt and grime, this effect is especially notable to the rear of the trailer in this photo.
Returning attention to the Faun, my intention is to show this vehicle with heavy accumulations of dust on certain areas which should contrast nicely against the dark grey base color. I begin by adding areas of dust-colored oils to the areas of accumulation that will serve as the basis for additional applications. Adding to the contrast, I apply dark grey washes in those places that the crew would have cleared the dust and dirt through their activity. This includes around the latches and handles, as well as in the centers of the side panels as they would have placed their hands on then to move them into the up and down positions. Another round of dust is applied using highly diluted washes of acrylic colors. For best results, it’s important that the entire surface is wetted, and then continually wicked of excess moisture so as not to produce tide marks. With what is basically a weathering “road map” in place through the use of oils and acrylic wash, I now reinforce certain areas of dirt and dust using enamel effects. The enamels are effective for this type of work in that they are more opaque than the oils and as such have better coverage, and have a longer working time versus using acrylics that allows for more control and manipulation.


As mentioned before, my process tends to be quite a bit of back-n-forth of techniques and products. My choices are based upon the desired effect and then working with the product that will best produce the results I have in mind. In this case, I have returned to using oils over the prior applications of (in this order) acrylic, oils, acrylic, enamels, and now oils once again. This application of oils is used to subtly change the color profile (adding a little browner earth tone) and to feather out the edges for a dustier appearance.
 A few adjustments of color, especially to the lower chassis and areas of heavier dirt accumulations using the artists’ oils. Adding these darker tones to the lower areas helps to give the vehicle “weight” and definition. Speaking of dusty areas, I used pigments to add a final dust layer, concentrating toward the rear of the vehicle and other dirt susceptible areas. For this application, I mixed a bit of European Earth with Light Dust and then applied the dry pigments o the surfaces using a smaller sized soft brush. The excess pigment was removed using a clean, soft brush and then the pigments were “set” using thinner. Using thinner as a setting solution is a nice “middle” compromise (versus fixer) as it holds the pigments in place, but also allows for adjustment if required. A little more tinkering and adjustments and the model is complete.


![]()