
Burn Baby Burn
 I have been a fan of the Mad Max movie series since inception beginning with the 1979 release of Mad Max, up through and including the recent Fury Road release. And as such, this is the backdrop for this dystopian, Post-apocalyptic vehicle overhaul. At first glance, it might appear that all of the crazy looking vehicles that appear in this movie world are nothing more than reconstituted junk-yard heaps, cobbled together without regard to form or function. However, on closer examination, it is clear each vehicle within the films are unique, thought-out, and serves a purpose. I recall reading one of the concept artists state that what one must understand is that these vehicles are a symbol of personal pride and craftsmanship, an extension of their personalities. In the end, what you have, are a bunch of very cool looking cars!
My wasteland is my workbench, and upon it rides a Revell/Monogram 1966 Chevy Fleetside pickup truck. I chose this vehicle for no other reason than my dad had one of these when I was young, and I like the way it looks. What would it become? Fingers grip tight around the X-Acto, the smell of glue surrounds me. Strap in and let’s ride! Burn, Baby Burn!
As they say, there is nothing more intimidating than a blank piece of paper, or in this case, a blank kit. Without a plan nor final vision, I decided that the best way to begin was to simply make a cut. For what reason? I have no idea! Since I was making cuts into the kit why not open up the hood (bonnet)? Though hazy, by this time I’m beginning to formulate a vision of the machine that is to be. Does the base kit include a stock engine that will provide a nice basis for embellishments of some type? We’ll see what I come up with! Using Evergreen strip I add a few menacing ornaments to the hood.


What better way to upgrade your ride than a set of new wheels? These larger tractor tires will provide an aggressive profile. Of course, the new wheels will require a bit of bodywork. A few snips, a few cuts, and a bit of sanding provide the required clearance for the new shoes. New fenders and brackets are fabricated from Evergreen strip, with bolts added from punch-n-die rounds. 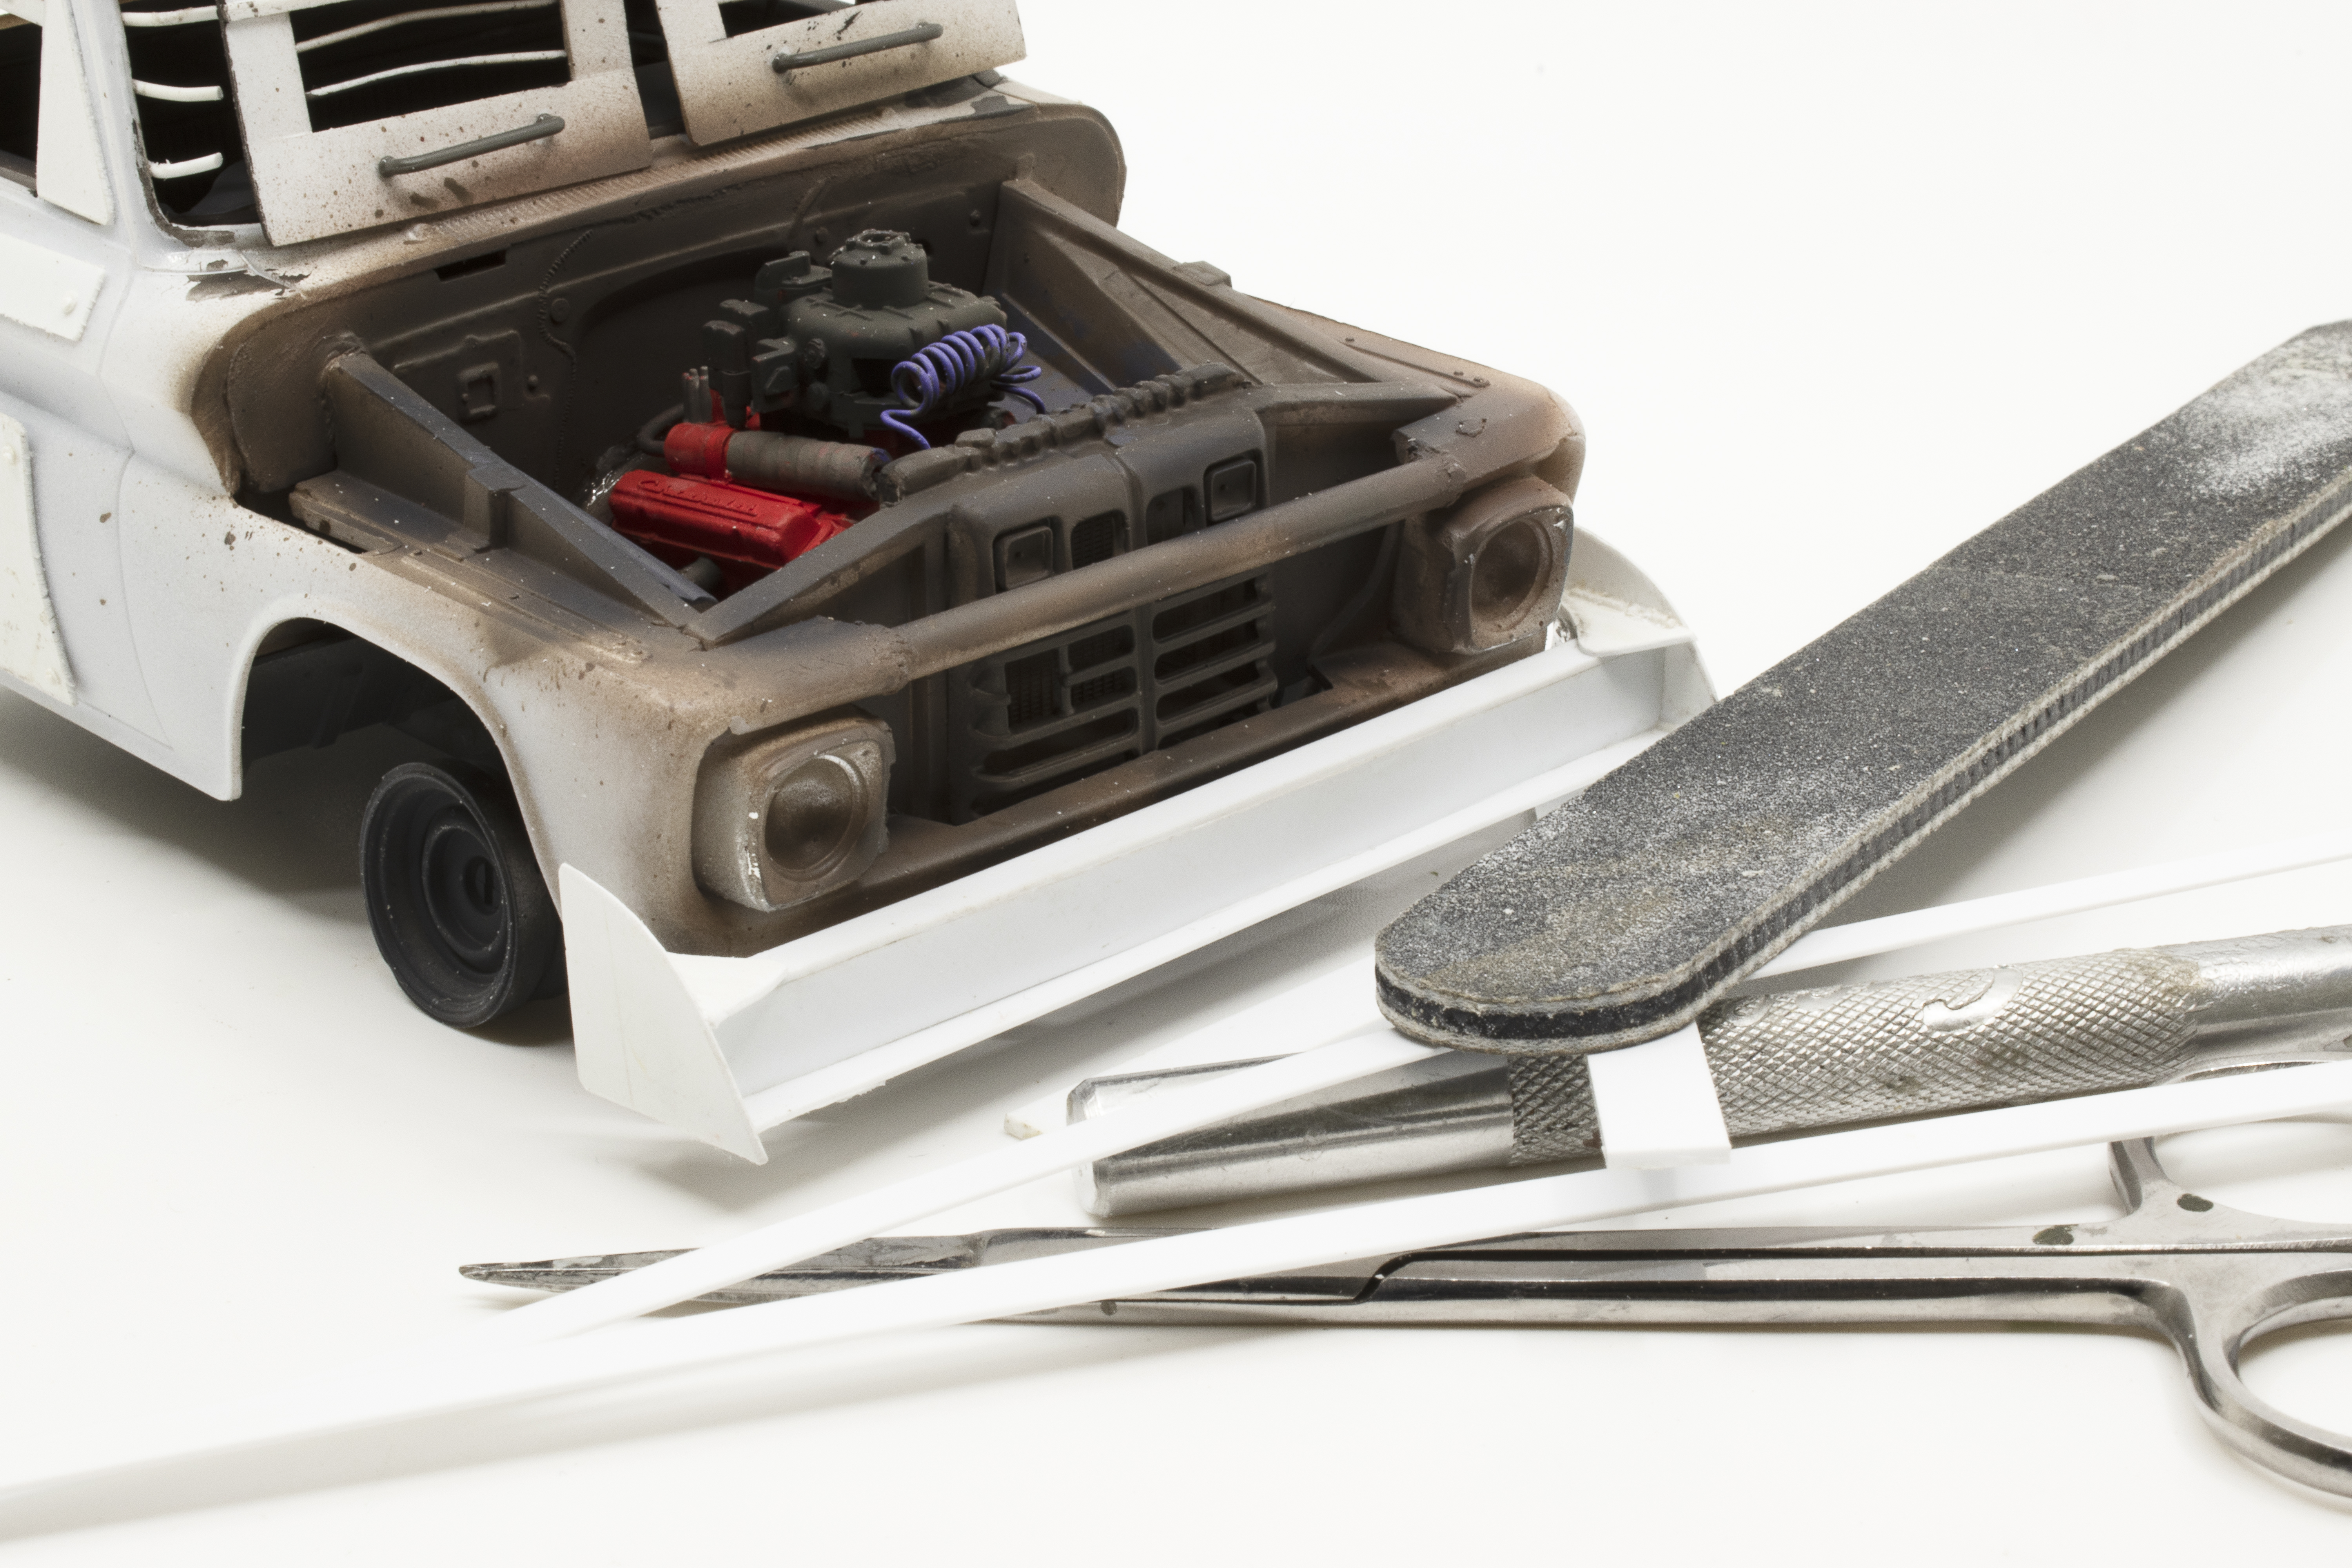 At no point during this entire project did I have a plan nor vision for the outcome, it really was a project of “cut here” or “add something there”, and so it was nice to get to this stage where I could see the progress of the added the larger rear wheels and fenders, armored window shields and bars and re-worked front grille.
The construction becomes a balancing act of finishing certain areas while still fabricating others. The engine and compartment are painted and extra wasteland supercharged enhancements are added. Meanwhile, a new front bumper begins to take shape. The front bumper takes on a 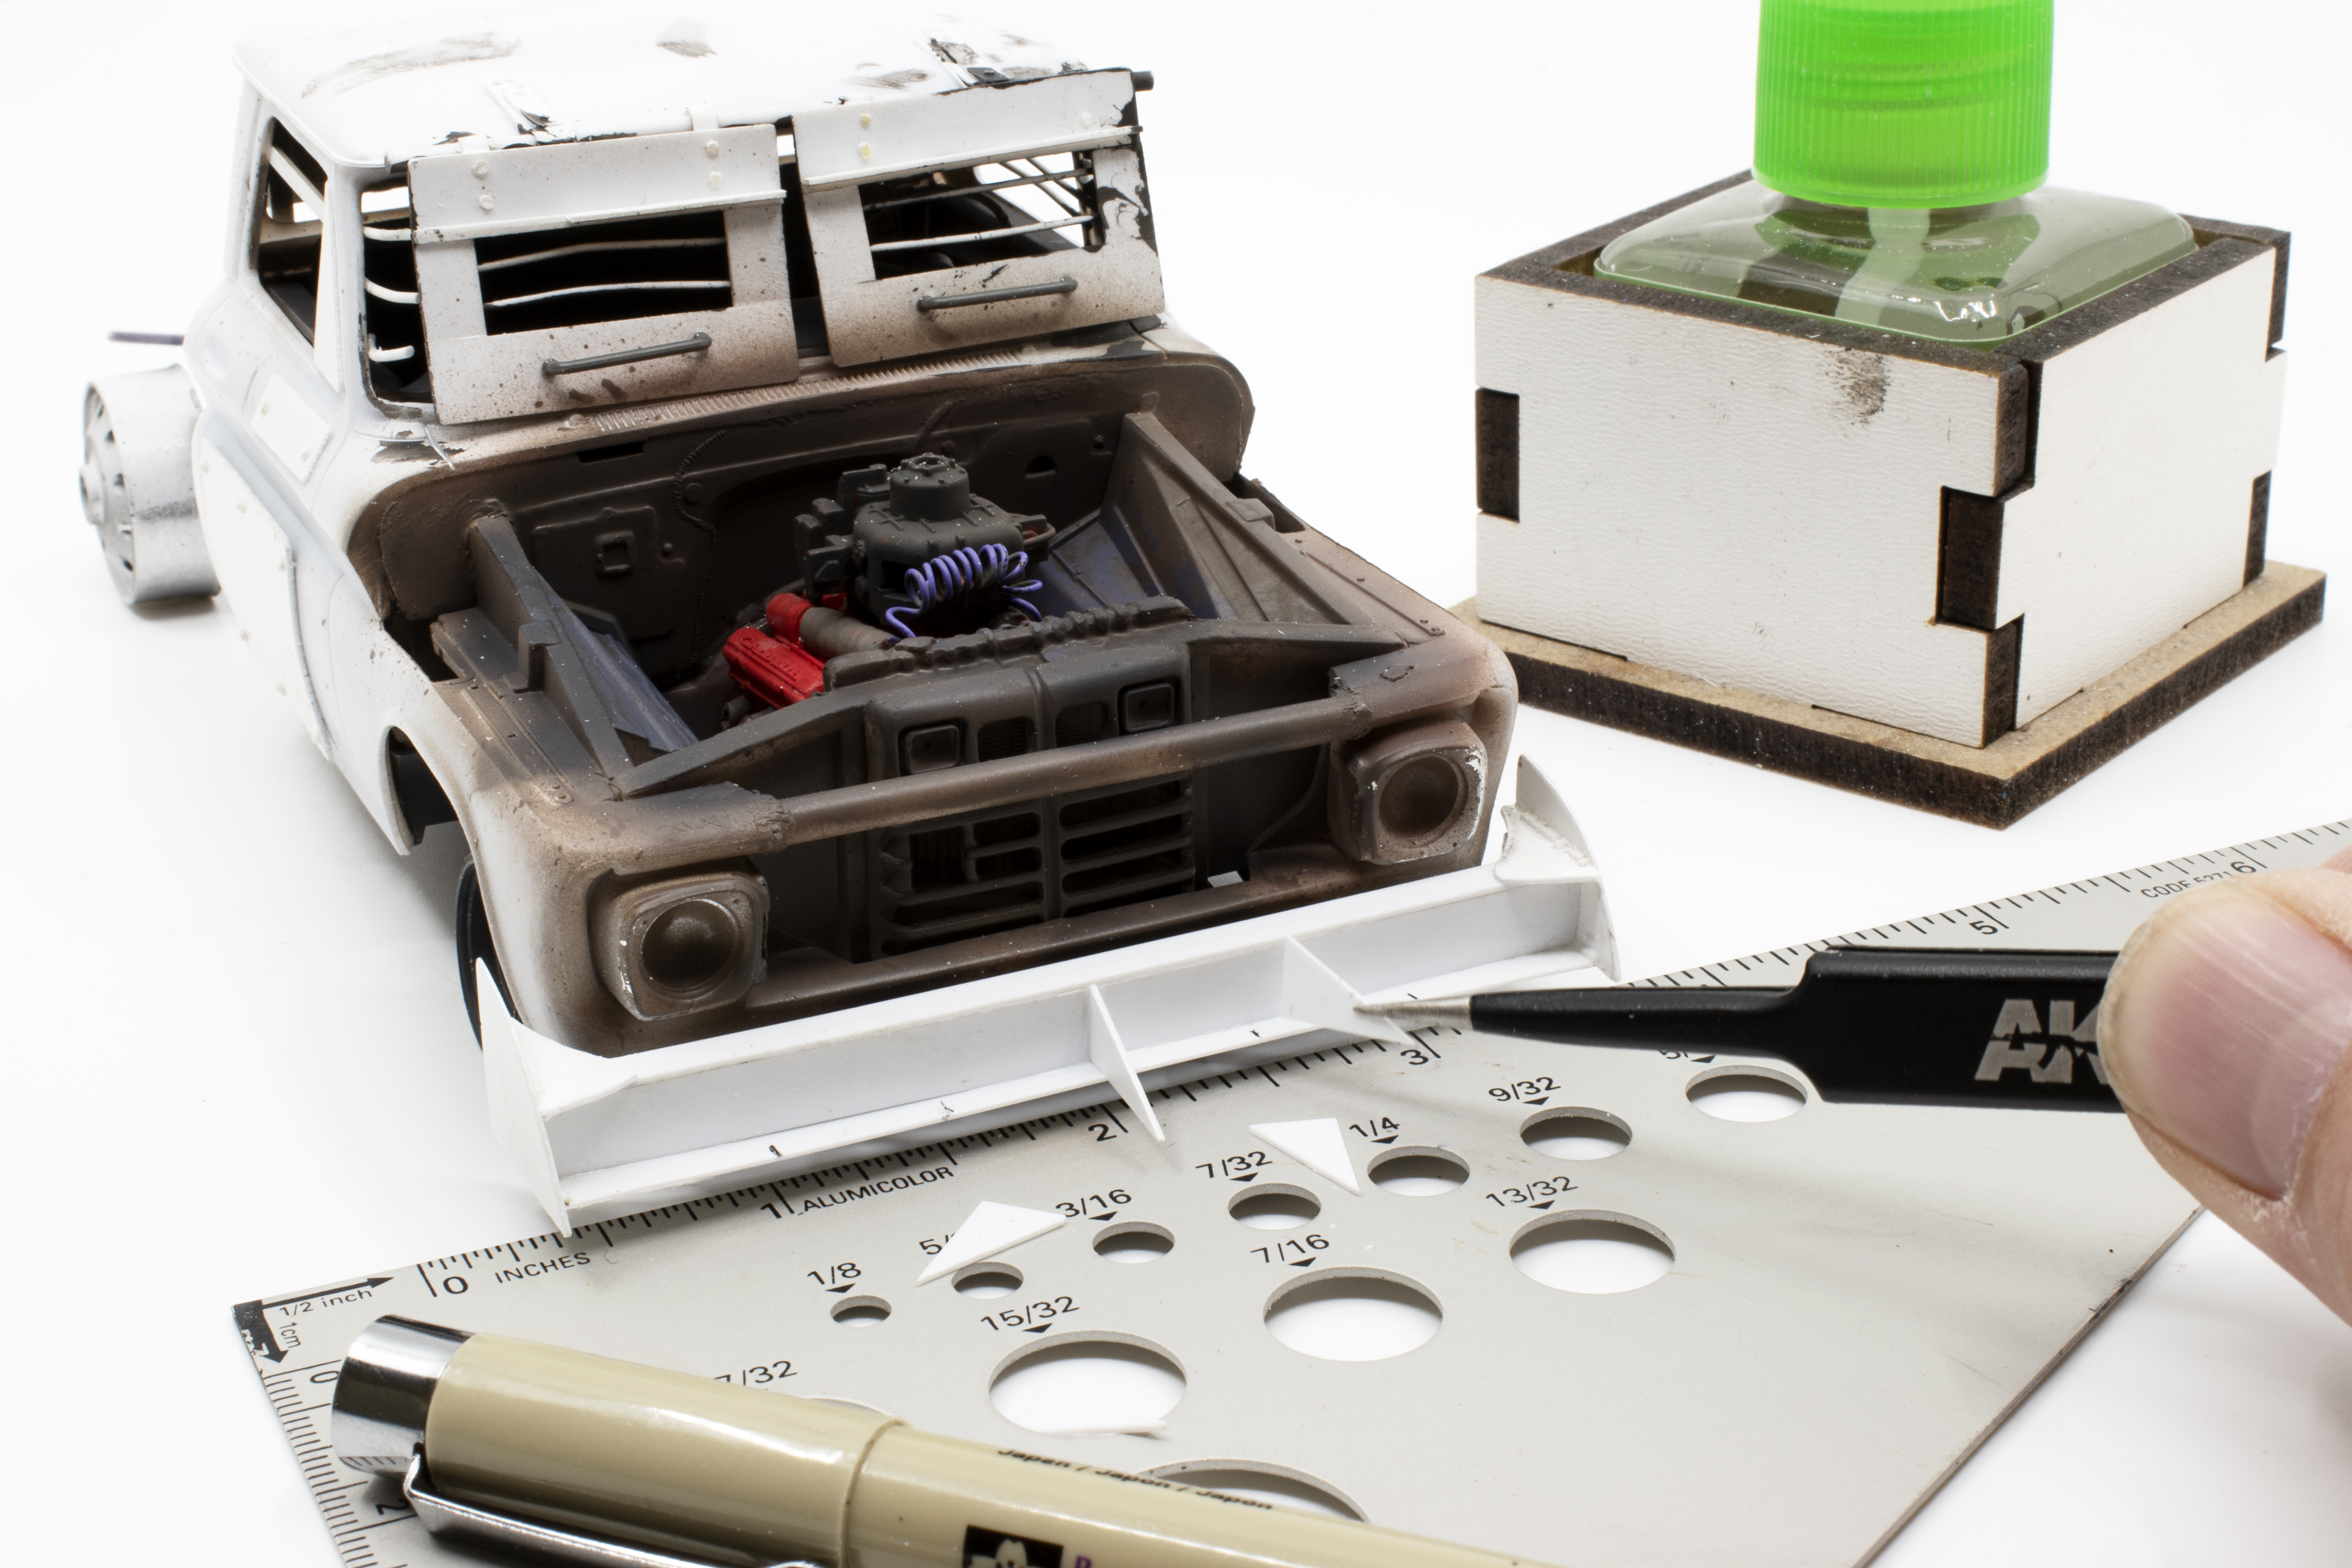 menacing profile as I add these angry teeth. Small strips of Evergreen strip and punch-n-die bolt head will finish the installation.
When I began this project I was thinking that it would be a true “kitbash” project, that is, using a ton of spare parts to produce my Post-Apocalyptic ride. Interestingly, it wasn’t until I began construction of the weapon that I finally turned to the spares box. I’m still not quite sure what it is exactly that I was building, but progress is being made.
I finally decided that the weapon would be some type of flame thrower, 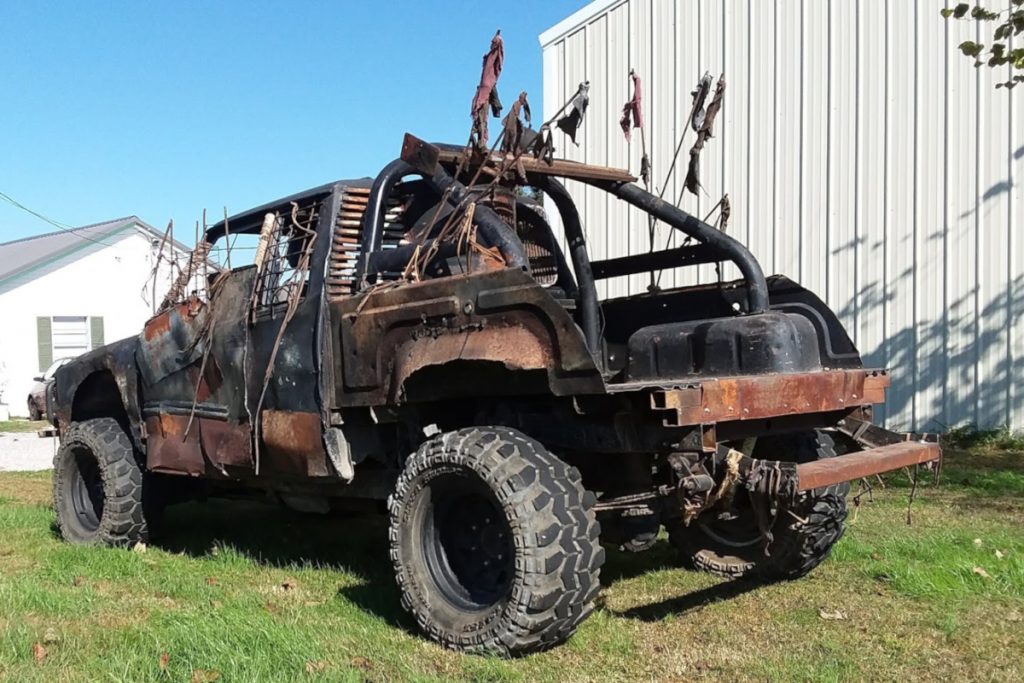 and so the design began to follow the function using kitbashed parts and Evergreen tube. The gas canisters were also fabricated from Evergreen tube and strip along with a few choice parts from the spare parts box. I always look forward to this stage when construction is mostly complete when you can see all of the various elements and materials in full display. As you can see I continued to add various accouterments to the vehicle, including steel spikes along the top edge of the cargo bed and a huge rear bumper. Even though painting is about to begin, I’m sure that I’m not finished adding details.


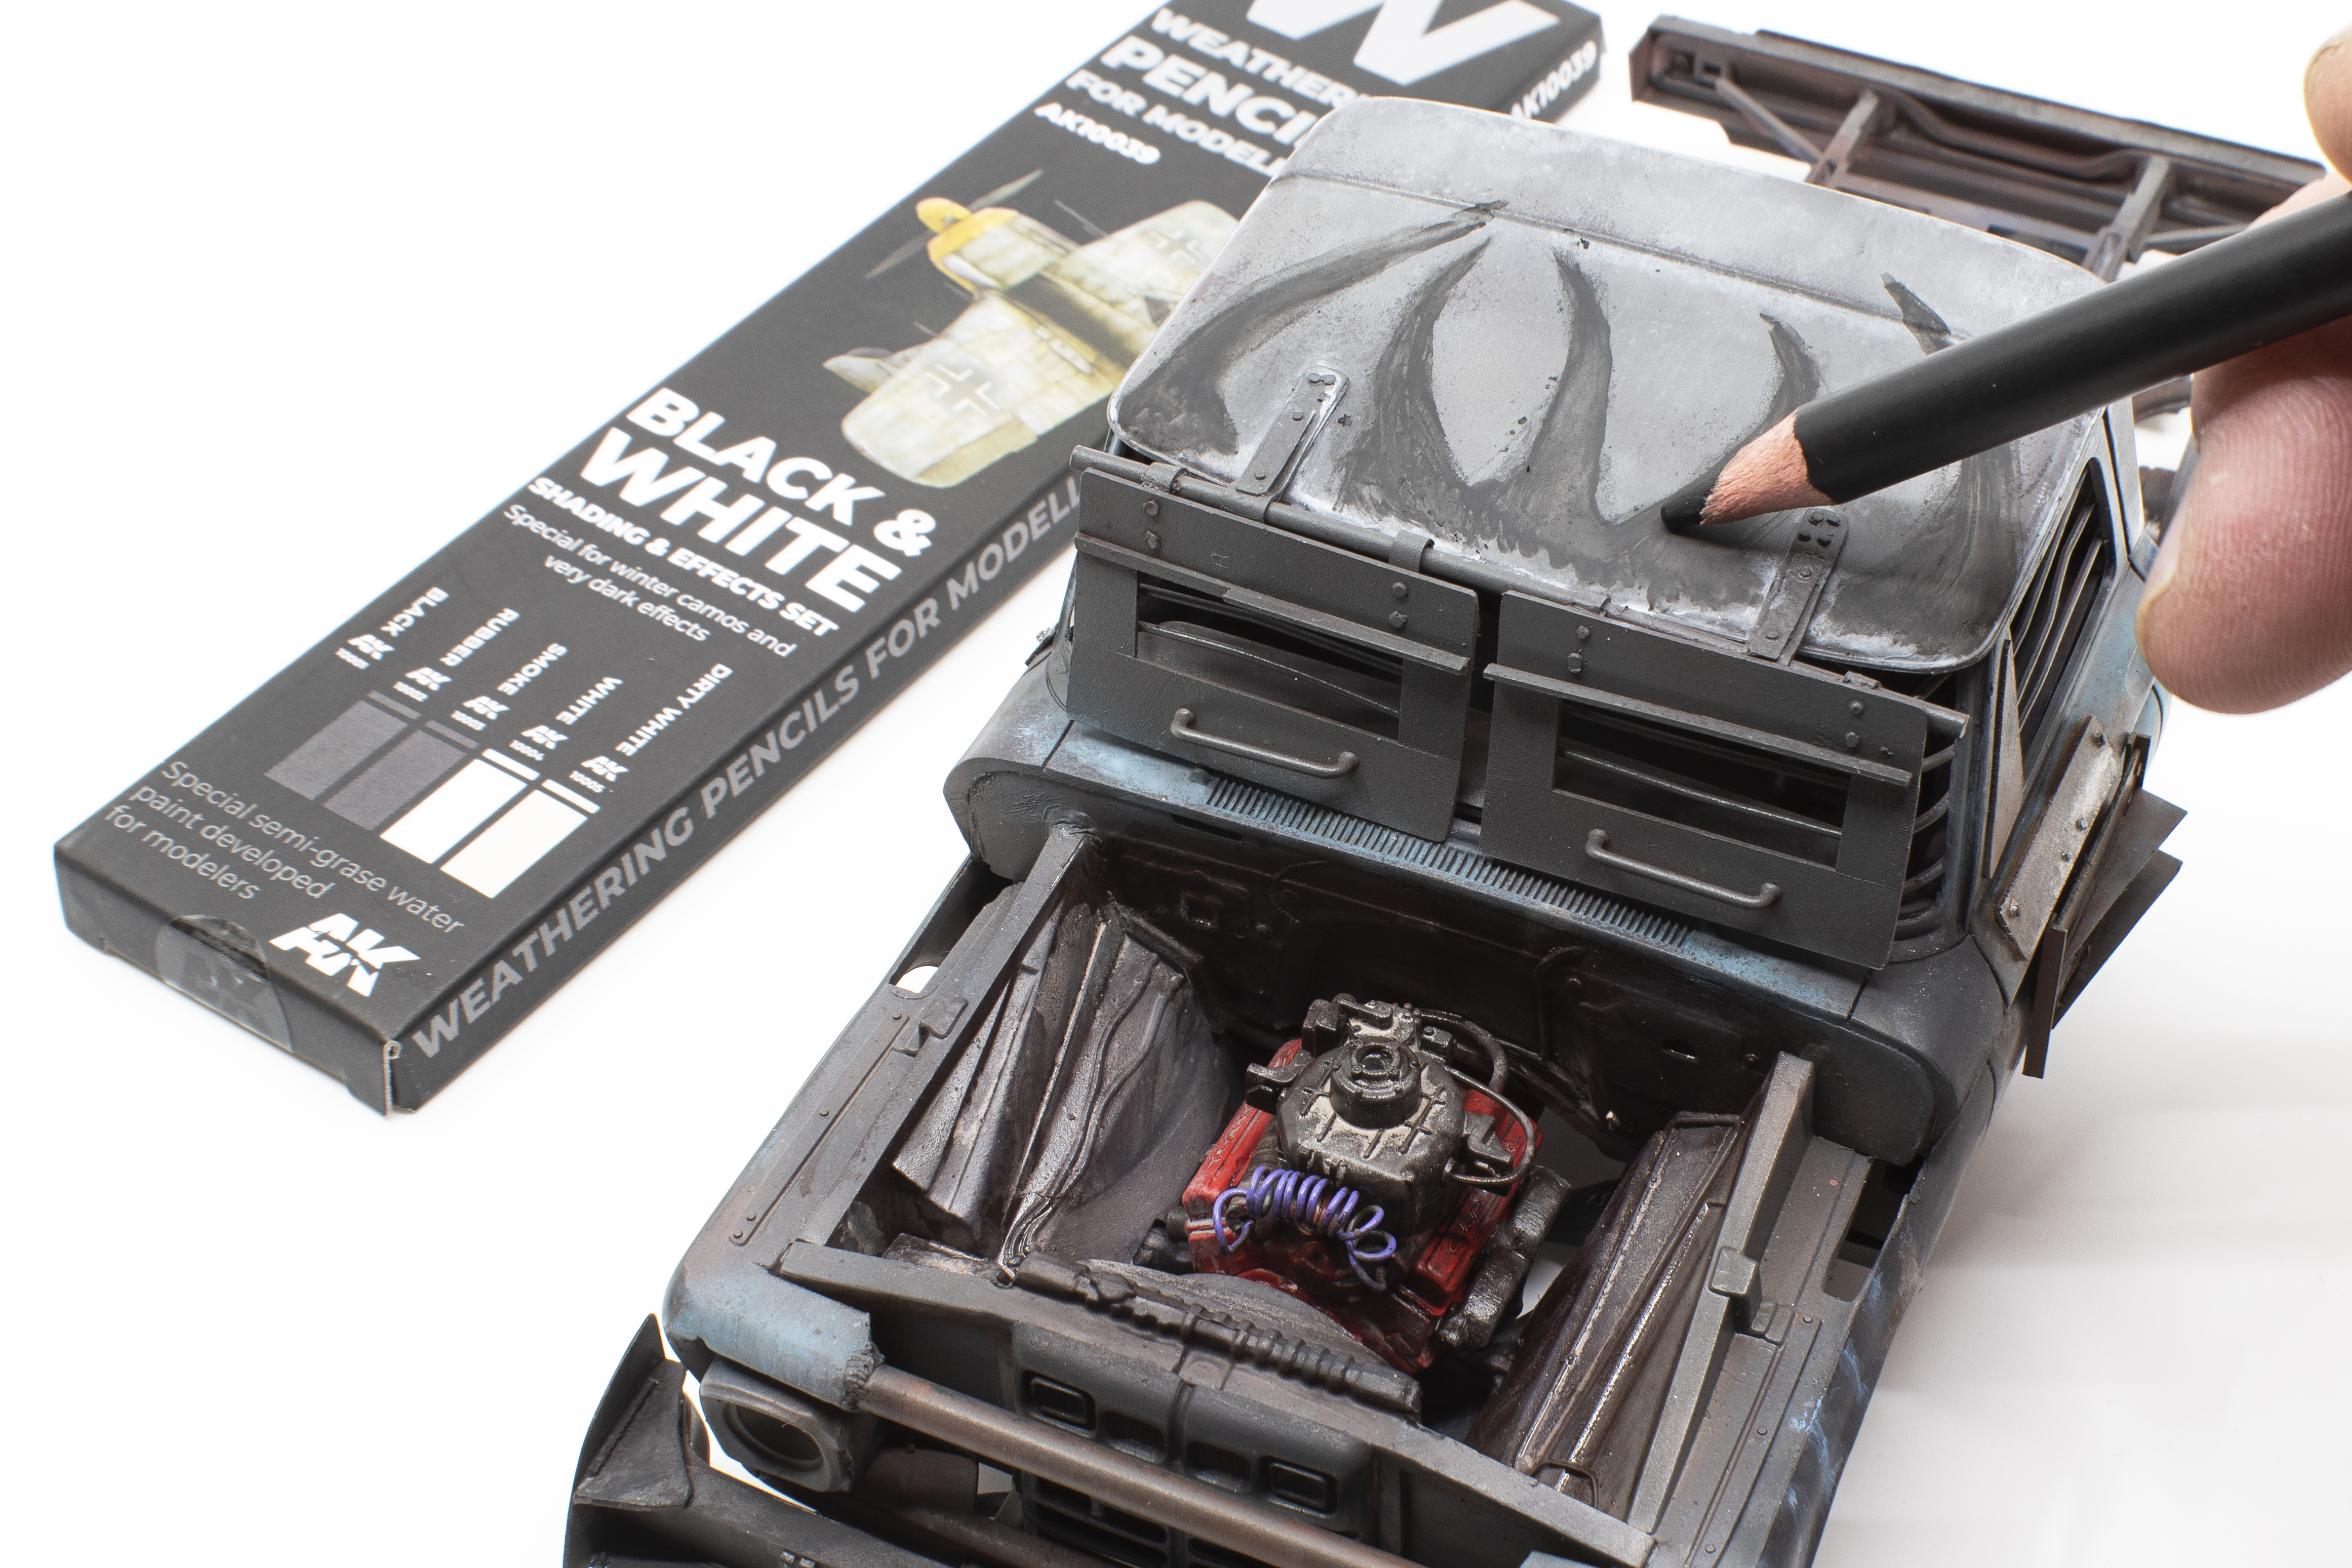 Again, without really a plan in place I decided that this truck needed some extra personality in the form of body “tattoo’s”. The “flames” on the roof were applied using AK Weathering Pencils. The markings on the hood and front fenders were mostly free-hand painted with the airbrush. In retrospect, it would have been much easier to have done both jobs with the pencils – but at the time I didn’t consider the pencils as my first option.
In my world when a model is painted and still in its’ base colors (including chipping), I feel that the finish appears flat and has a lack of interest. In my world, the painting process always includes the use of oil paints to enhance and add richness to the colors.
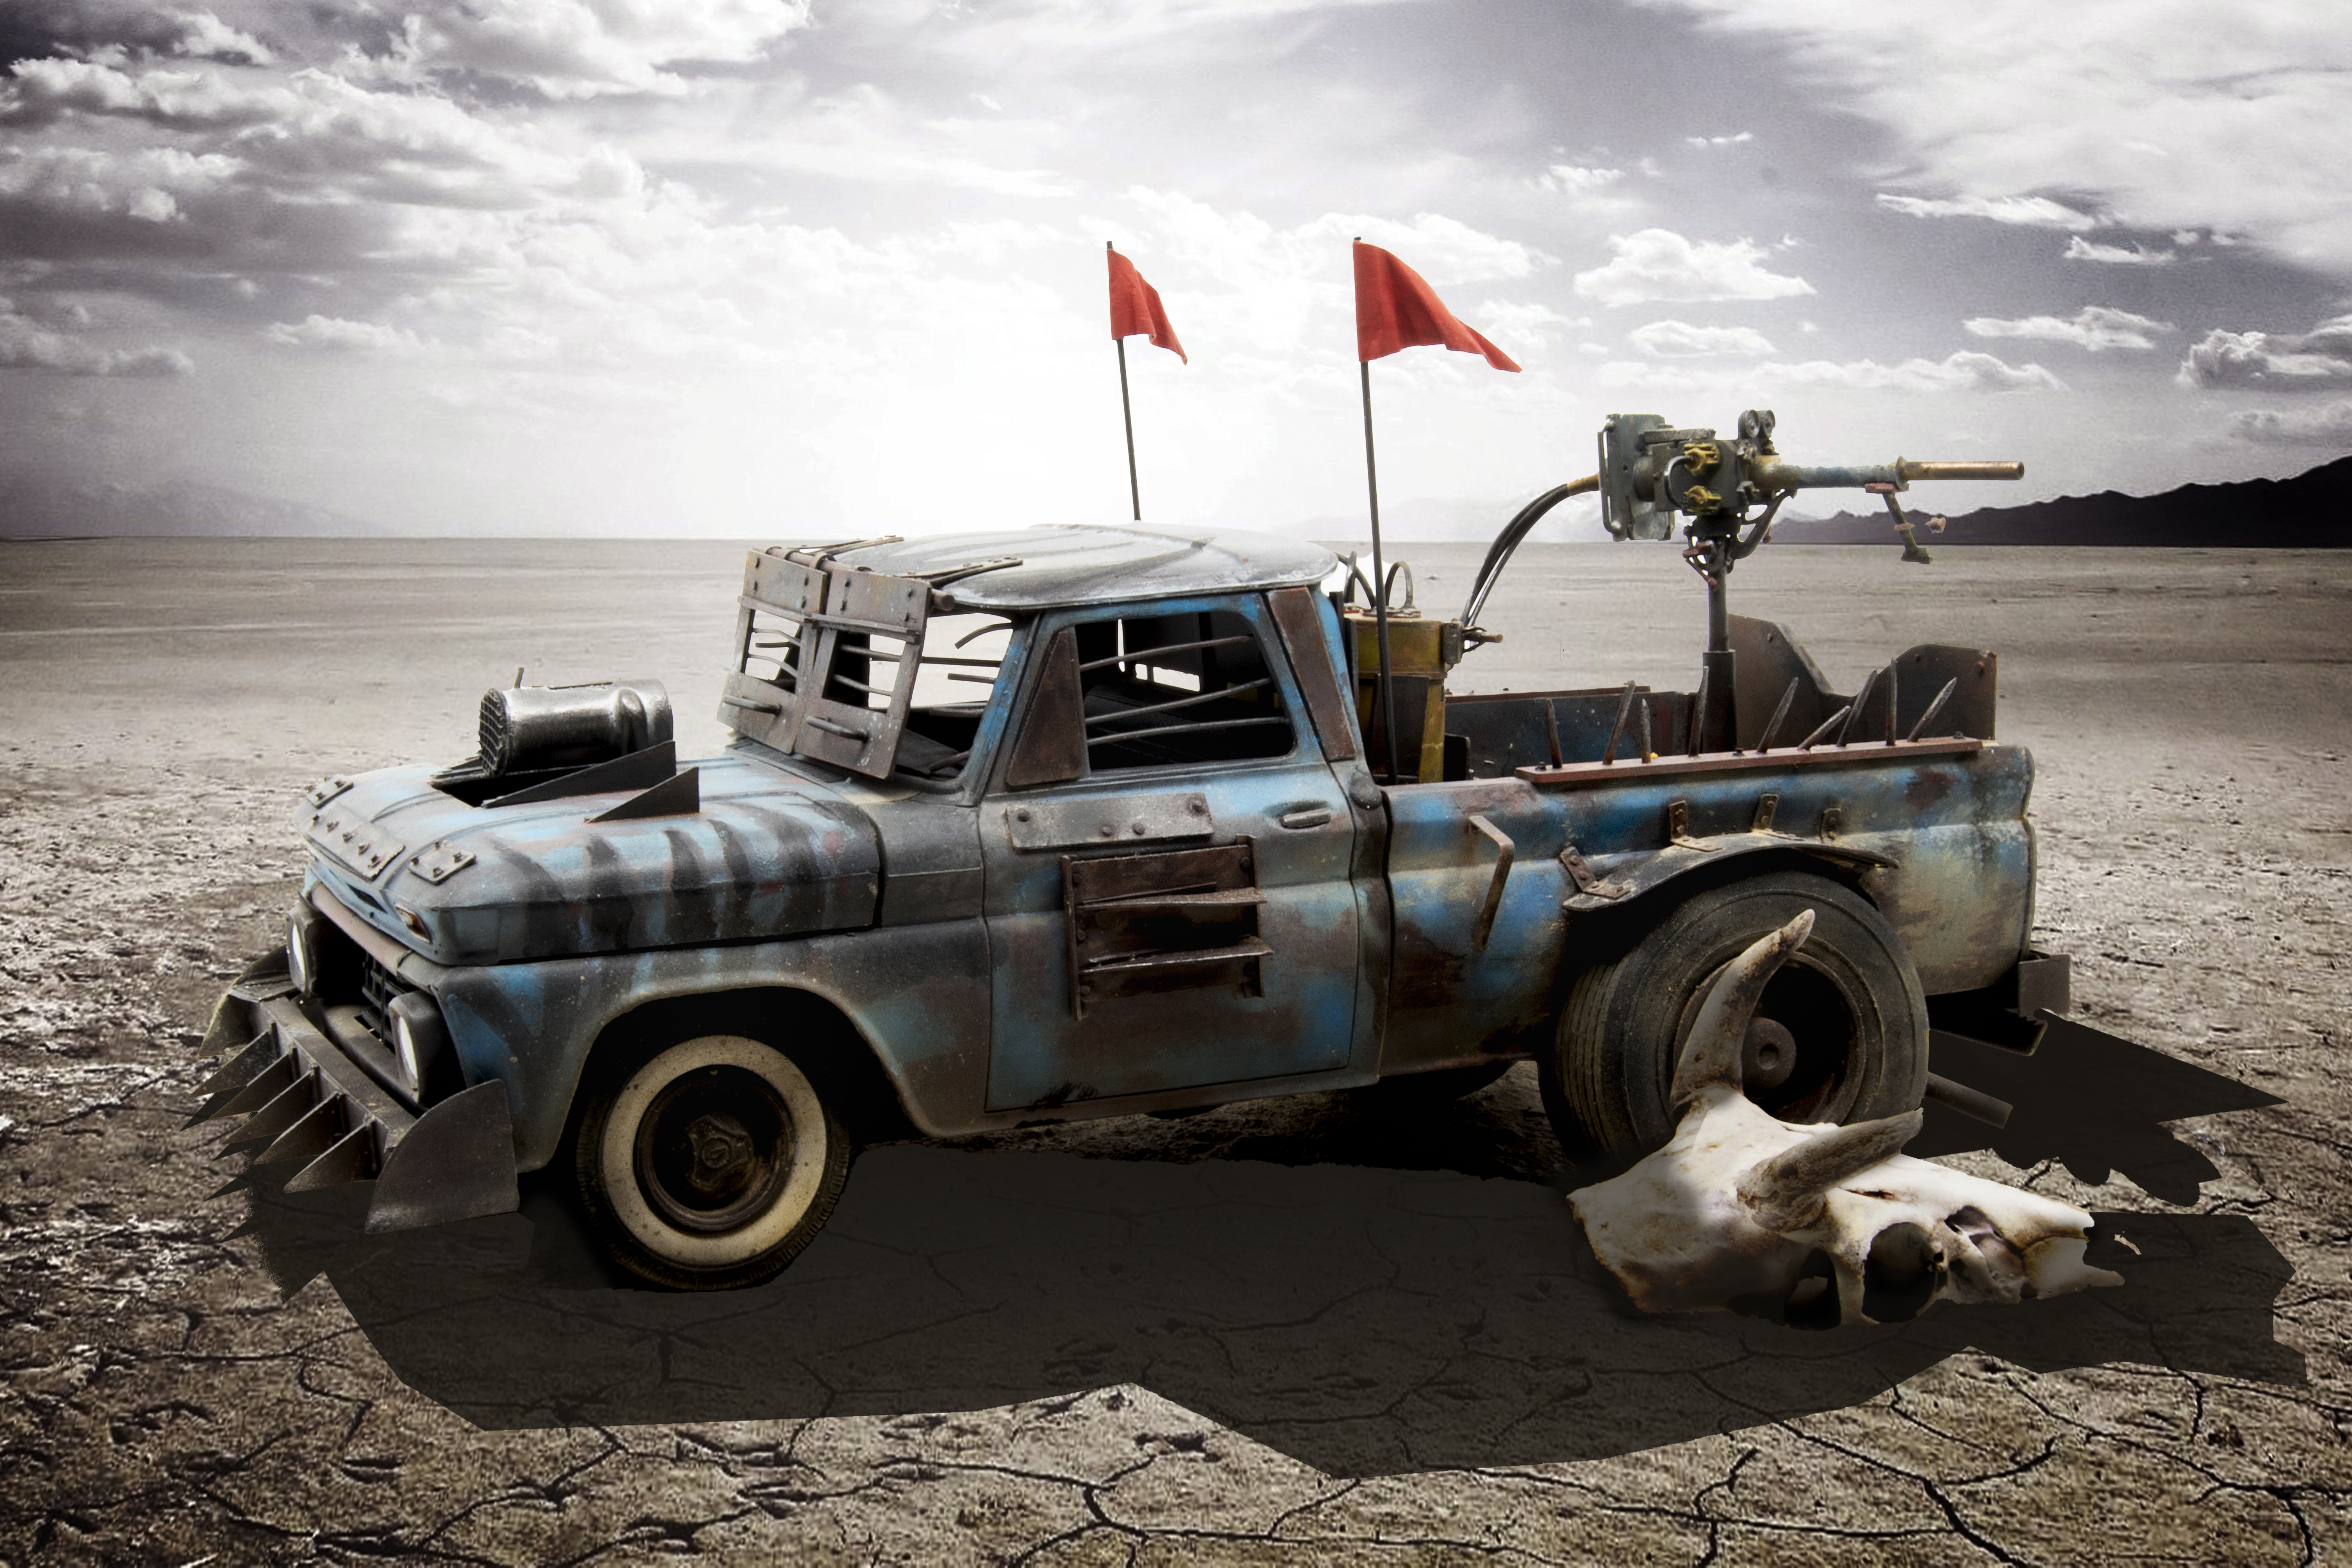
Oils are also used to enhance the effects of the added features such as the steel plates, numbers, and spikes. Polished metal highlights and edges were created using AK True Metal Steel paste. I say paste, as this product is not truly an artists’ oil but more of a buffing agent. The result 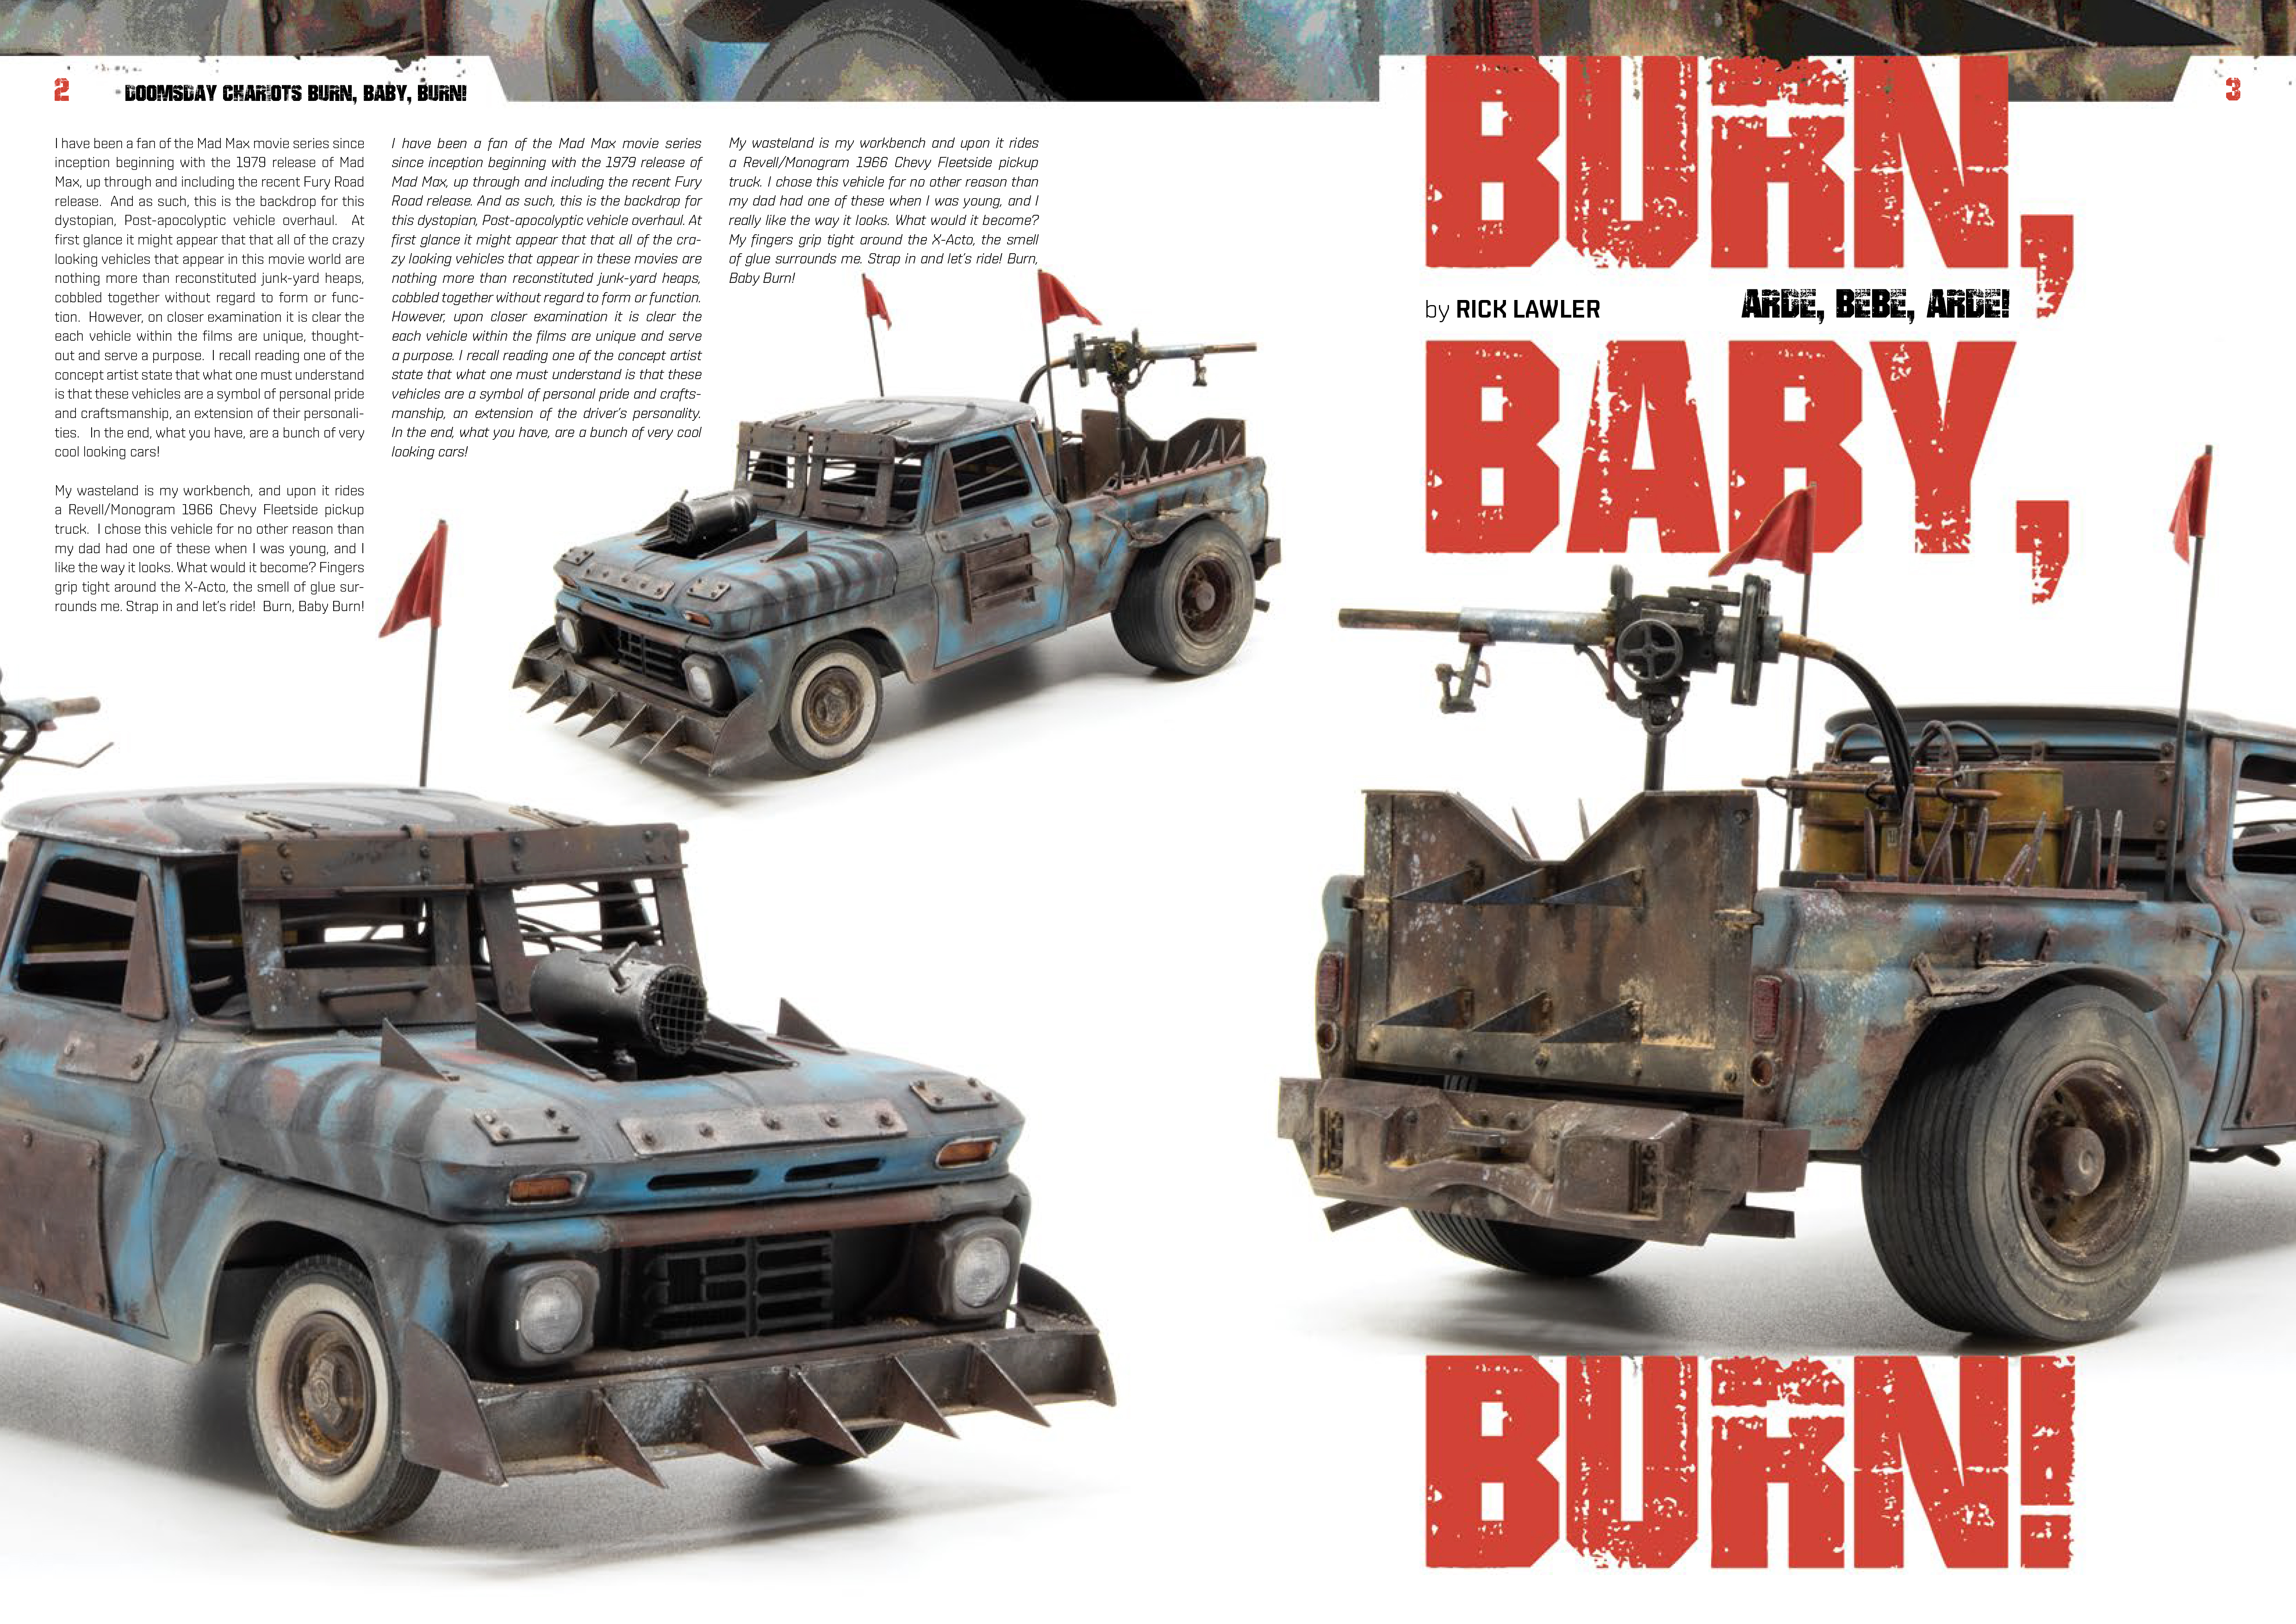 is a realistic polished metal appearance. The gas canisters were painted using AK Real colors Maze Yellow, and then coloration and weathering adding using AK Weathering Pencils. Small tubing (kitbashed) was used to create the plumbing for the flame thrower. In this case I used AK Dark Steel pigment to buff the high wear areas to a realistic metallic finish. For whatever reason, I really felt that my warrior truck needed even more of a flourish with fluttering flags were made from masking tape, painted, and then attached to Evergreen rod. Finally, a light dusting using AK pigments add a gritty touch.


The finished truck sat on my table for almost a day when I decided that I should create a quick, small scenic base. The ingredients laid out and ready. Over the foam board, I apply varying textures using AK Terrains products. This skull is a sample 3D print from my day job that somehow found it’s way onto my workbench…I wonder how that happened? Anyway, as you can see the printed skull didn’t have complete horns and so I created extensions using a brass wire armature and Apoxie Sculpt. Finally, the small scene is incorporated using tan and dust tones to bring it all together.


![]()