
Kharkov StuG
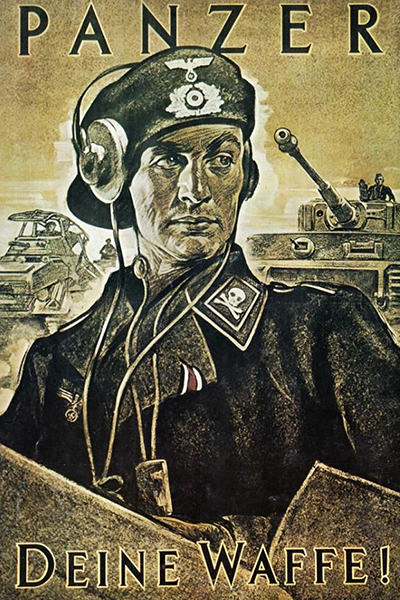 If “sexy” is an appropriate word to use to describe a lethal military vehicle, then the StuG certainly deserves a walk on the modeler catwalk. It’s attractive, low profile, and aggressive wide stance certainly demands a second glance. Add a pair of Ostketten tracks to the outfit and, at least in my eyes, the StuG is a thing of beauty.
When this opportunity came to contribute a StuG for this publication, I had a wide choice of variants and time periods. My decision of which variant to build was almost immediate, I wanted to portray a vehicle from the desperate and pitched Kharkov battles during the winter of 1942-1943. This time frame led to a number of choices, in the end, I decided upon the StuG III f/8 variant as produced by Dragon.
The Ausf. F production of the StuG III began March, 1942 and was a direct reaction to the war experiences for the need to find a foe to combat Russian tanks, specifically the T-34. Equipped with the high velocity of 7.5 cm StuK 40 L/43 long barrel gun, the upgraded platform proved to be an instant influence on the battlefield. The Ausf. F/8 version of the StuG appeared in September of 1942. The name is derived from the chassis version of the Panzer III upon it was based, the 8th, or Ausf J/L. The F/8 entered production armed with the new 7.5cm StuK 40 L/48, which had a greater impact against the most common tank of the time, the T34. The new hull featured a redesigned rear-plate, with larger louvers to improve engine cooling. which jutted slightly forward of the front of the hull, and were drilled with holes for towing. Initially designed to be a welded plate of front armor, during the production run of the F/8 the extra armor went from being welded in place to being bolted on, in order to save production time.
The kit used for this project is from Dragon, initially released some years ago, a time when Dragon ruled the 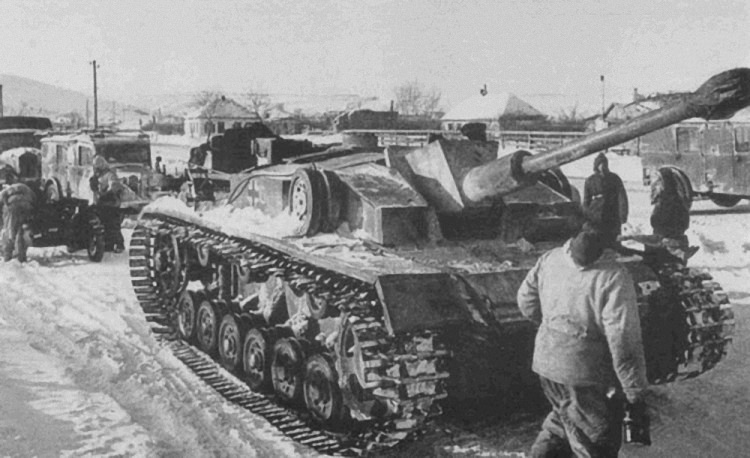 modeling world. The kits from this era (especially the StuG’s) are still unbeatable when it comes to detail and ease of assembly. This F/8 version is now out of production and was somewhat difficult to come by, but luckily we live in the internet era and with some persistence, I was able to source
 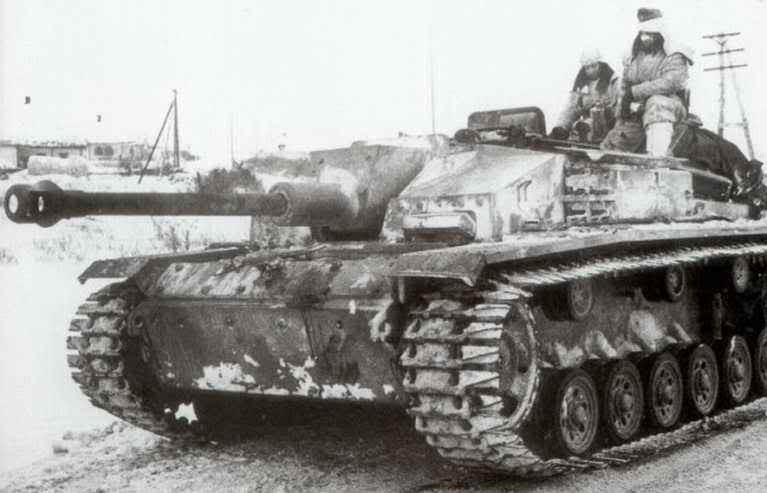 a kit. I wanted this to be a special build, and with that in mind, I also purchased a set of photo-etched fenders and tool clasps, both from Aber, along with a set of Fruilmodel Winterketten metal tracks. As you will see my plans changed a bit once faced with the realities of construction and decided to omit the PE fenders.
As you look through the pictures and read my descriptions you might sense that at some points this project seems, how shall I say it, less than thought-out. – maybe even disjointed. For me, this is my style, and how I tend to work, whether I like it or not. My method is a lot of back and forth. My intention is to show a winter warrior as might be seen during the time of the 3rd Battle of Kharkov, 1943. My hope is to present a balanced finish within the working elements; vehicle damage, dirt, mud, snow, and rust, while resisting my natural urge to take effects to the extreme. In most cases (as with this project) I will approach a subject with a concept, or idea of how it will finally appear. This concept then helps guide me as I decide how to approach the project; whether or not I will need to use photo-etch, scratch build parts, the types of paints and weathering that I use – and so on. However, what tends to happen is that the project begins to take on a life of it’s own, and there are times when I’m compelled to listen to what the models is telling me; what it is calling-out for, what is needed – and often most importantly what isn’t necessary.
Let’s get to it.
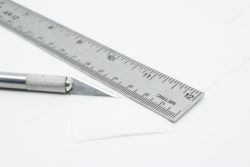
As mentioned, I had initially planned (and purchased) to install a set of photo-etch fenders as I feel that there is nothing better than the appearance of bent and dented metal than, well, real bent and dented metal. However, even with my best efforts, I could not manage to make them fit properly onto the hull. Therefore, I reverted to my backup plan which is to alter the kit parts. To do this, I begin by scoring the various panels and joins along the fender with a sharp blade so that they will be easier to manipulate. The thickness of the plastic with these fenders is not too great, therefore I didn’t feel the need to thin the parts before manipulation.


I then pull and push the plastic to simulate dents and bends along the length of the fenders. It’s important that the pliers that you use are flat, that is that they do not have any raised grip pattern, otherwise you will simply emboss the plastic with that pattern. Patience is key here as I try to show normal wear and tear, but not rips and breaks in the plastic parts. Generally the cleaning and assembling the wheels is a tedious task, which it is, and so I always feel a sense of accomplishment once I have completed this step. In this case, the nice fit and wonderful detail of the Dragon parts provide a worthwhile reward. I’ll leave the wheels separate for now and install them after painting.
I feel that most modelers must be more organized than me, knowing their end goal 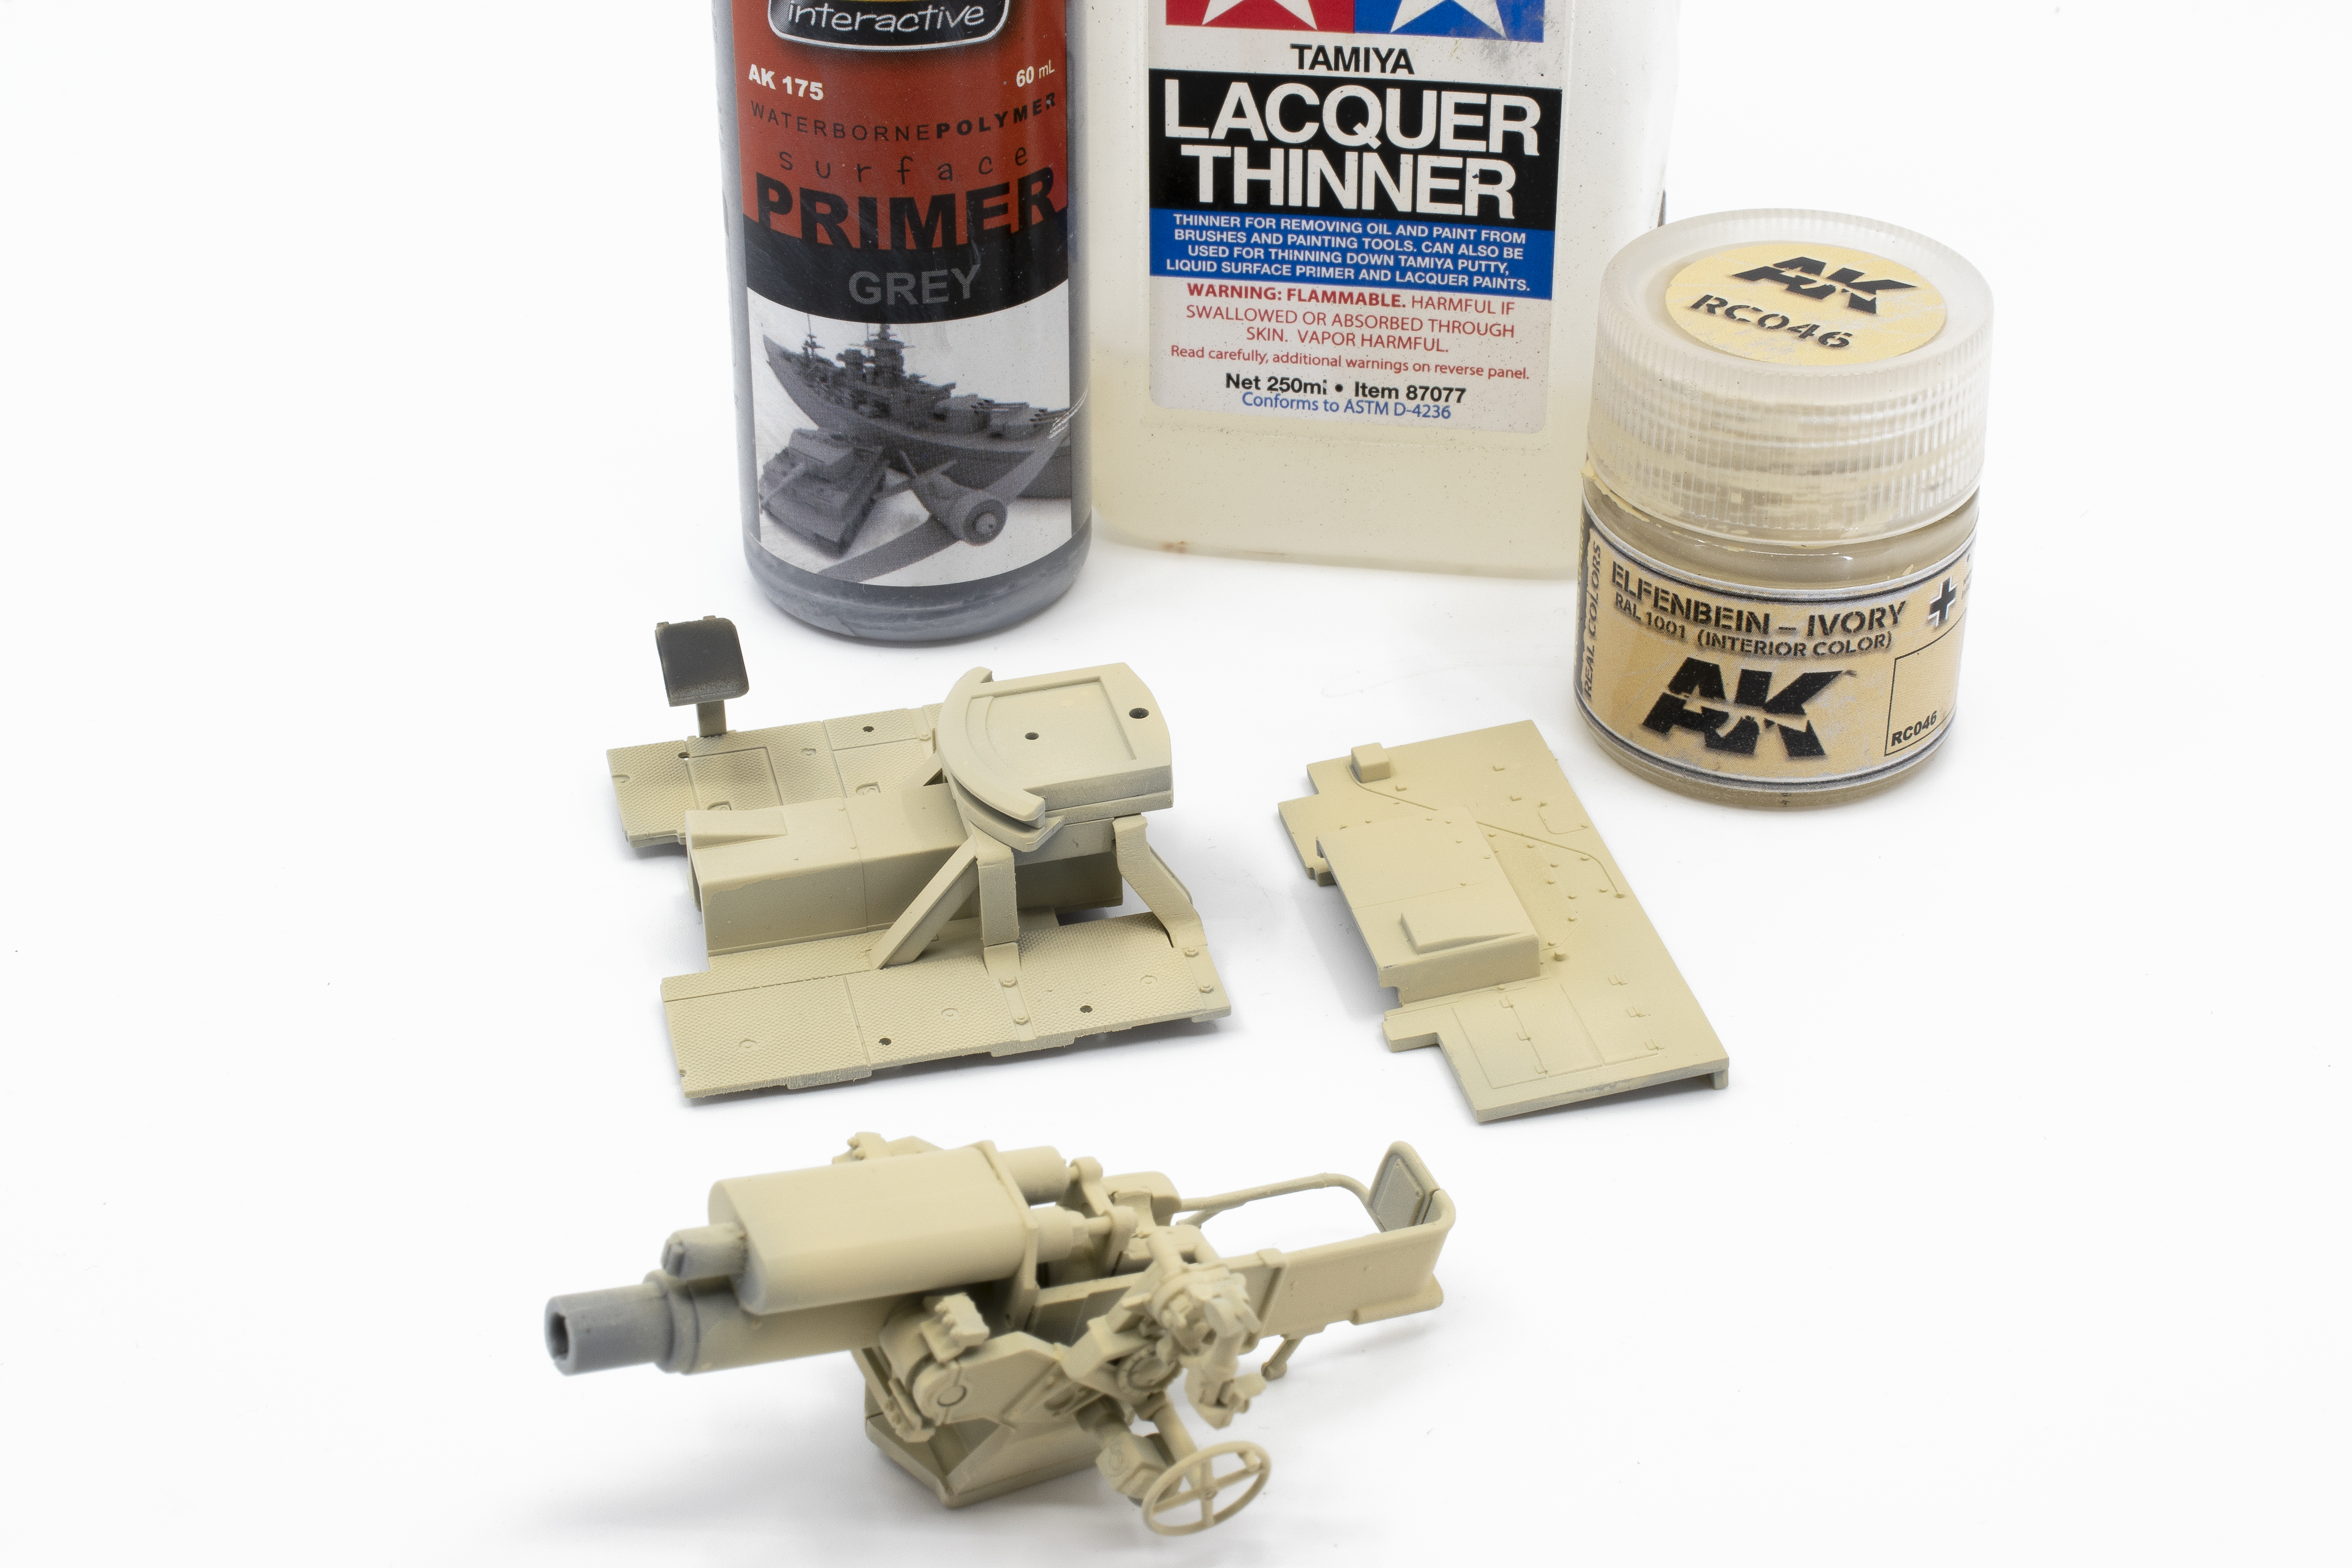 even before the box is opened. However, that’s not me. At this point, I’m still undecided if I will leave the hatches opened or closed. Therefore, the interior parts are painted, along with the subsequent weathering in anticipation of a peek inside. In the end, I will decide that the hatches would remain closed and all of this will be hidden. Regardless, I still enjoyed the painting.
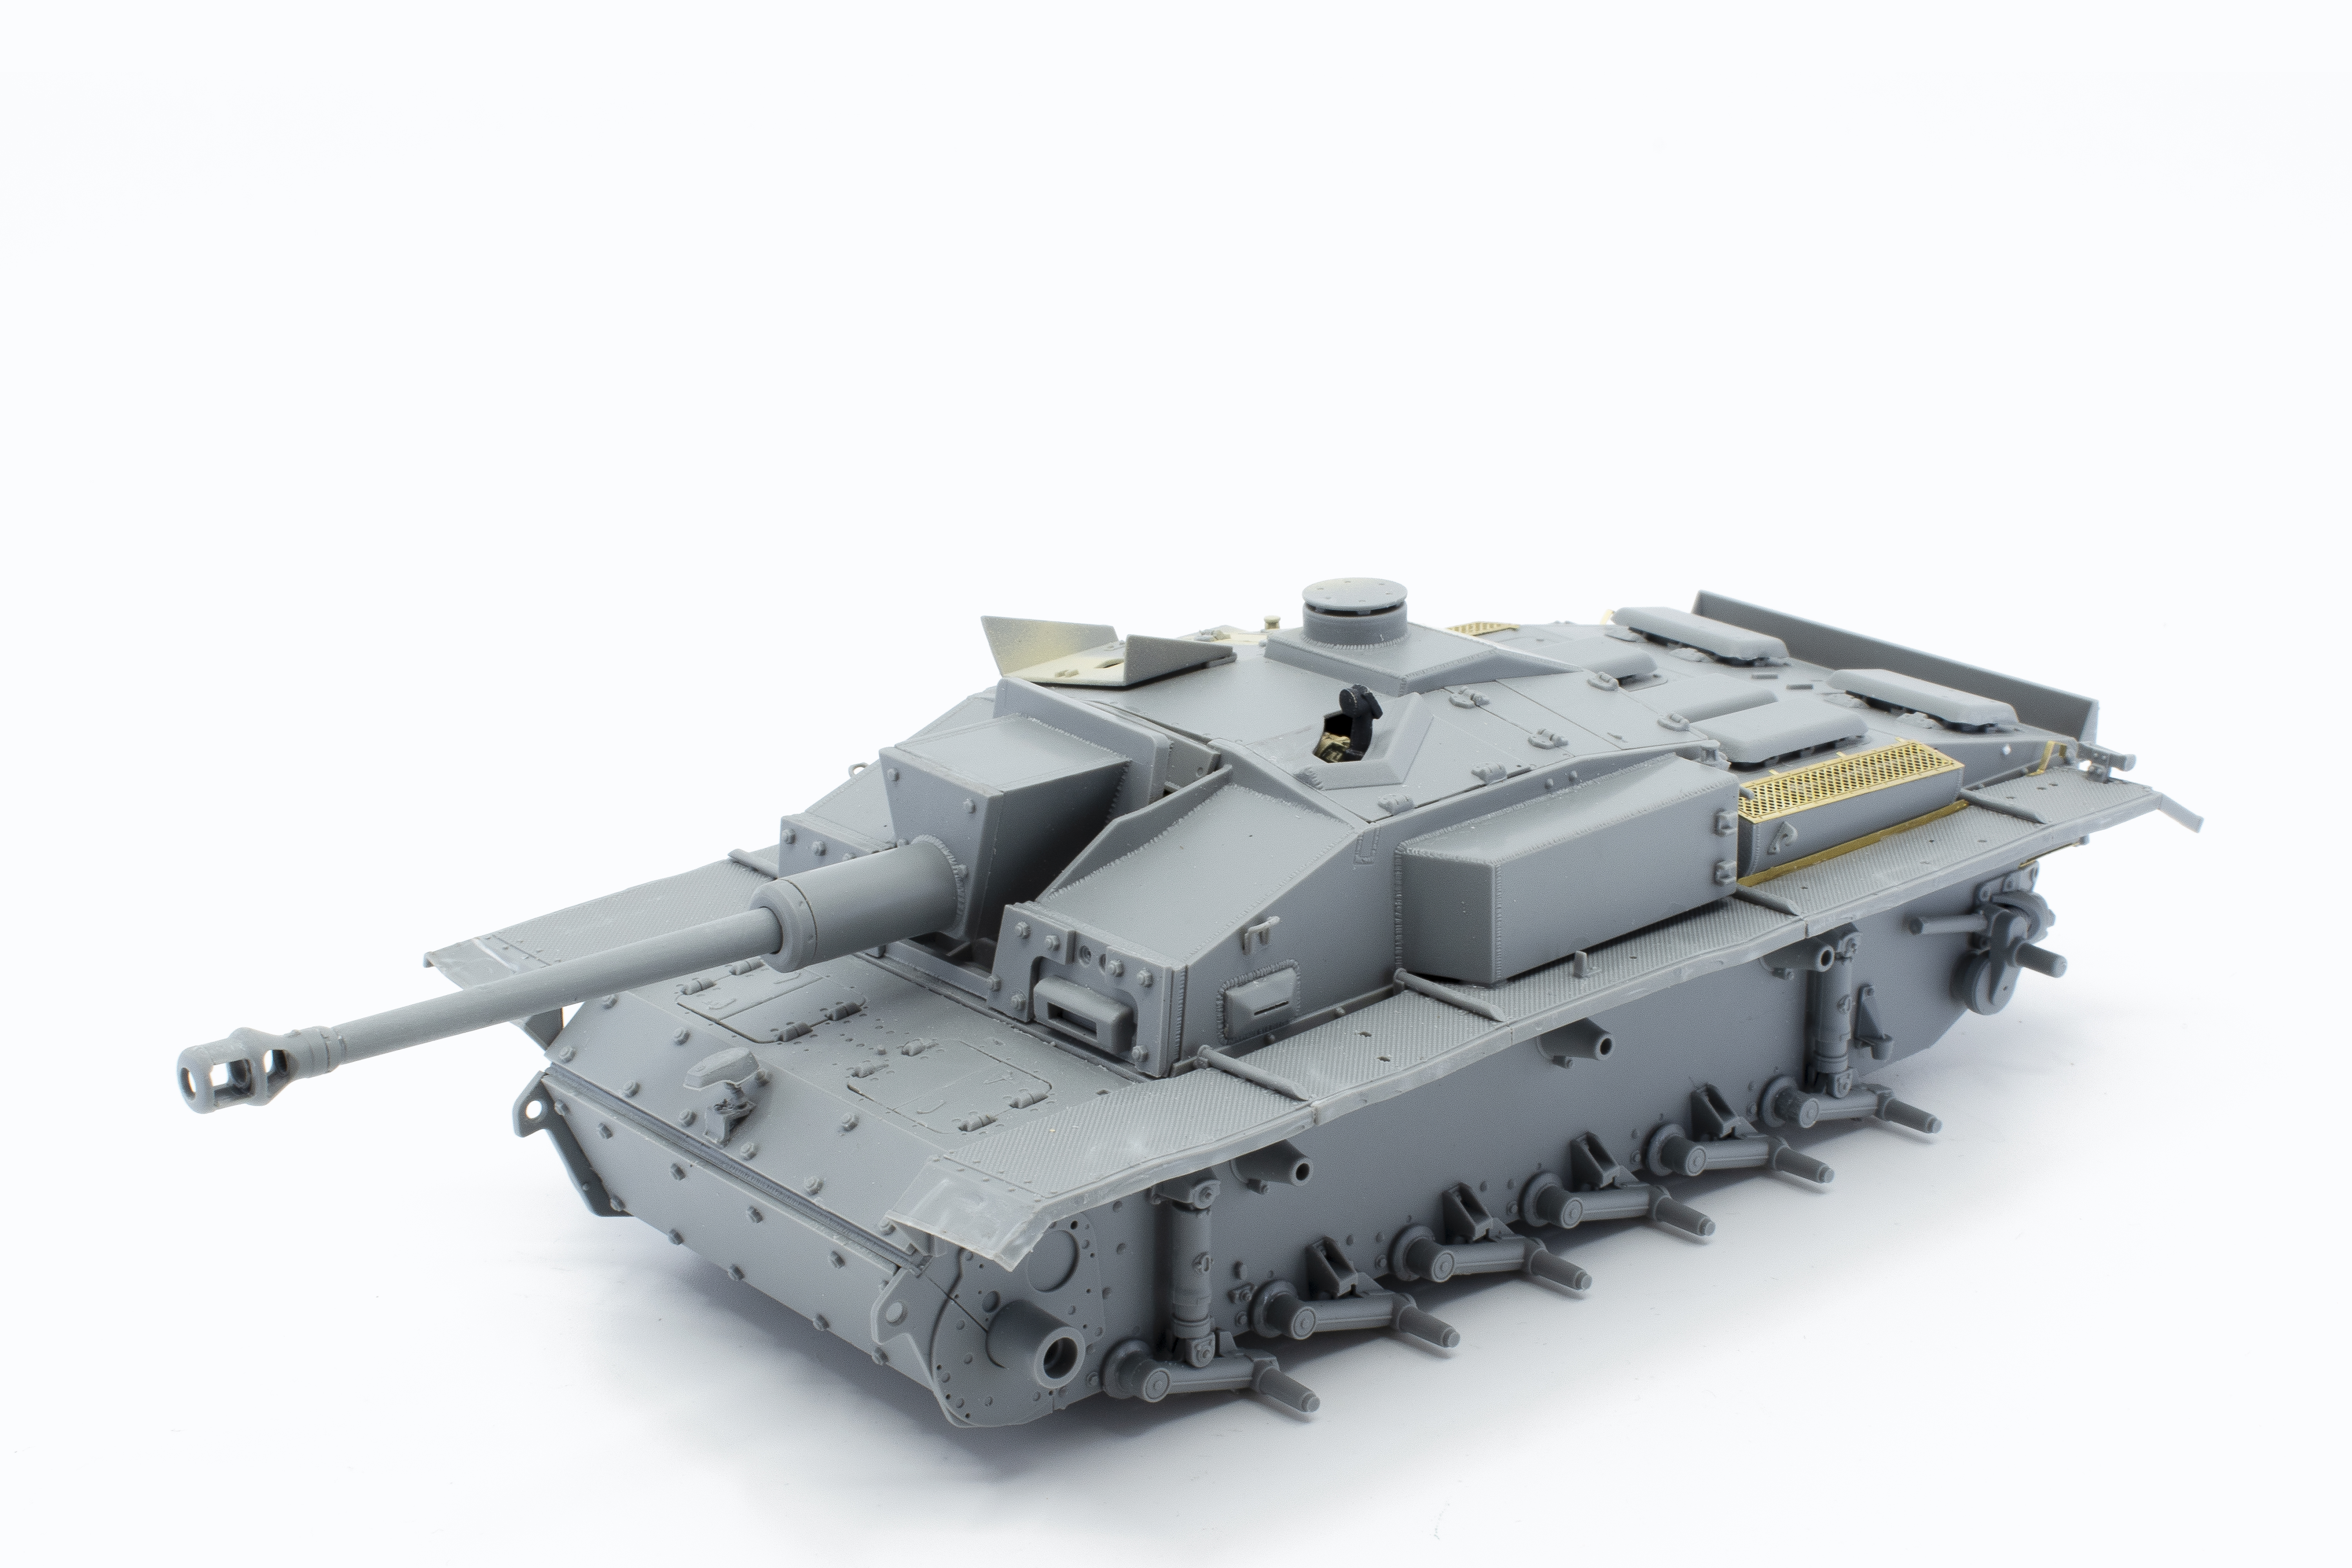 Here is the all-important beauty shot of the mostly completed kit. Due to my change of heart regarding the photo-etched fenders, the kit is built nearly straight built from the box with the exception of the replacement of the molded grab handles with brass wire.
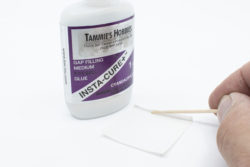
17 jpg_StuG_Rick – According to one of the reference photos, there appears to be a small field modification, the installation of a small steel bar to hold a couple of track links to no doubt up-armor the shot-trap in the corner of the casement. I am using a small section of Evergreen strip, cut to length, and then glued into position. Welding marks are made using thin strips (.10) of Evergreen brushed with liquid cement to soften and then textured using my blade tip.
This is the part of any project that I really look forward to; final assembly and ready for paint. 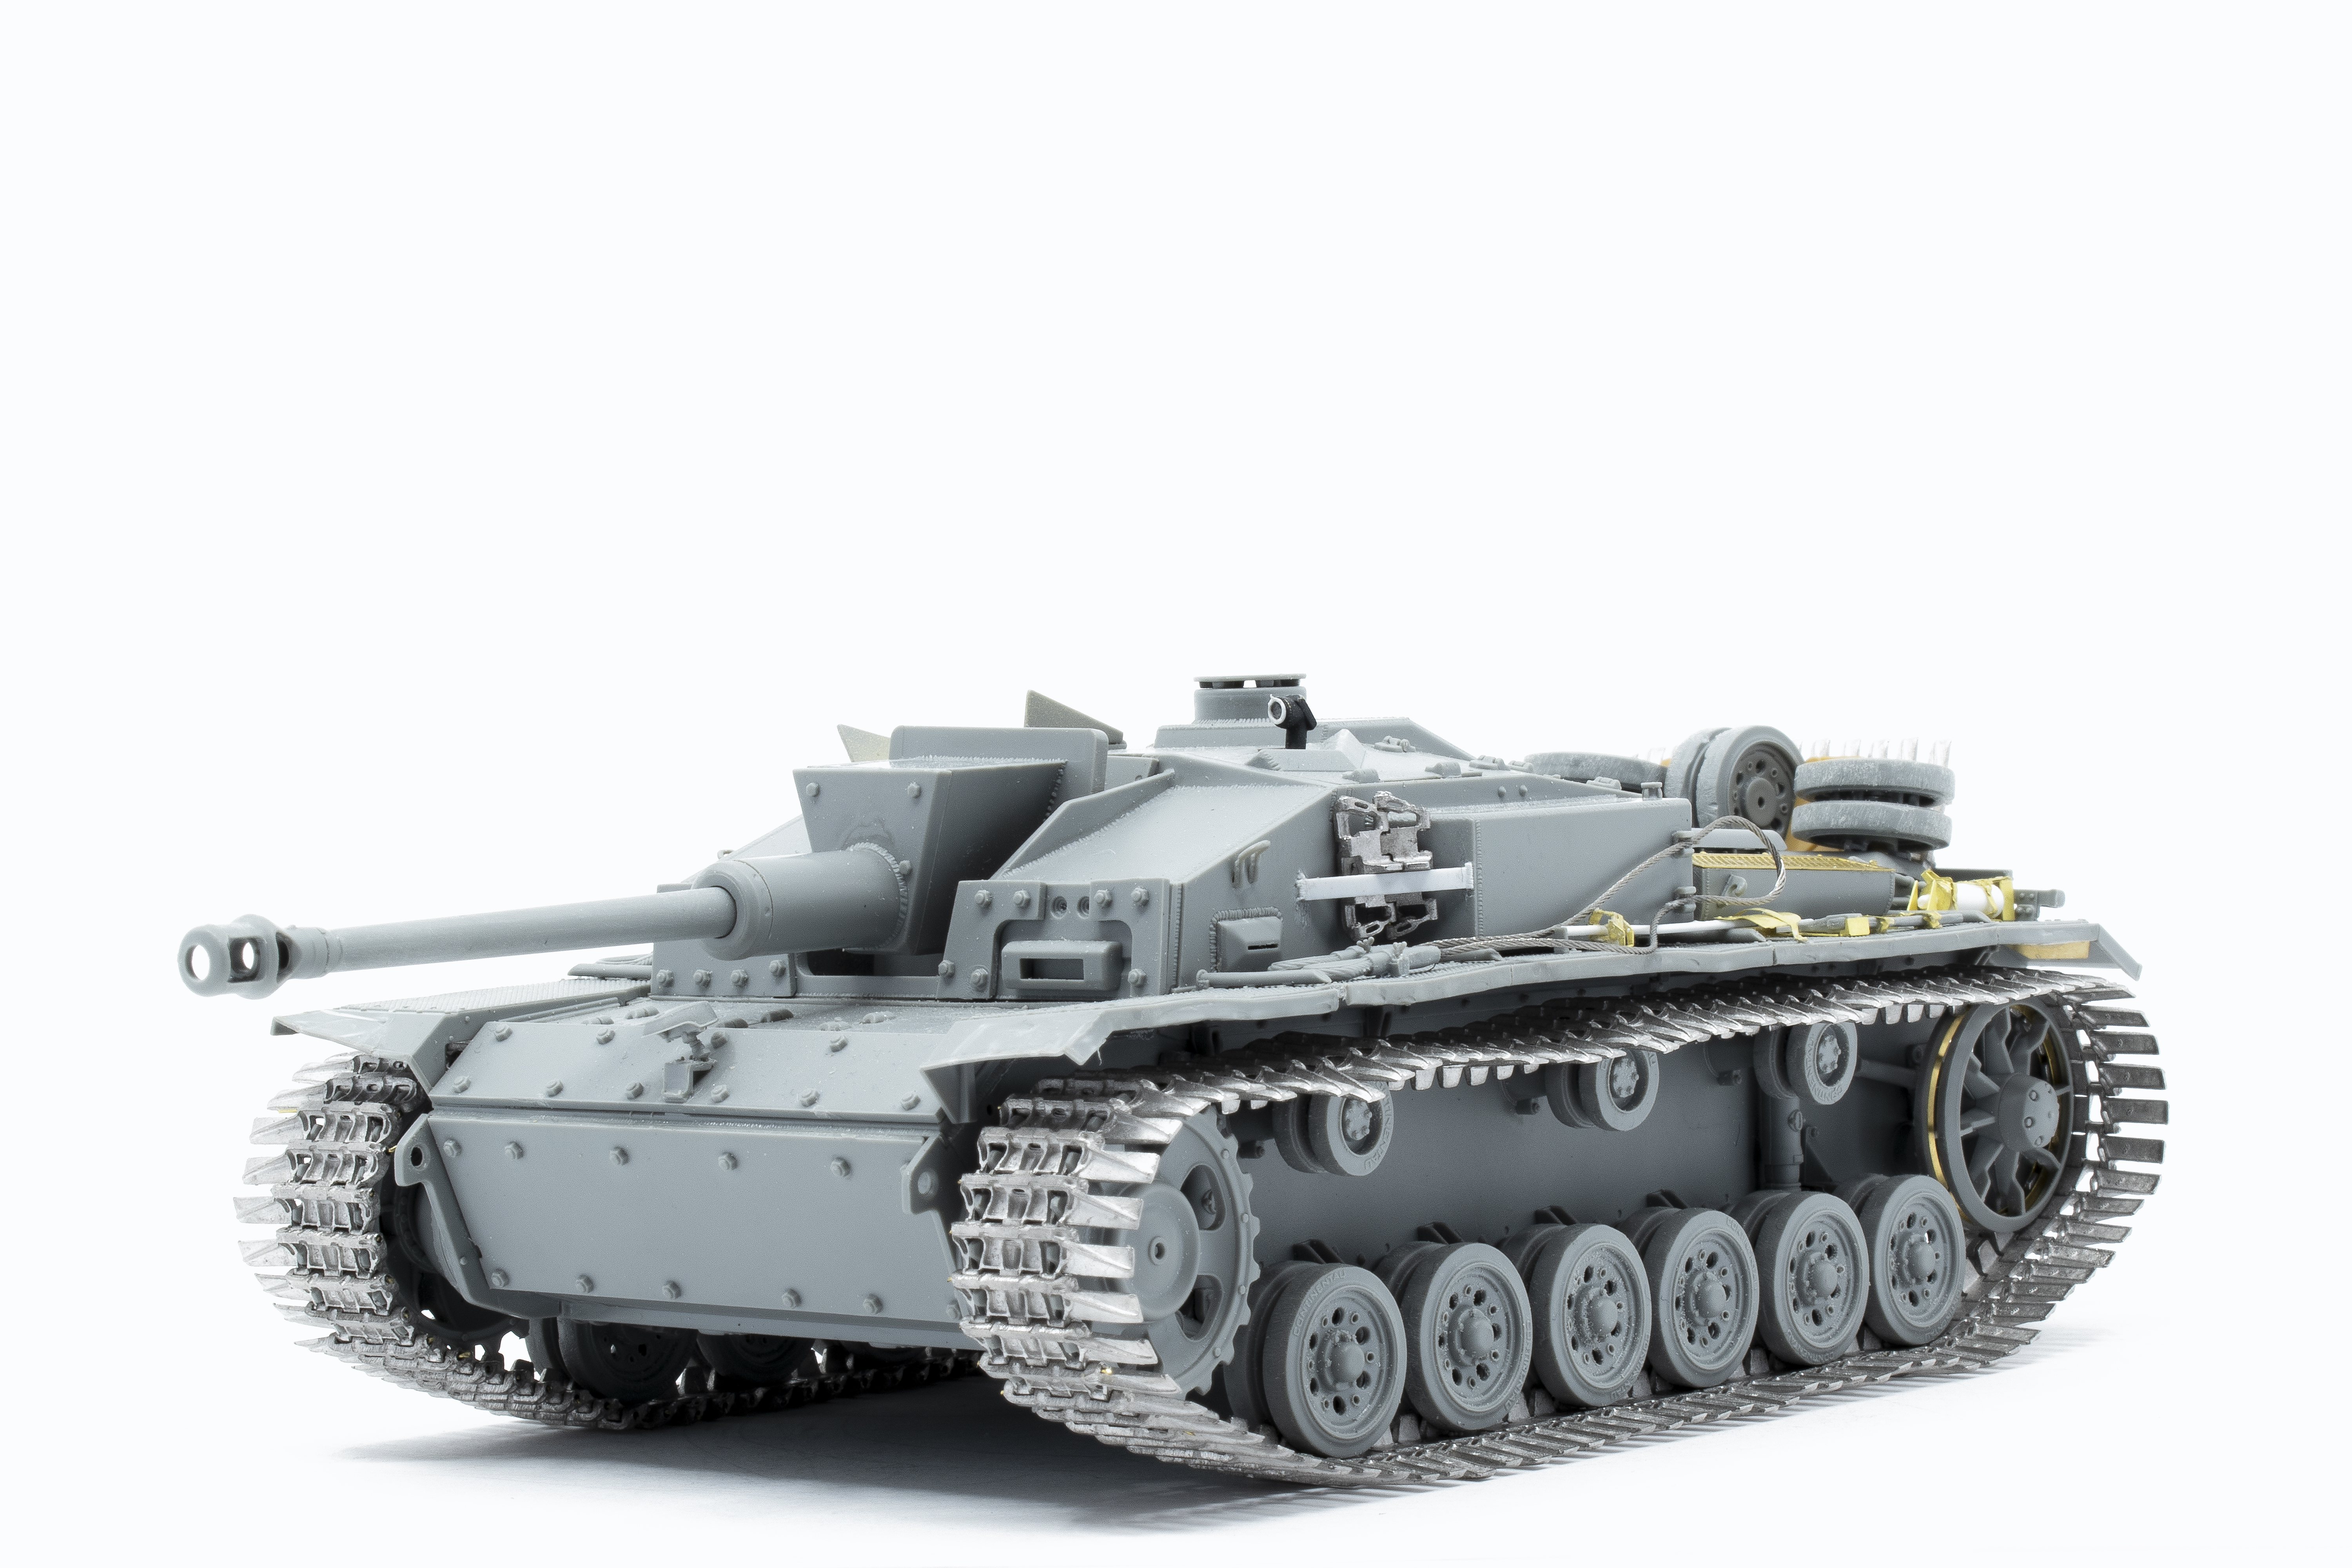 As you can see, the kit is now adorned with Fruilmodel Winterketten tracks and Aber photo-etch has replaced most of the tool holders and clasps. I used a couple of links of parts box Pz IV tracks as the added armor to the casement corners.
Using a primer layer before painting is generally a good idea, but it is an especially good idea when the project is of mixed-media, as is in this case. The primer provides a unified surface for better paint adhesion over both the plastic and photo-etched parts.
Given the time frame of this vehicle, winter 1942-43, there is some leeway as to the vehicles’ base color. The order to change from Dunkelgrau to Dunkelgleb was given during February of 1943, which indicates that most of the vehicles involved in the Kharkov battles would be painted Dunklegrau. However, units assigned to Army Group South operating in Ukraine, including 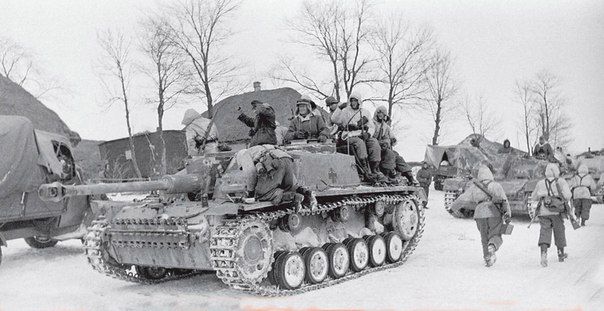 Stalingrad and Kharkov, entered service painted in Tropical Dunkelgleb, RAL 8000. That said, I went ahead and painted my StuG using Dunkelgleb 7028 using AK Real Colors thinned with lacquer since that is what I had at hand. I didn’t lighten the base as is my usual practice and trusted that future weathering steps would serve to darken the base color to something closer to RAL 8000.
Once the base color has dried I apply a layer of acrylic gloss over the entire model in preparation for the chipping stage. In my experience not only does the clear coat protect the base layer, but it aids in more predictable chipping. This is followed by a layer of hair spray. Of course, any of the various hobby specific chipping fluids could also be used with similar results. For the worn whitewashed appearance, I begin by adding an inconsistent layer of white using Tamiya paints thinned with water. I prefer to use water (versus lacquer thinner) as a thinning agent for this purpose. Keep in mind that paints thinned with lacquer hold much stronger to the surface and are much more difficult to remove during the chipping process.


Now the fun begins, chipping. I usually begin the action using a medium-stiff brush dampened in water. As I move through the process I will often switch brushes, (softer, smaller, stiffer, etc.), depending upon the effects that I am trying to achieve. Once finished, I use these chips as a guide or starting point upon which I continue to enhance and amend the results. In this step, I am applying thinned Vallejo acrylic paint to certain areas to reinforce the whitewash areas. This is a useful technique in order to refine what can be sometimes an overly random, or perhaps visually unpleasant outcome of the chipping process. Keeping with the same thought of amending, I use a sponge tinted with paint to add a few small flecks of the whitewash. I find this approach particularly useful to show different types of chips to tools and other fittings. Details are painted out using Vallejo colors. As you can see here, the chipping of the whitewash provides a wonderful basis upon which to continue to add color and effects.


I continue painting/weathering by enhancing the Dunkelgleb color using varying mixtures 502 Abteilung faded yellow, yellow ocher, and brown colors. By changing brush strokes (dry brush) I’m able to use these same colors to create small scratches along edges.
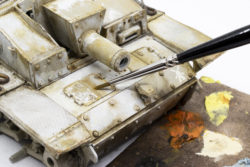
The key to using oils, and weathering in general, is to do the work in logical areas. The engine access hatches, for instance, would see a quite a bit of use by the crew. As such, most of the whitewash has been removed from this area and I have reinforced the yellow and dirty brown tones around the hatches. This attention provides a nice contrast to the whitewashed areas of the front hull. In a similar manner, areas of whitewash are reinforced using white, or near white oil paints. This step adds areas of brightness to the model as well as interest and added contrast.
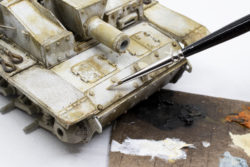
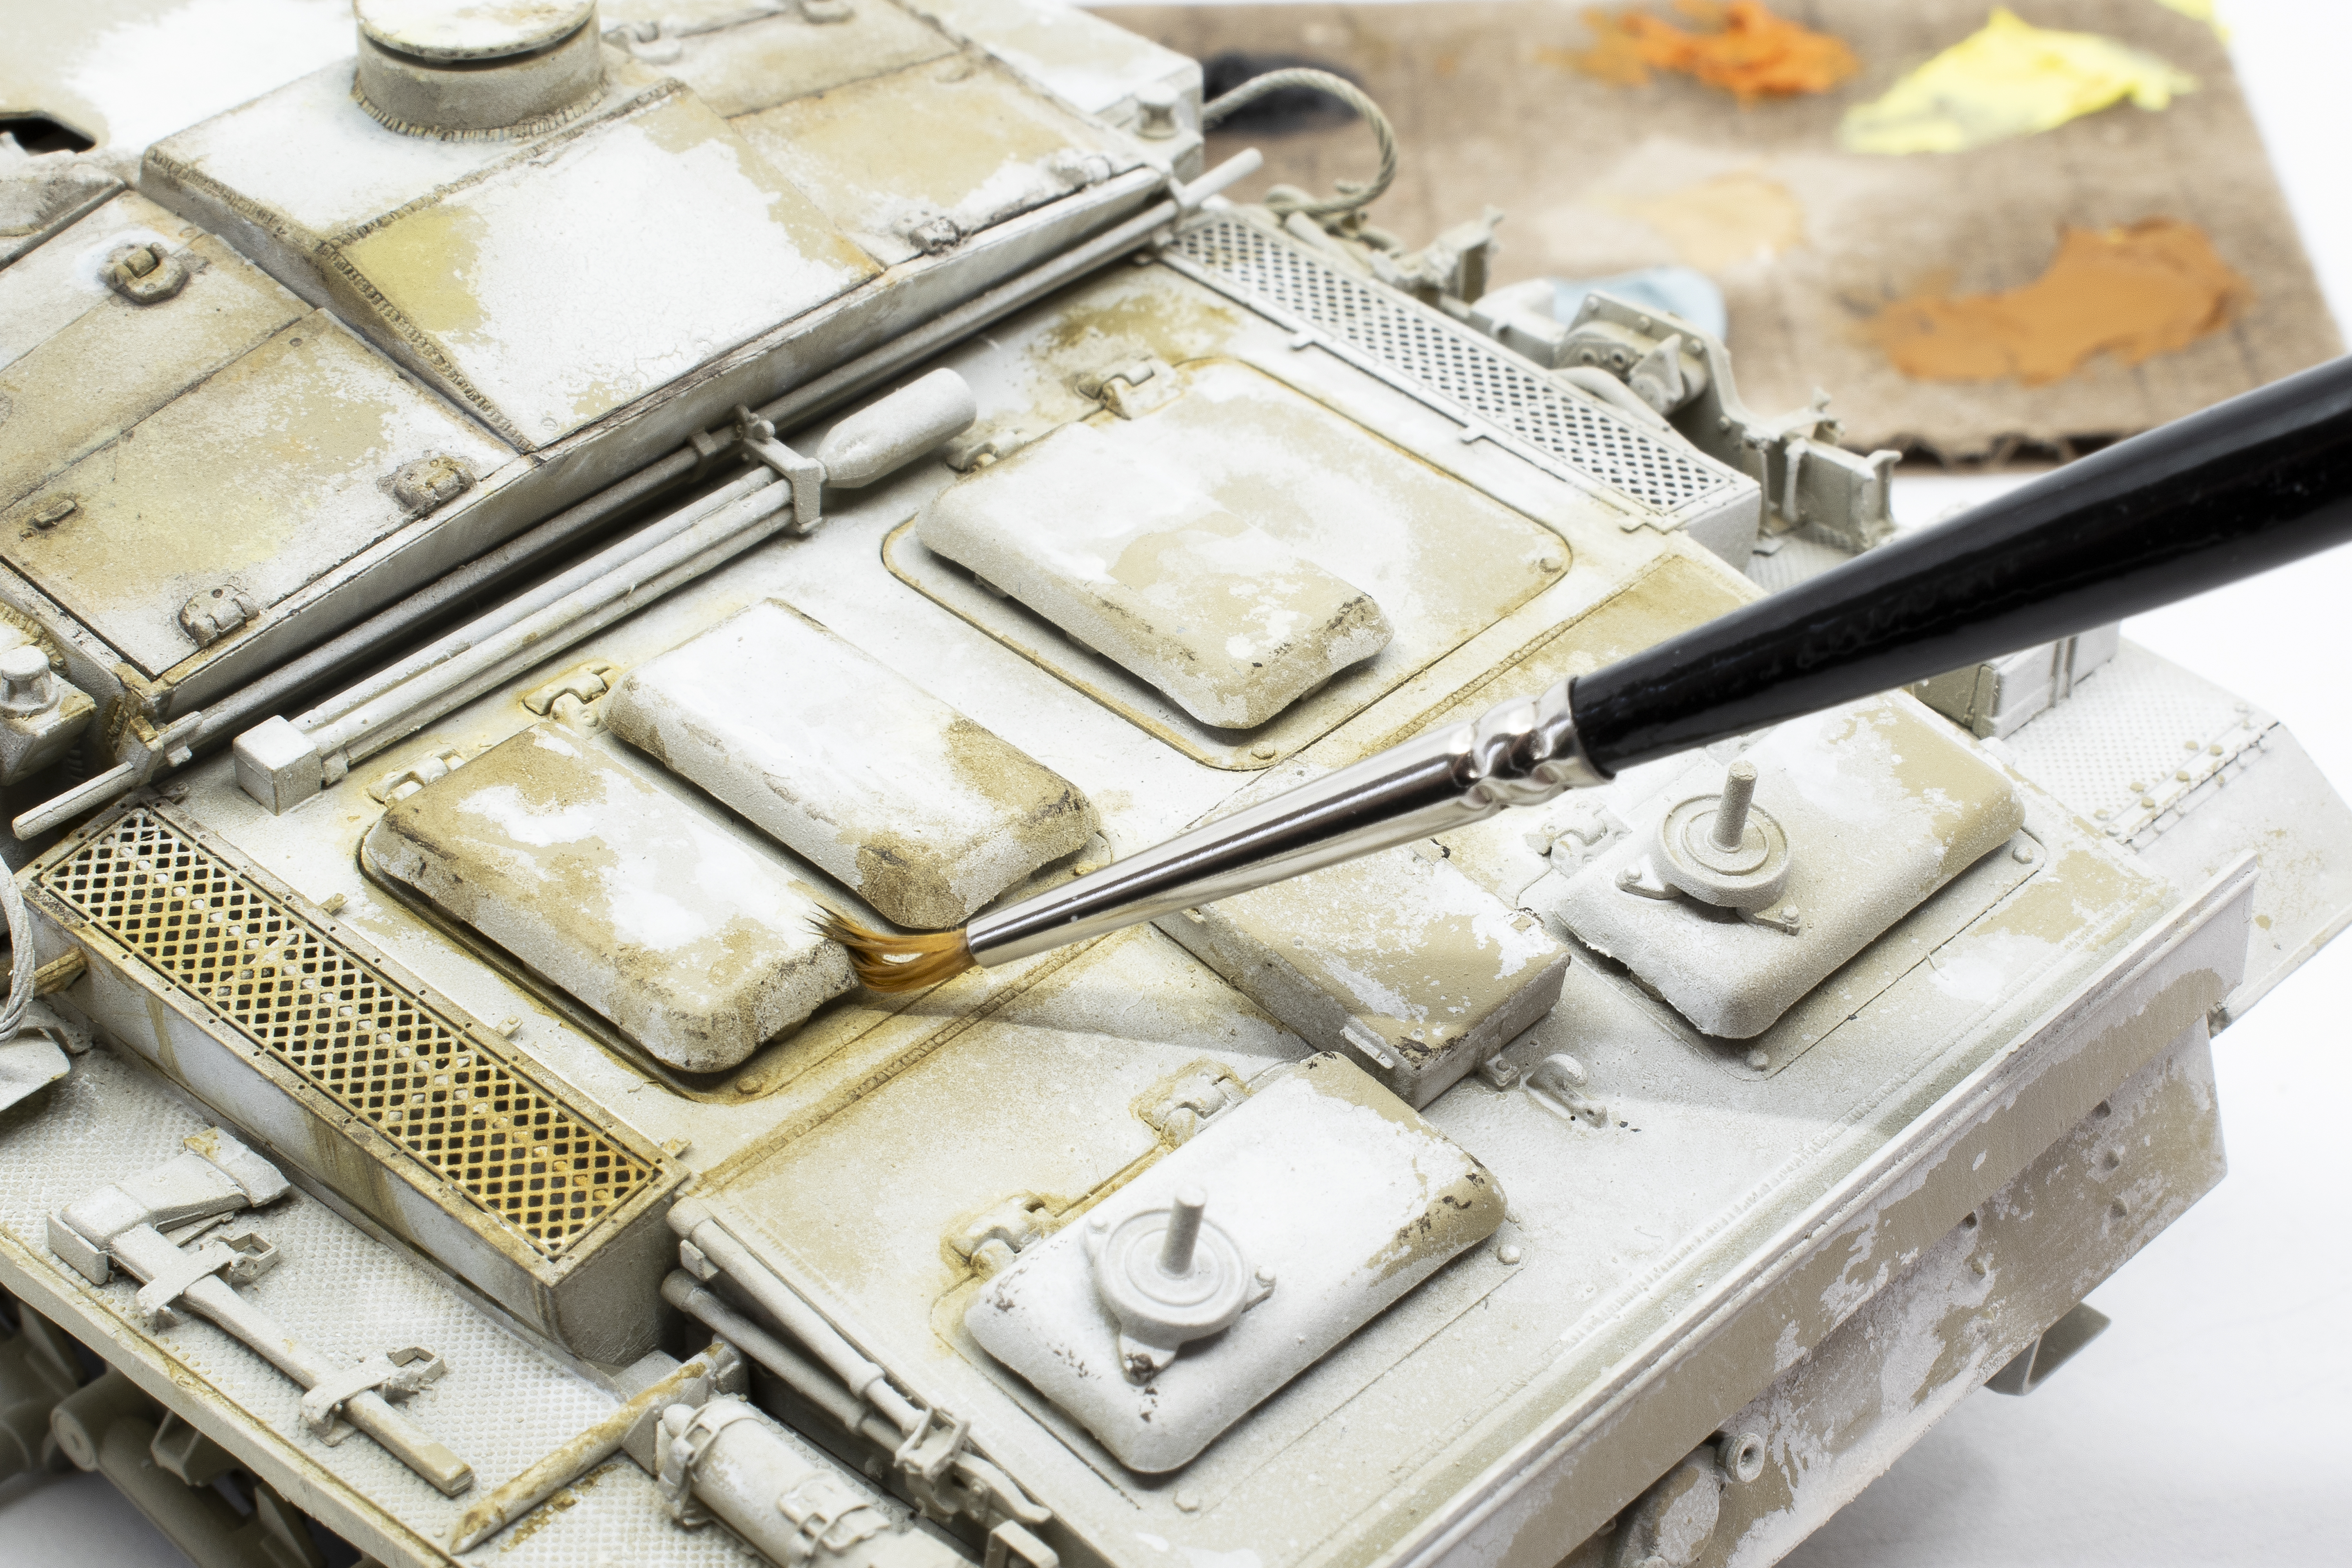 I continue to work with artists’ oils around the model. I find it especially important to emphasize the edges of the plates and panels so as to help define the outline of the vehicle.
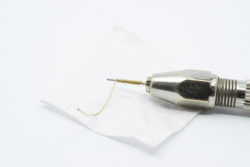
There is nothing like a set of metal, workable tracks to kick any project up a notch or two. In this case, I am using Fruilmodel Winterketten tracks to provide the stylish footwear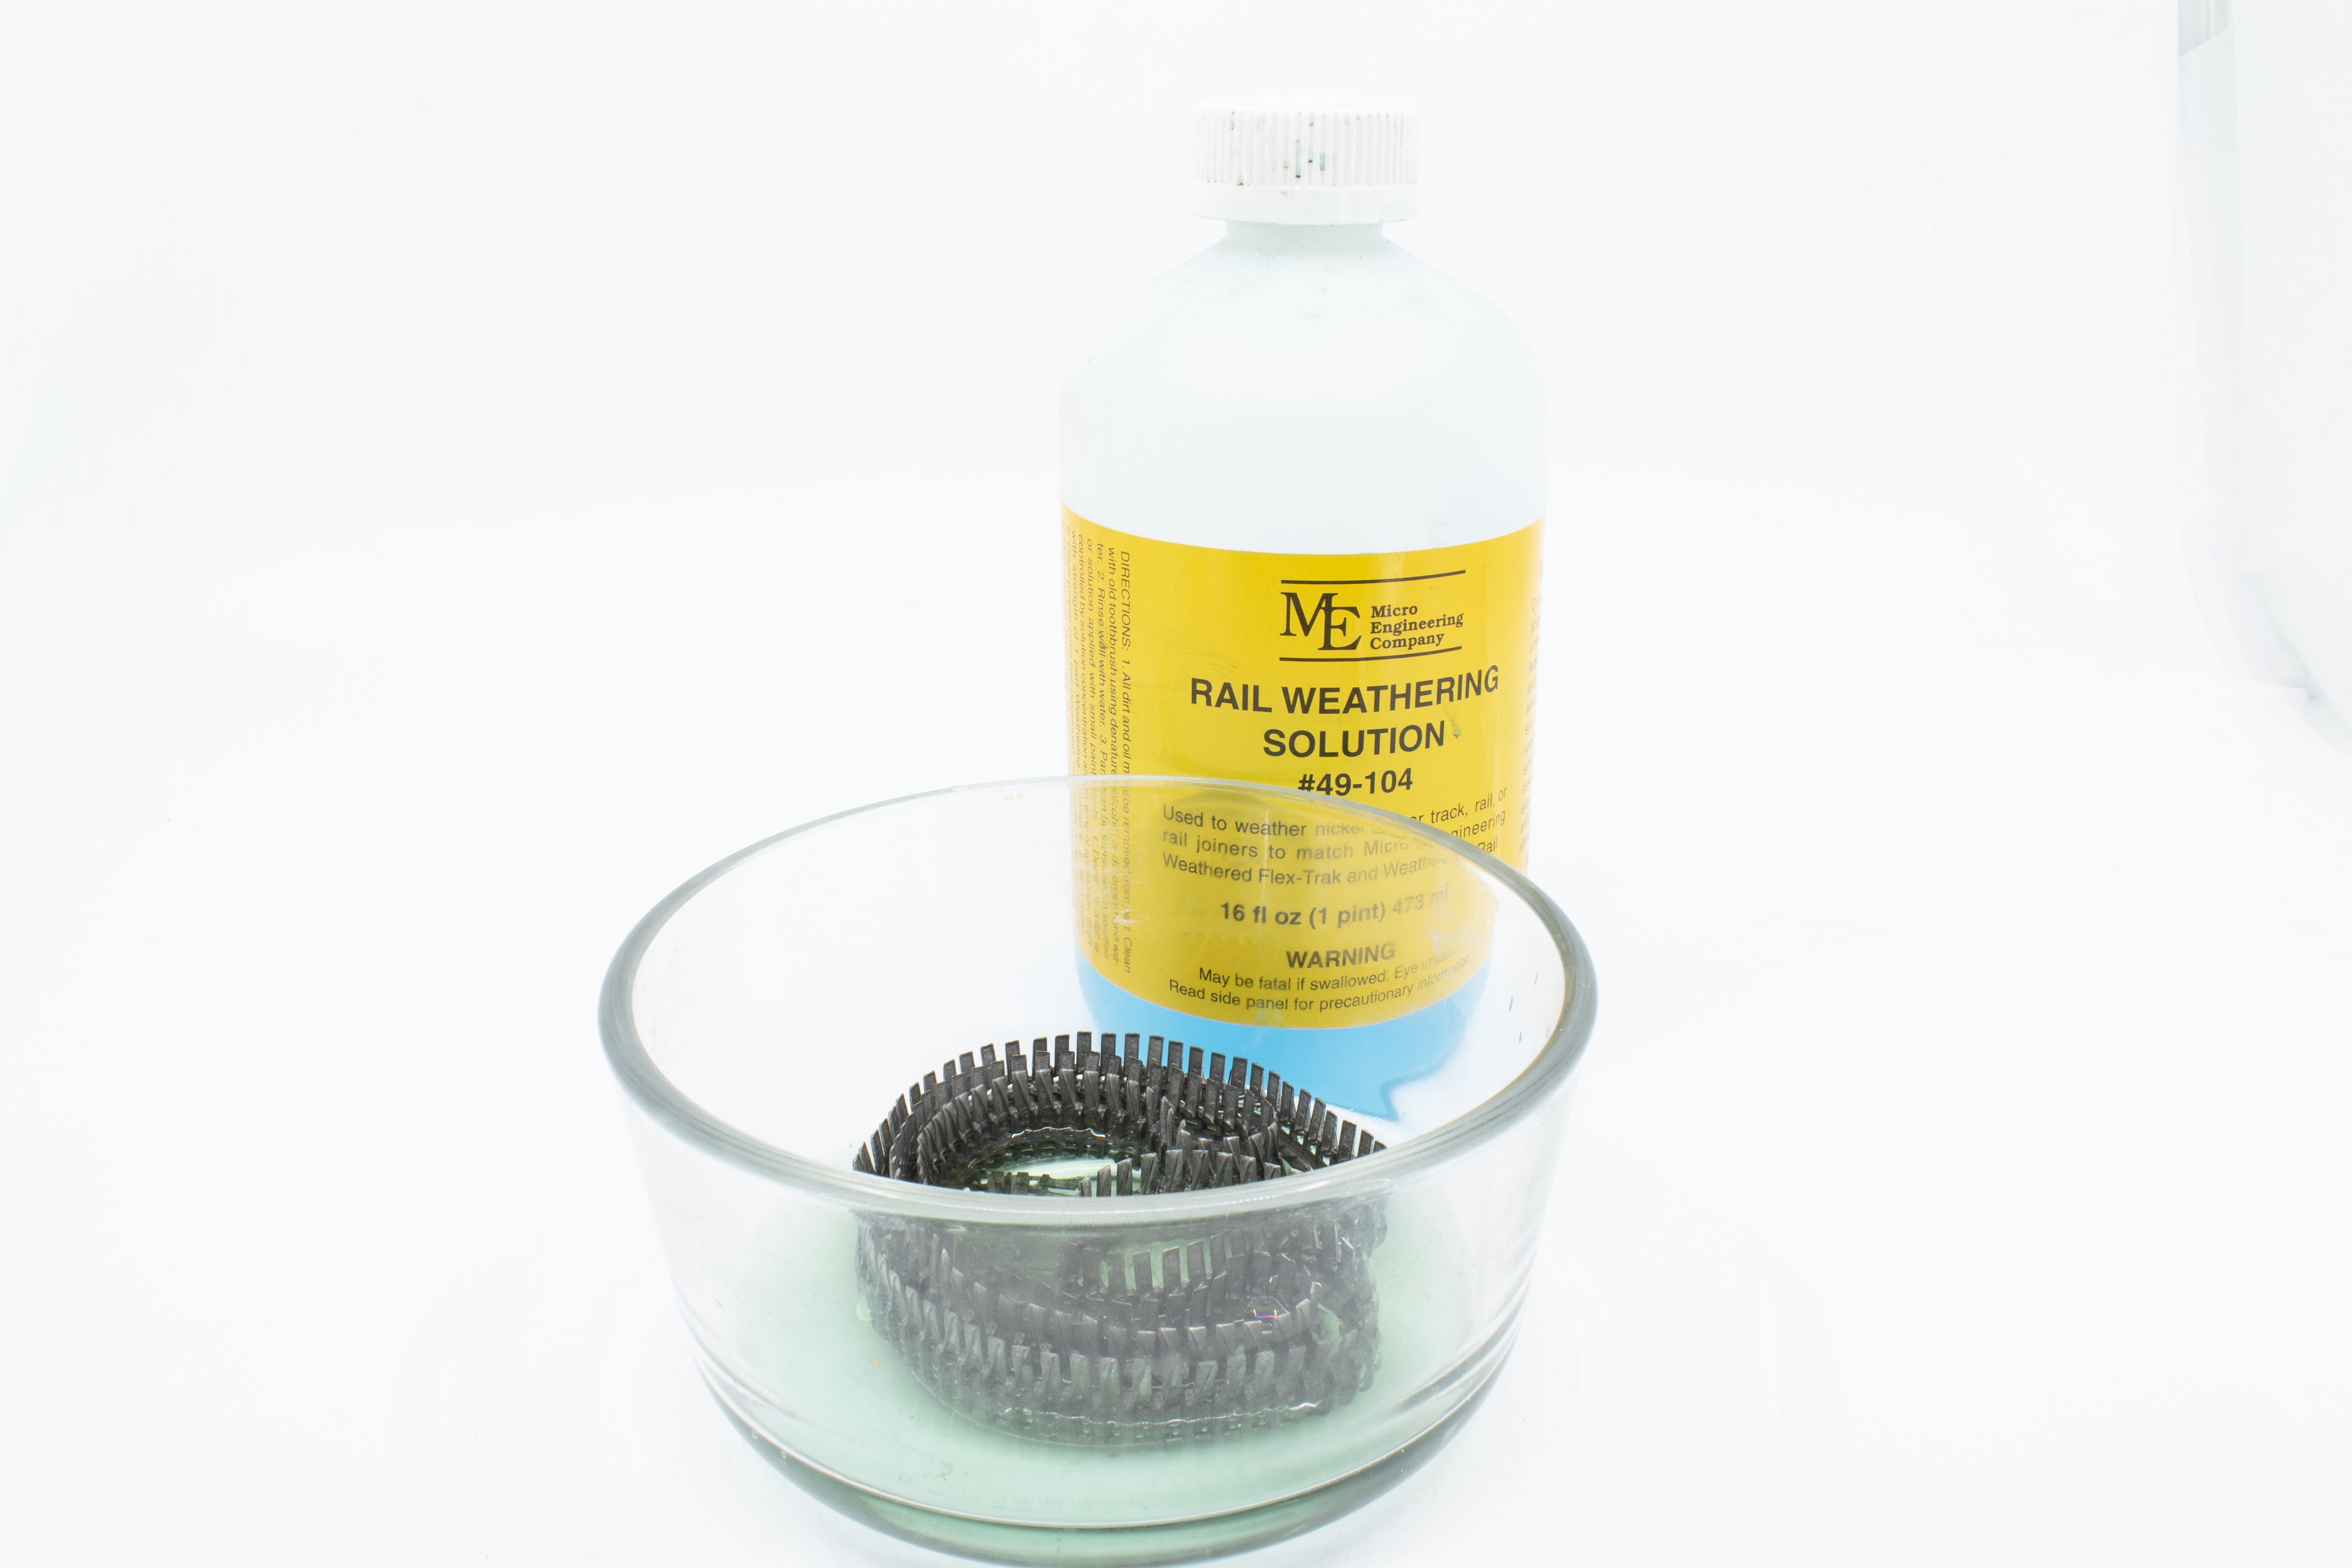 for our attractive subject. Assembly of the tracks begins, as usual, by drilling out the pinholes. A tedious, but necessary task. Once assembled, the tracks are treated in blackening solution. The result is a durable, rich natural finish that is certainly one of the benefits of using metal tracks.
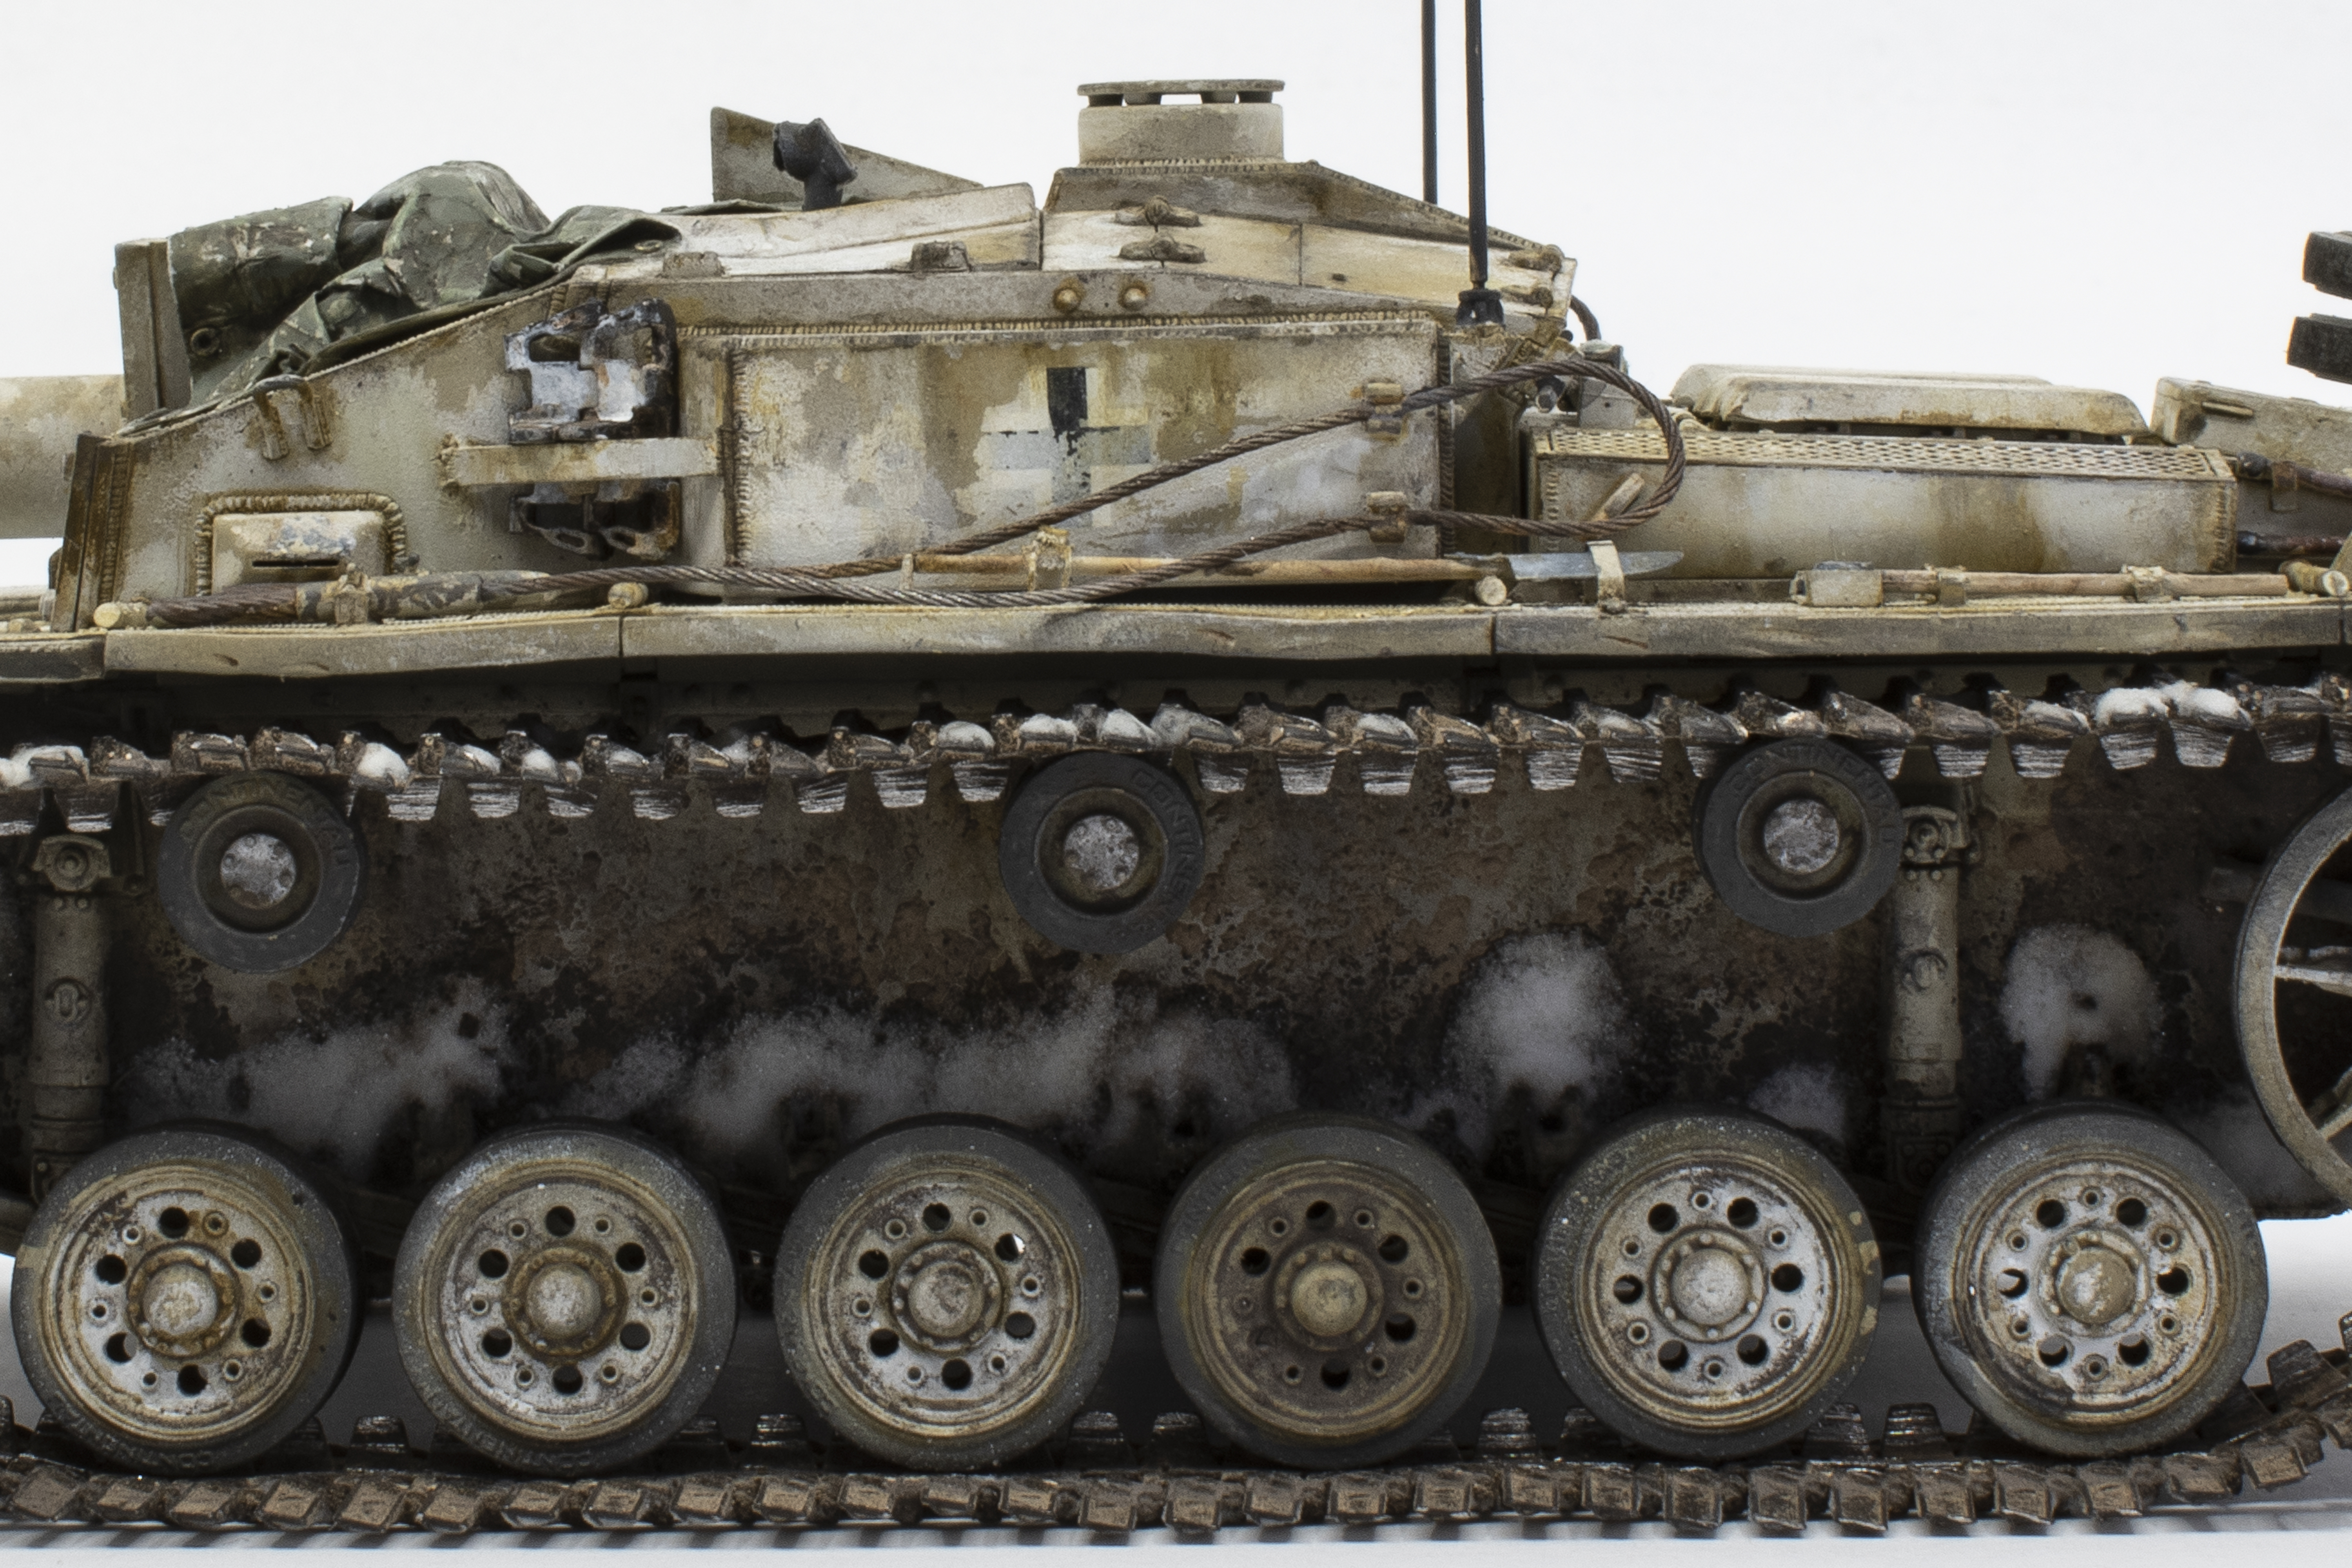
At this point, I thought long and hard as to how I wanted to show the winter elements on this model. Many references from this period show vehicles operating in deep snow with heavy accumulations on the suspension and road wheels, and vehicle as a whole. While this reference was tempting, I preferred a bit more contrast. That said, I also wanted to represent the cold and snow with the final finish. My solution was to show areas of packed snow in the treads. The snow, in this case, is a powder that I originally received from fellow modeler, John Steinman, some years  ago. This is a dental industry powder, but the consistency is similar to micro-balloons that can be purchased at many craft stores. I used Wet Effects Fluid as the glue, brushing it onto certain areas and then adding the powder. To begin the powder becomes nearly transparent, but as the Wet Effects dries, the powder returns to it’s natural color including a bit of sparkle. This same process was used to add small accumulations of snow onto the the lower hull as well.
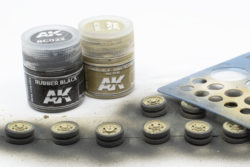
57 jpg_StuG_Rick – Next I tackled the road wheels. The easiest painting technique that I’ve found is to simply paint the entire part in a rubber tire color, and then use a circle template to mask and paint the Dunkelgleb color to the centers of the wheels. The parts were then given a light coating of hairspray, and once again the circle template was used when paining a light whitewash to the wheels.
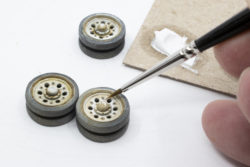
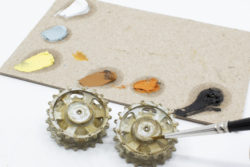
The road wheels are treated in the same techniques as used on the vehicle overall, that being the chipping of the whitewash via hairspray technique, and then mapping of shadow and highlight colors using oils. The same process of chipping, then mapping with acrylics and oils was also used on the drive and idler wheels. I must say that I am pleased with the results here which further convinced me to follow the “Less is More” approach as it came to pigments and heavy weathering. The contact surfaces of the drive and idler wheels are polished by first applying a light coating of Mr. Metallizer Aluminum paint followed by a polish of Dark Steel pigment to simulate track friction and wear.
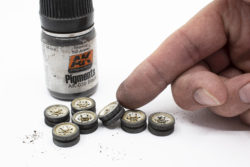
66 jpg_StuG_Rick – Deciding not to indulge in “heavy” weathering doesn’t mean that I don’t weather. In fact, I feel that if this were to be a pristinely whitewashed vehicle (as seen in many references) the subject would look unnatural or even toy-like. And such, I applied significant amounts of pigments to the lower hull as I felt that this would be only natural for a vehicle in this environment. The darker colors of the pigments also lend weight and a sense of coldness to the subject. Once this application is dry, I add snow accumulations as described above to areas around the running gear.
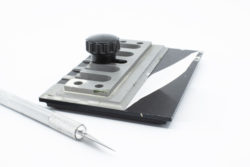
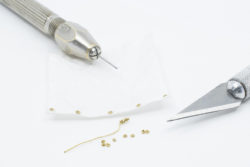
While many StuG’s can be seen carrying heaping loads of supplies and personal materials, I very much wanted the vehicle itself to be the focus of this project. However, one omnipresent feature on nearly every StuG is the tarp that serves to cover the gaps around the gun and casement. Some years ago I stumbled upon this idea of making realistic tarps using parchment paper. To begin, I cut the paper to the appropriate size. Once I have the paper to the proper size, I make a straight crease along each edge. The photo-etch tool is an easy way to make this fold without much effort. The highlight of using parchment paper that it is durable and is able to be folded and wrinkled in very convincing ways without ripping or tearing. The folded edges are turned and glued down using CA glue. Small gauge wire is wrapped around the smooth end of a small drill bit; these will become the tarpaulin eyelets. This is the same technique as one might use to create springs. A sharp blade is used to slice ringlets from the wire coil. These ringlets are then glued along the folded edges of the paper to create the tarp eyelets.
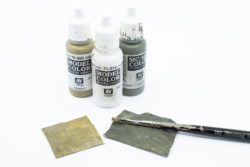
The parchment paper takes paint very well and would even work very well for those wishing to paint a camouflage pattern. The tarp material (paper)l is very pliable and can be easily put into a natural-looking position, held in place using CA glue. As you can see in this photo, my positioning and re-positioning has caused some of the paint to flake away. No need to worry, 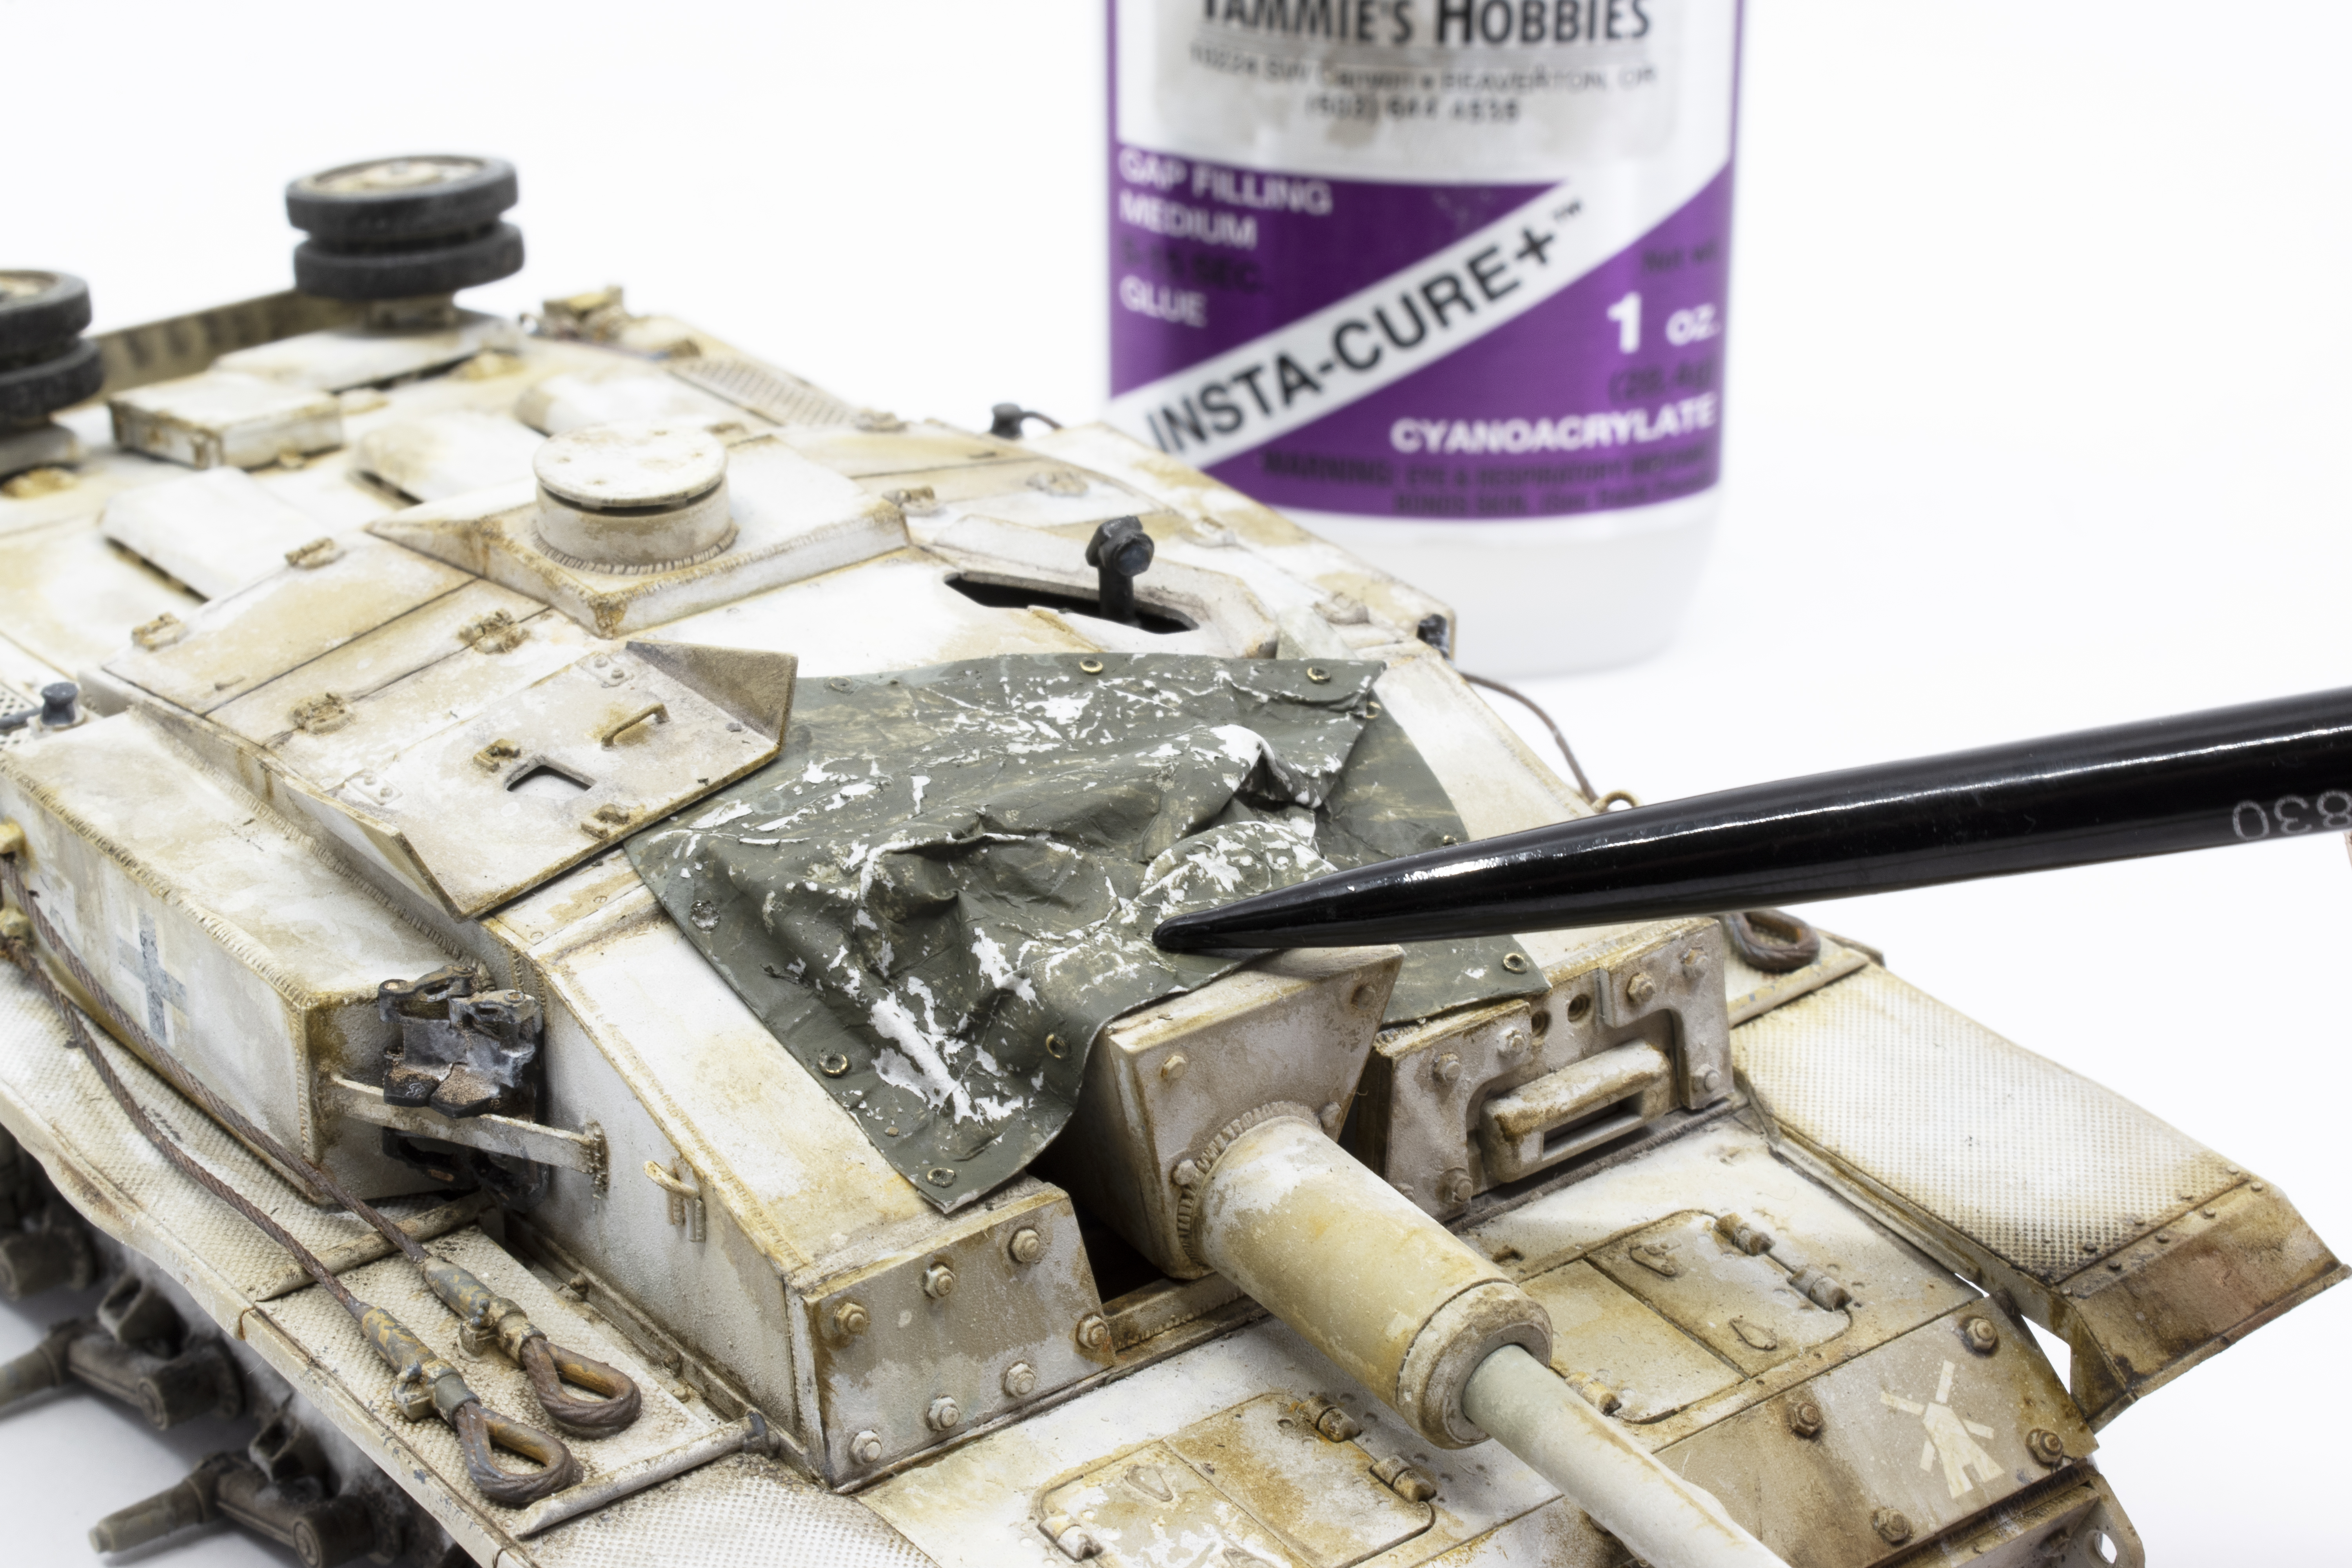 these areas were easily re-painted once the tarp is fixed in place.
And now the project is nearly complete, the only remaining task is to balance the weathering effects. I am still keeping to my intention of restrained weathering, however, there are some areas that need reinforcement using the same pigment mixture as used on the lower hull. This included the recesses between the fenders and the casement. I work the pigments in a controlled manner using a solution of pigments dissolved with thinner, and then applied with a small brush. The thinner helps to distribute the pigments and acts as a light fixer, and 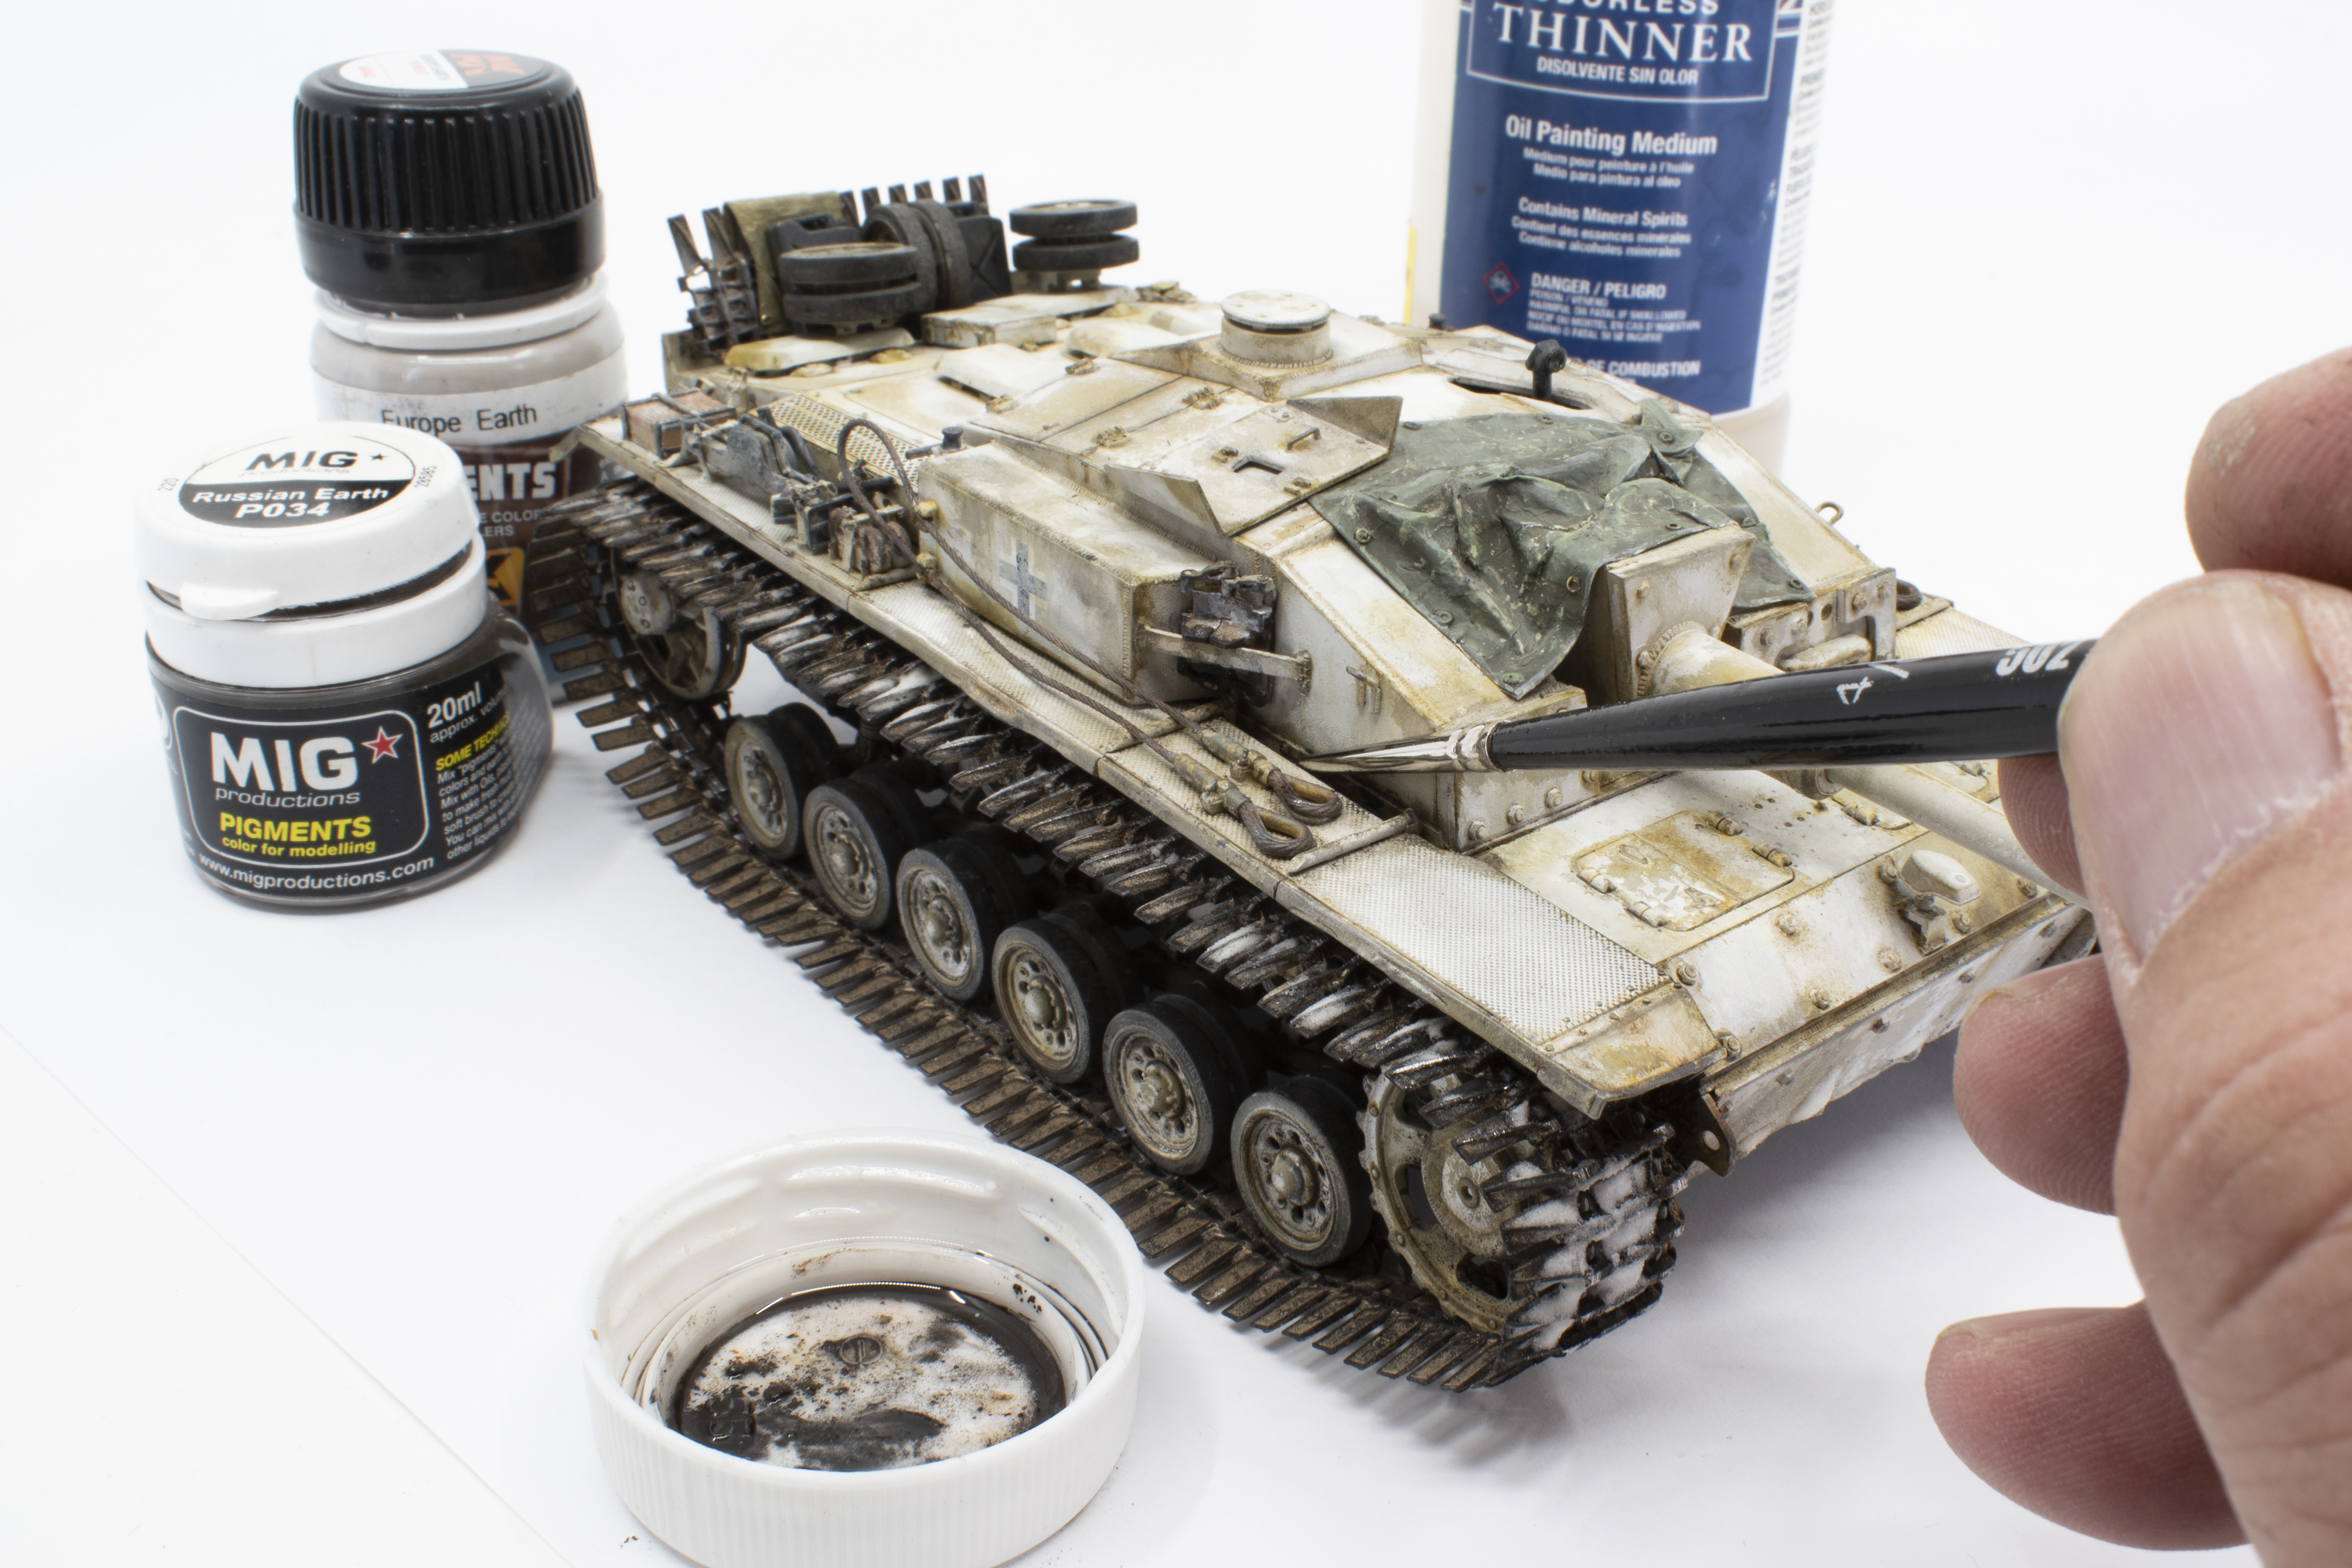
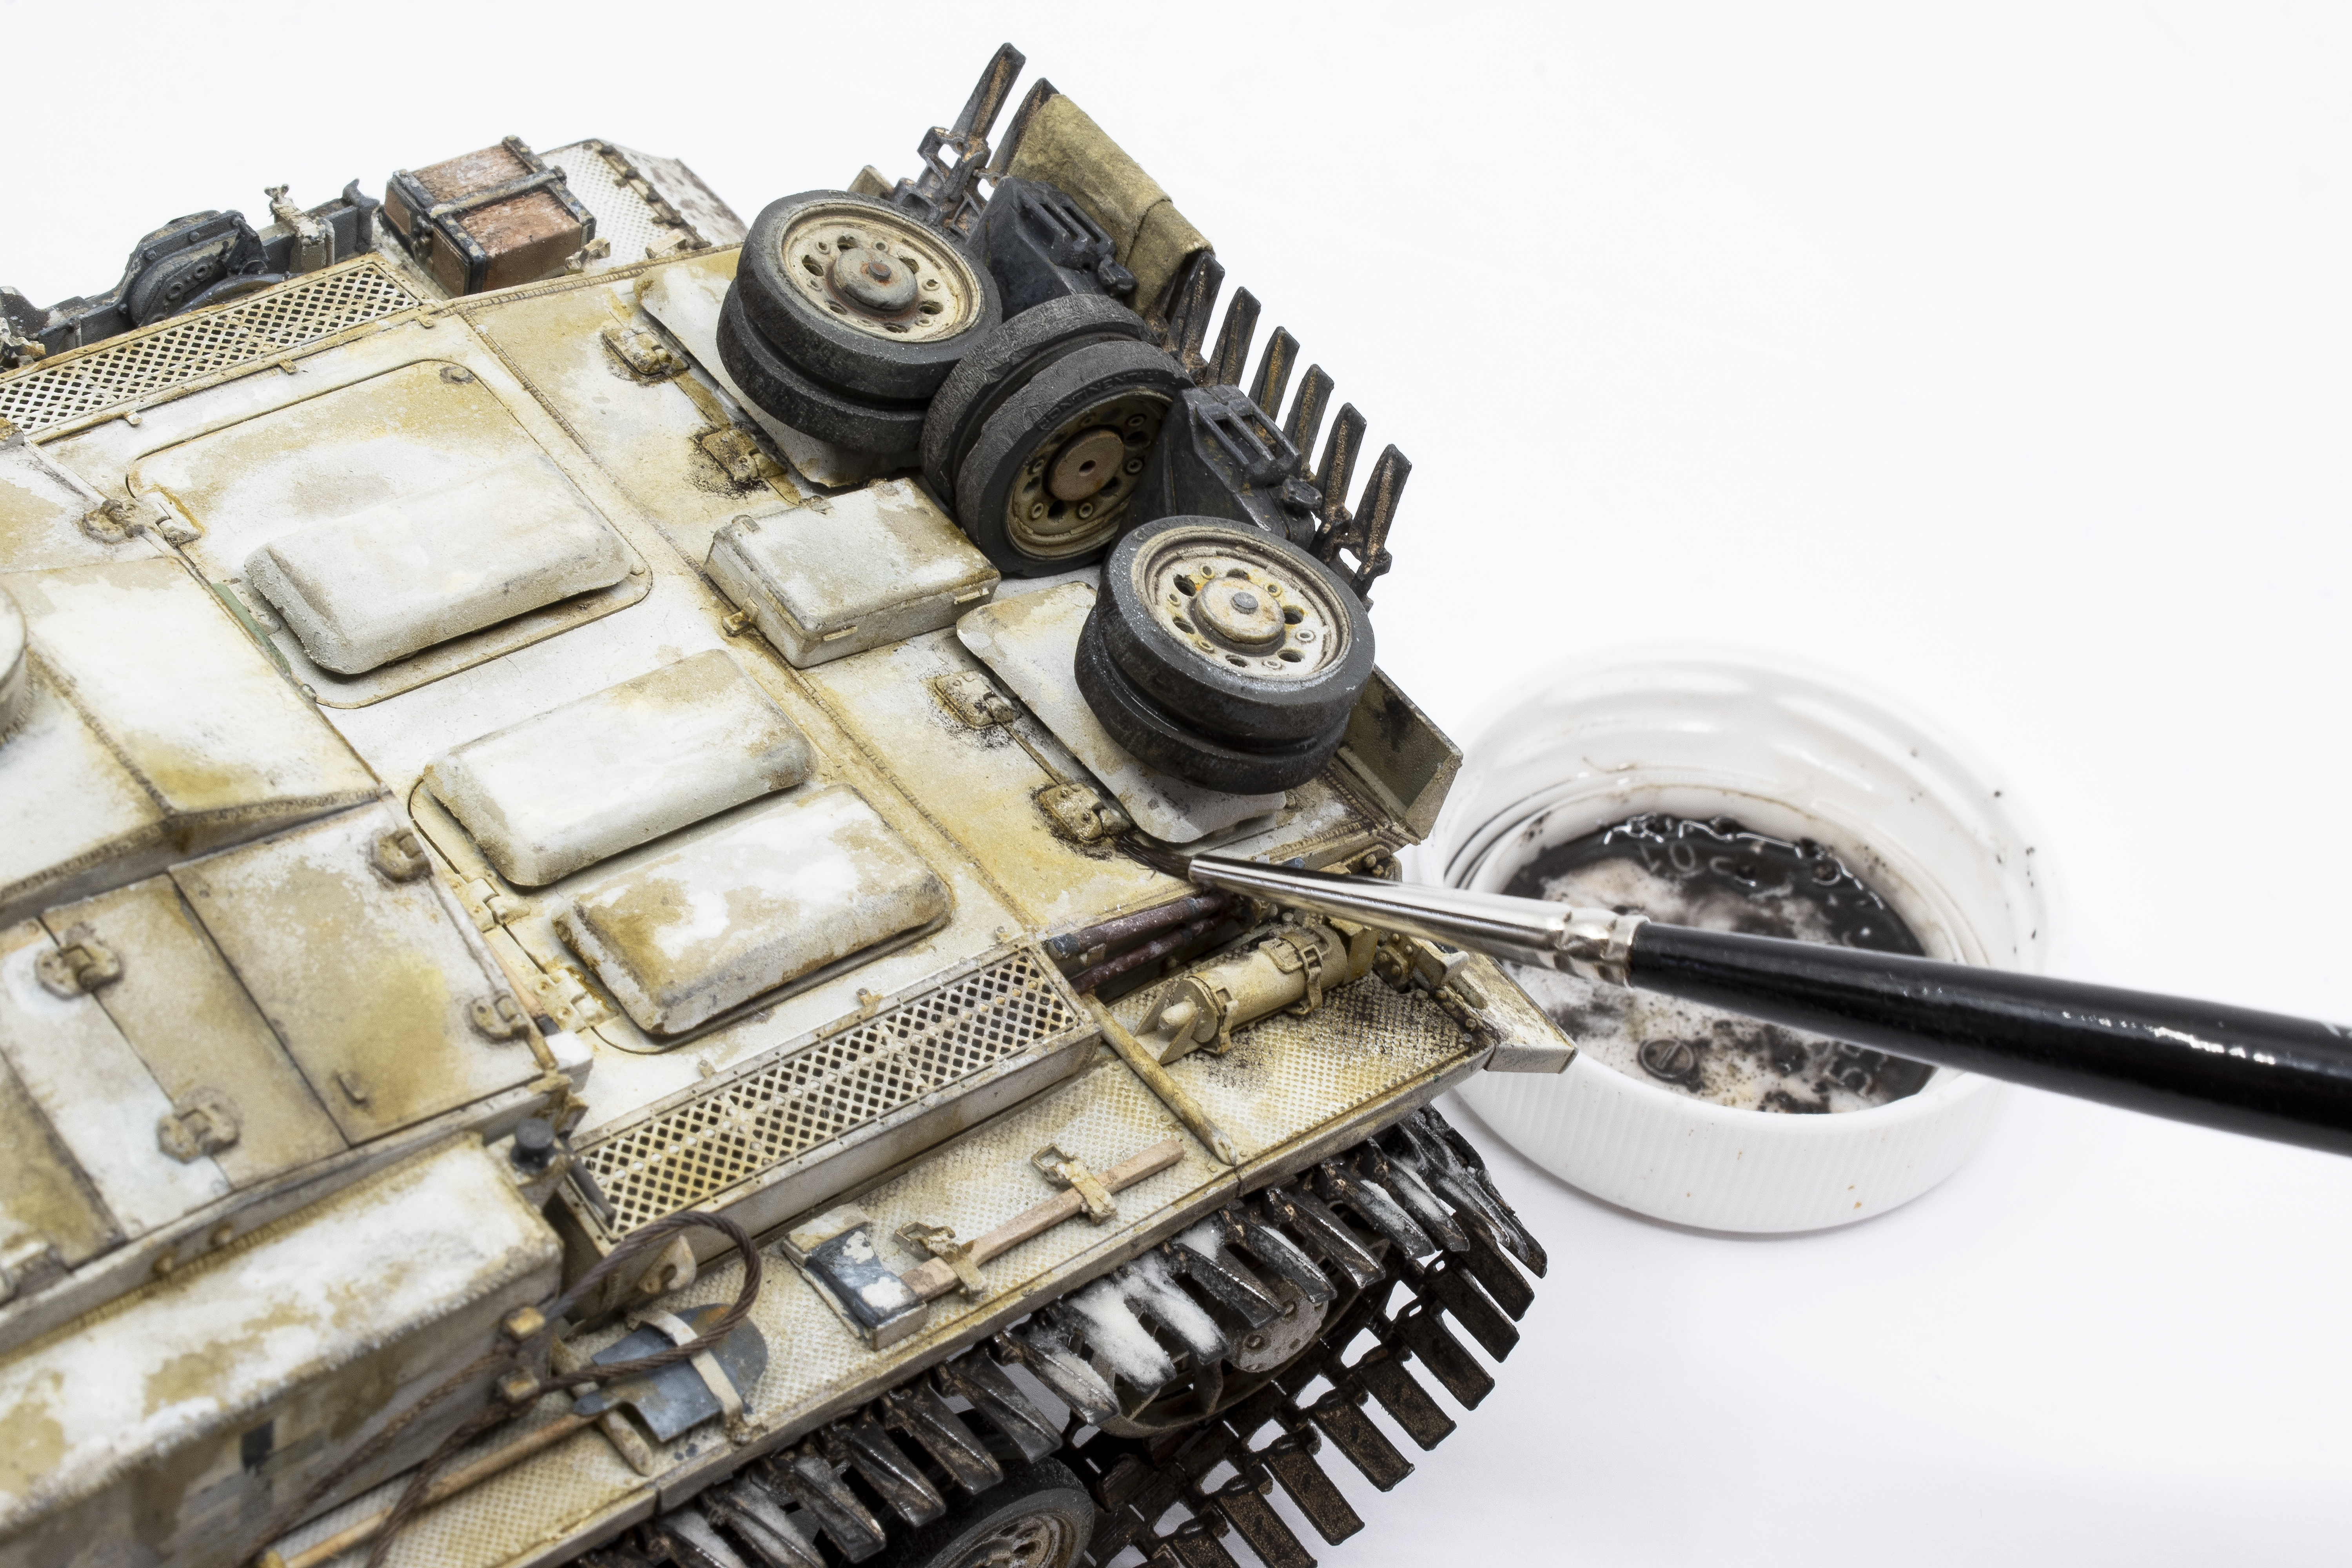
 the small-sized brush ensures correct placement. Any excess or unwanted pigment can be edited or brushed away once the thinner has dried. I also use pigments to add visual interest to features. In this case, a particularly dirty road wheel becomes an interesting focal point as compared to its’ neighboring wheels. I prefer to use natural elements such as mud, dampness, or clean versus dirty surfaces to add focal points rather than relying upon an oxide red road wheel or some such “gimmick”.
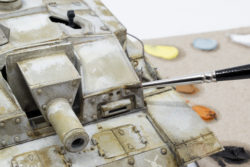
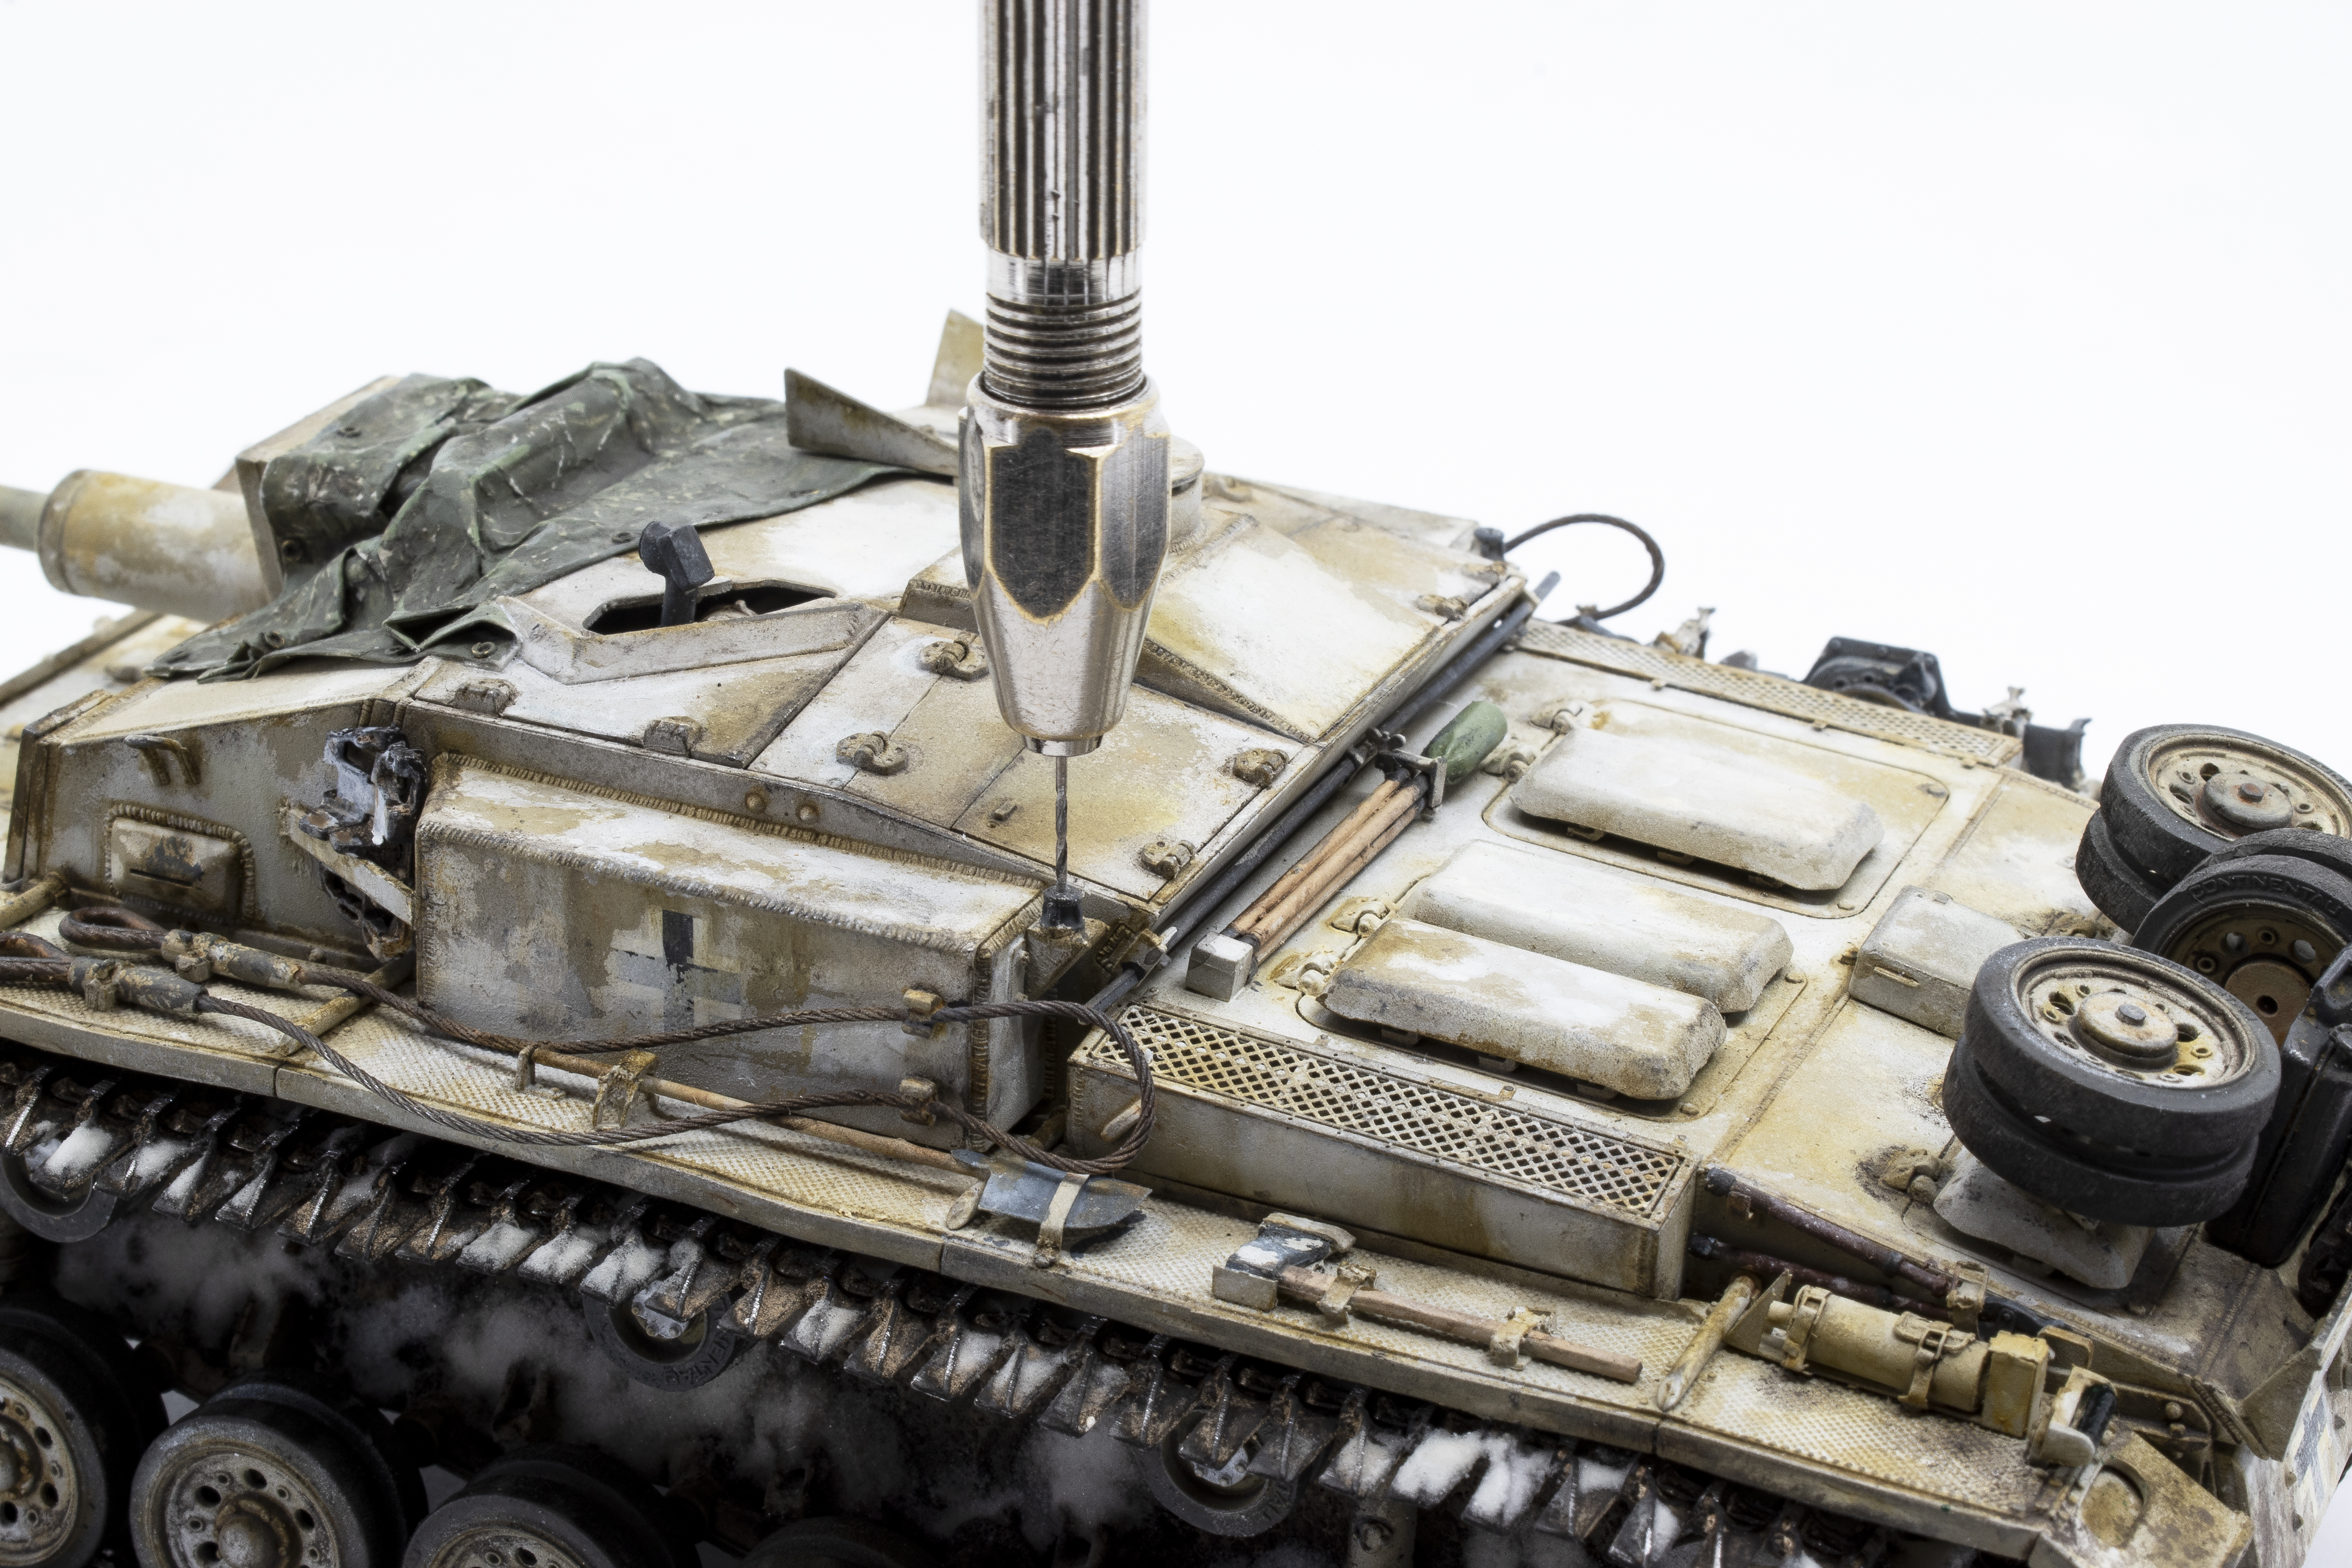
As a final step, I drill small pilot holes into the mounts so that they can receive the brass antennas.


![]()