
 The German war reporter Fritz Lucke descried the AEC Dorchester as; “An armored box as big as a bus, on a giant balloon tires as big and fat as the undercarriage wheels of a Junkers transport plane. The walls are windowless and painted in blue-grey camouflage shades. Only the driver and his co-driver have windshields, protected behind armored visors”.
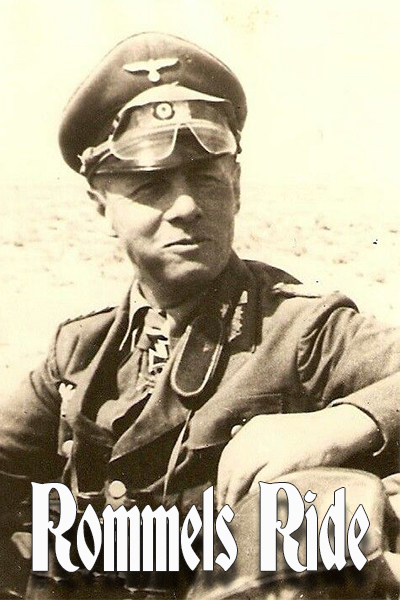
Based upon the Matador, The AEC “Dorchester”, the name coined by the British, was used by the British armored formation from 1941 onward through the 1950’s as a radio and command vehicle. During the desert campaign of WWII, at least three of these cars were captured by German forces and presented to Rommel’s HQ. Renamed “Mammoths” by the Germans, the first two vehicles most likely were captured from the British 2nd armored division. Upon seeing the captured vehicles Rommel is reported to have said; “Booty is permissible I assume, even for a general”. The Germans named one of the vehicles “Moritz” and the other “Max”, after children’s fairy tale figures. Max is the subject of this article.
AEC is a truck, and as such, construction begins with the building out of the chassis and 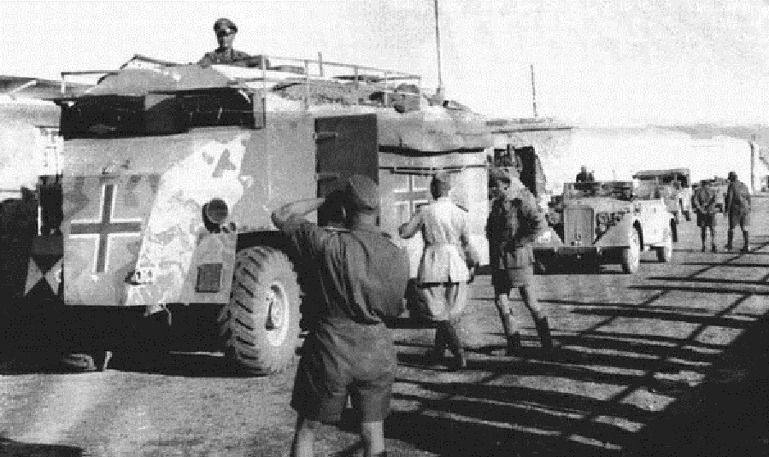 suspension. AFV Club has done a nice job of representing the busy nature of the underside of the vehicle. The molding is crisp, with only small seam lines to be dealt with. The front steering assembly allows for the wheels to be fixed in a turned position, but not moveable. However, it can be a simple process to drill a small hole in the linkage arm and corresponding pin so that the front wheels can become be moveable. Next up is the large rear cabin or command station, and this is what makes the Dorchester/Mammoth vehicle so special – and fun to build. A large, spacious, even luxurious space to be sure. I can understand why Rommel was keen to procure one of these as his own personal command.
Due to the interior/exterior nature of the Mammoth, construction follows a series of sub-assemblies with the majority of the kits’ parts and assembly time dedicated to the rear cabin interior. For those who might be inclined to add details, the interior offers a wealth of opportunities (wiring, personal items, etc.), however as is usually the case, most (if not all) of this work will not be visible once buttoned-up.


As mentioned, ultimately all of this wonderful interior will not be seen. Visible or not, I was looking forward to painting-out the interior details. According to the color call-out in the instructions, the interior is painted in a blue-grey color. The paints are from the Tamiya range, with the base color being a mix of Light Grey and White, with a light overspray of Tamiya Buff on the floorboards to create a creating a base of light dust. Note: I usually add a few drops of Tamiya lacquer thinner to thin the paints when airbrushing Tamiya paints.
With modeling, it is the simple things that give me joy. For instance, the  idea that a decent looking wood-grained tabletop can be simulated using a few simple tools and techniques never ceases to amaze. In this case, a base color using Vallejo Beige is first airbrushed onto the surface and allowed to dry. Next, highly thinned 502 Abteilung oils are streaked across the surface, leaving very faint lines (wood grain) and slightly discoloring the surface to a nice, rich color.
The kit includes a supplementary resin set of German radio transmitters and Enigma machine when choosing to portray Rommel’s Mammoth, each painted before installation using Vallejo acrylic paints. Interior cabin details are accentuated by using pin-washes, while the overall color tones are enriched 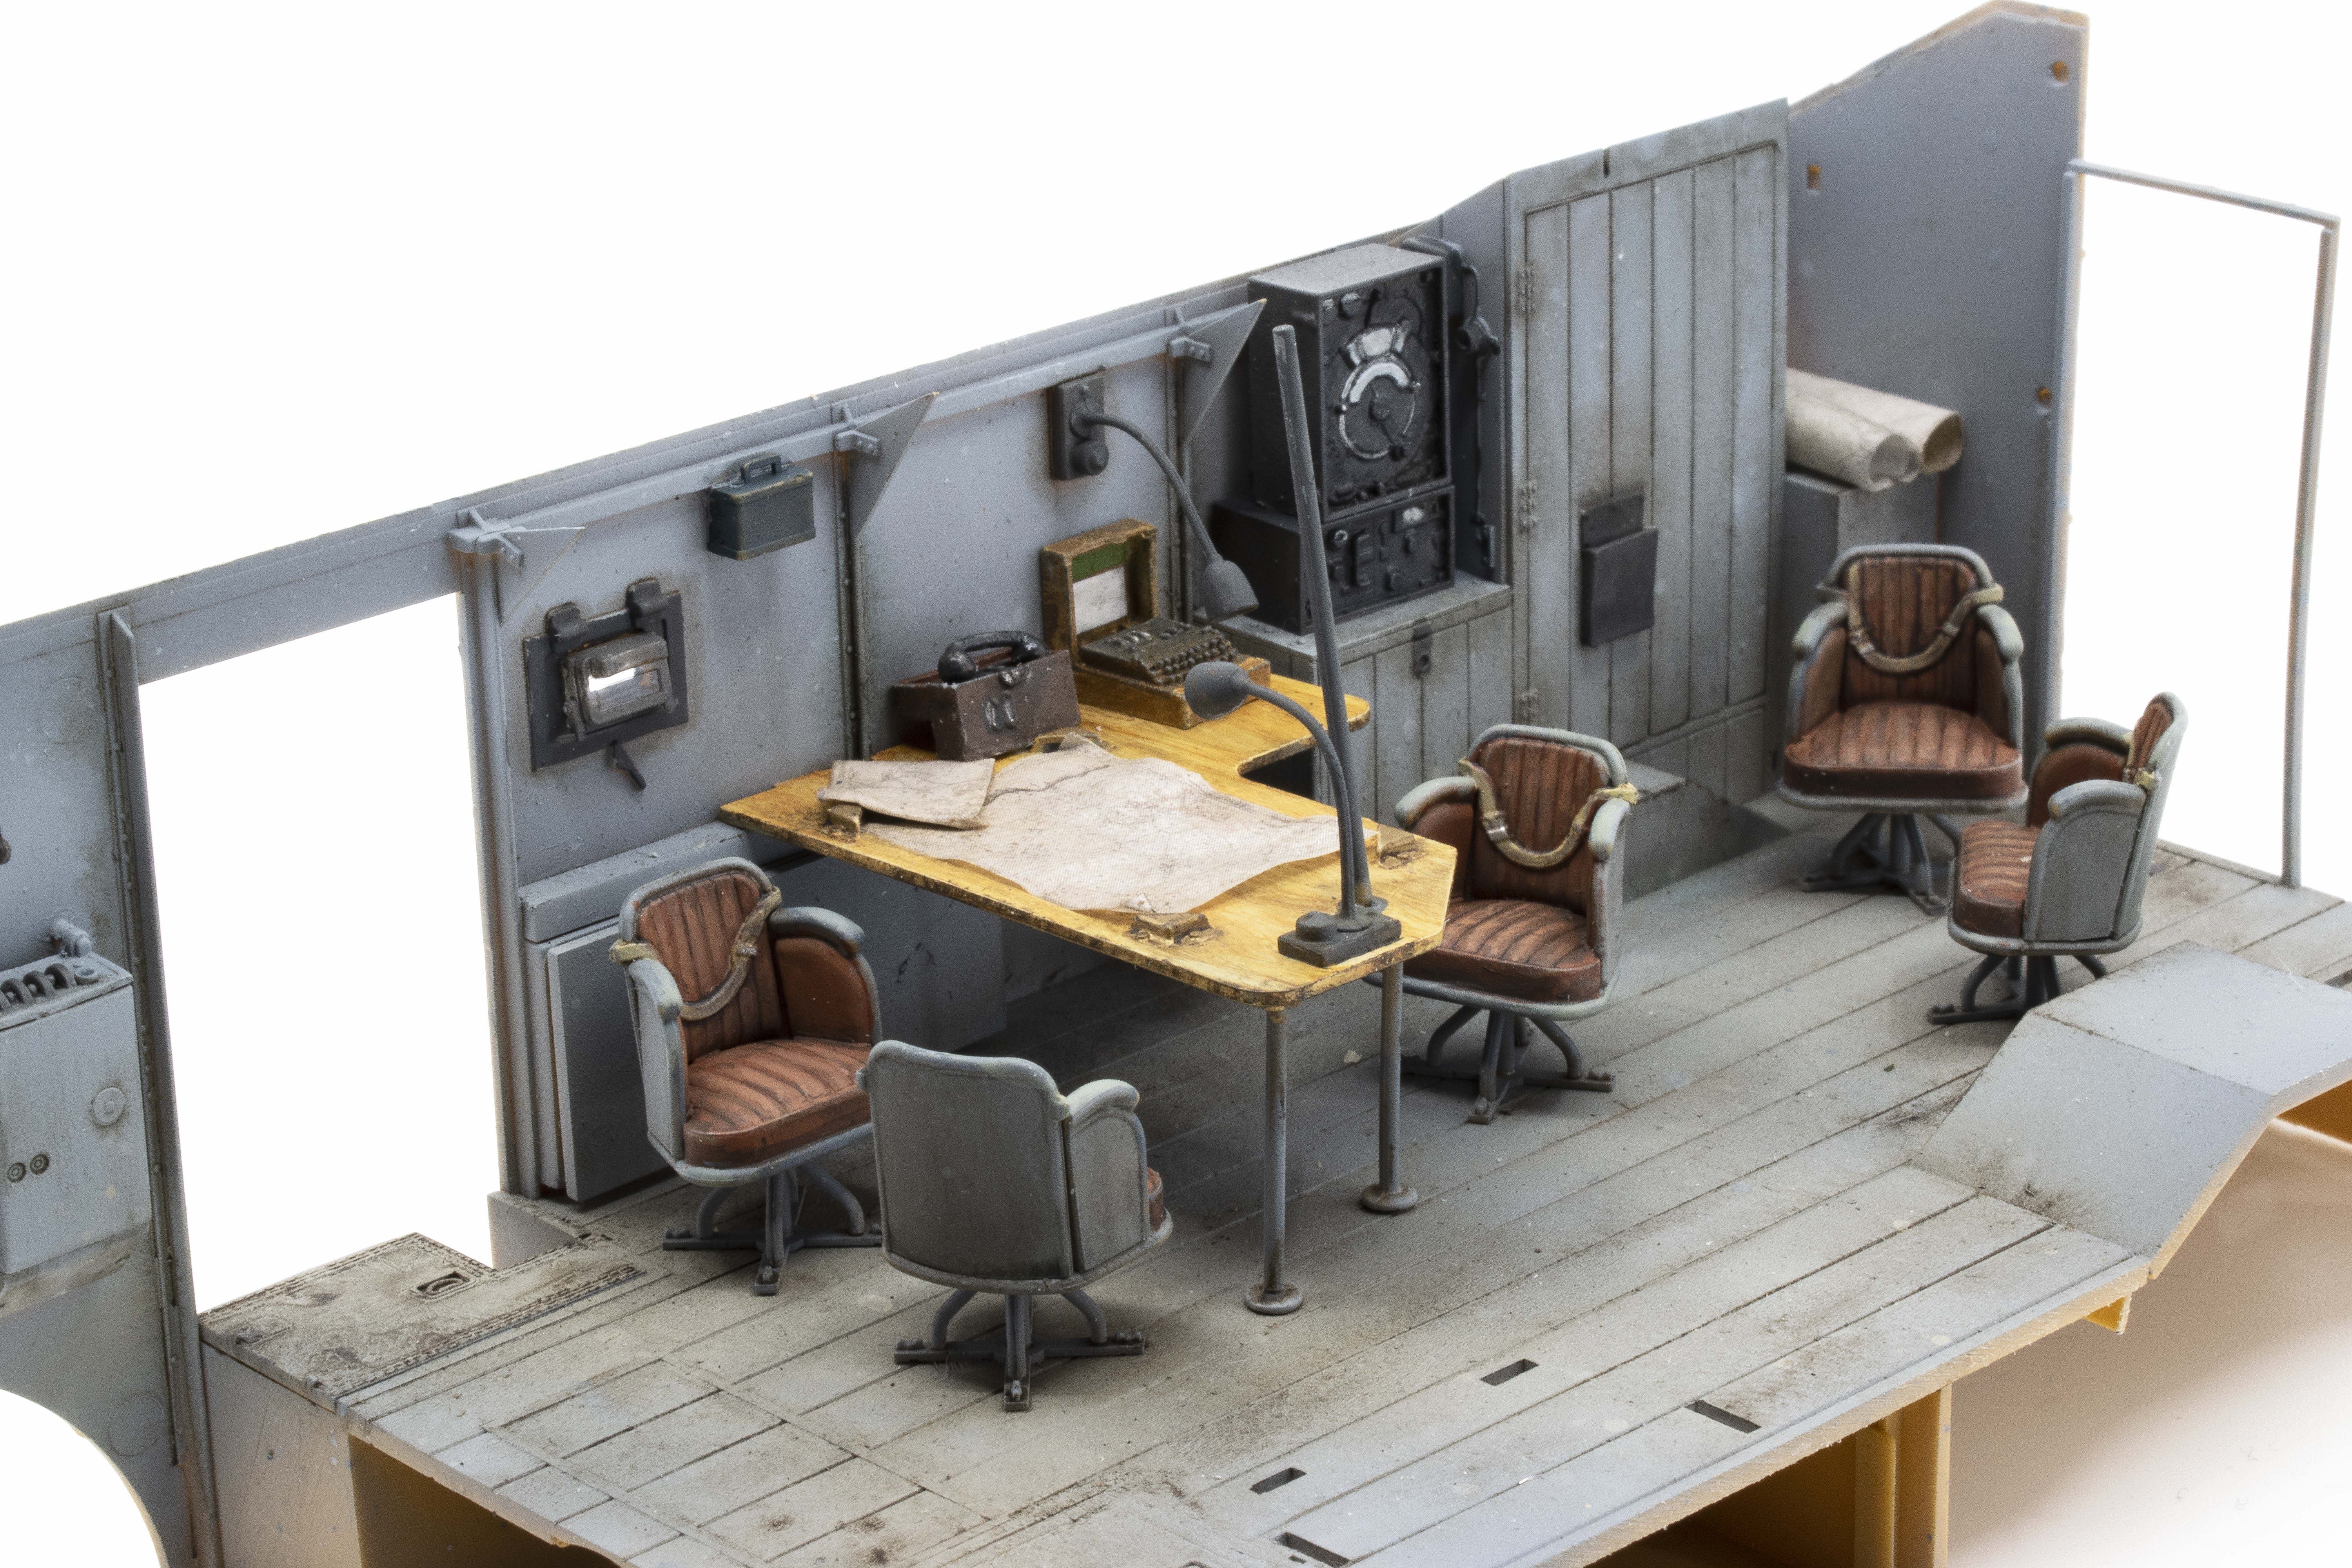 using highly thinned washes of 502 Abteilung oils. As I mentioned earlier, in the end, this all won’t be seen in the finished project, but it sure looks nice and is a great fun painting. As you can see, I’ve added the very plush armchairs that have been painted using Vallejo acrylics. The kit also includes a nice selection of printed maps, which I’ve displayed on the command table and other various locations.
Continuing right along, I switch focus to the construction of the driver’s cabin. Again, the fit of the parts is very good and the detailing is more than sufficient for a cabin that will (once again) not be visible in the final presentation. Admittedly, this is not the best paint coverage. Regardless, I give the driver cabin assemblies light coverage of primer in preparation for painting.


I decide to paint the driver cabin in light green, or bronze-green color using a mixture of Tamiya Olive Drab and Buff colors, again thinned using Tamiya lacquer thinner. As with the command cabin, I painted out the details and added washes and filters with the understanding that in the end none of this will be seen. Oh well, it’s enjoyable work.
What a beast. The addition of the front armored nose and driving compartment certainly brings the large, 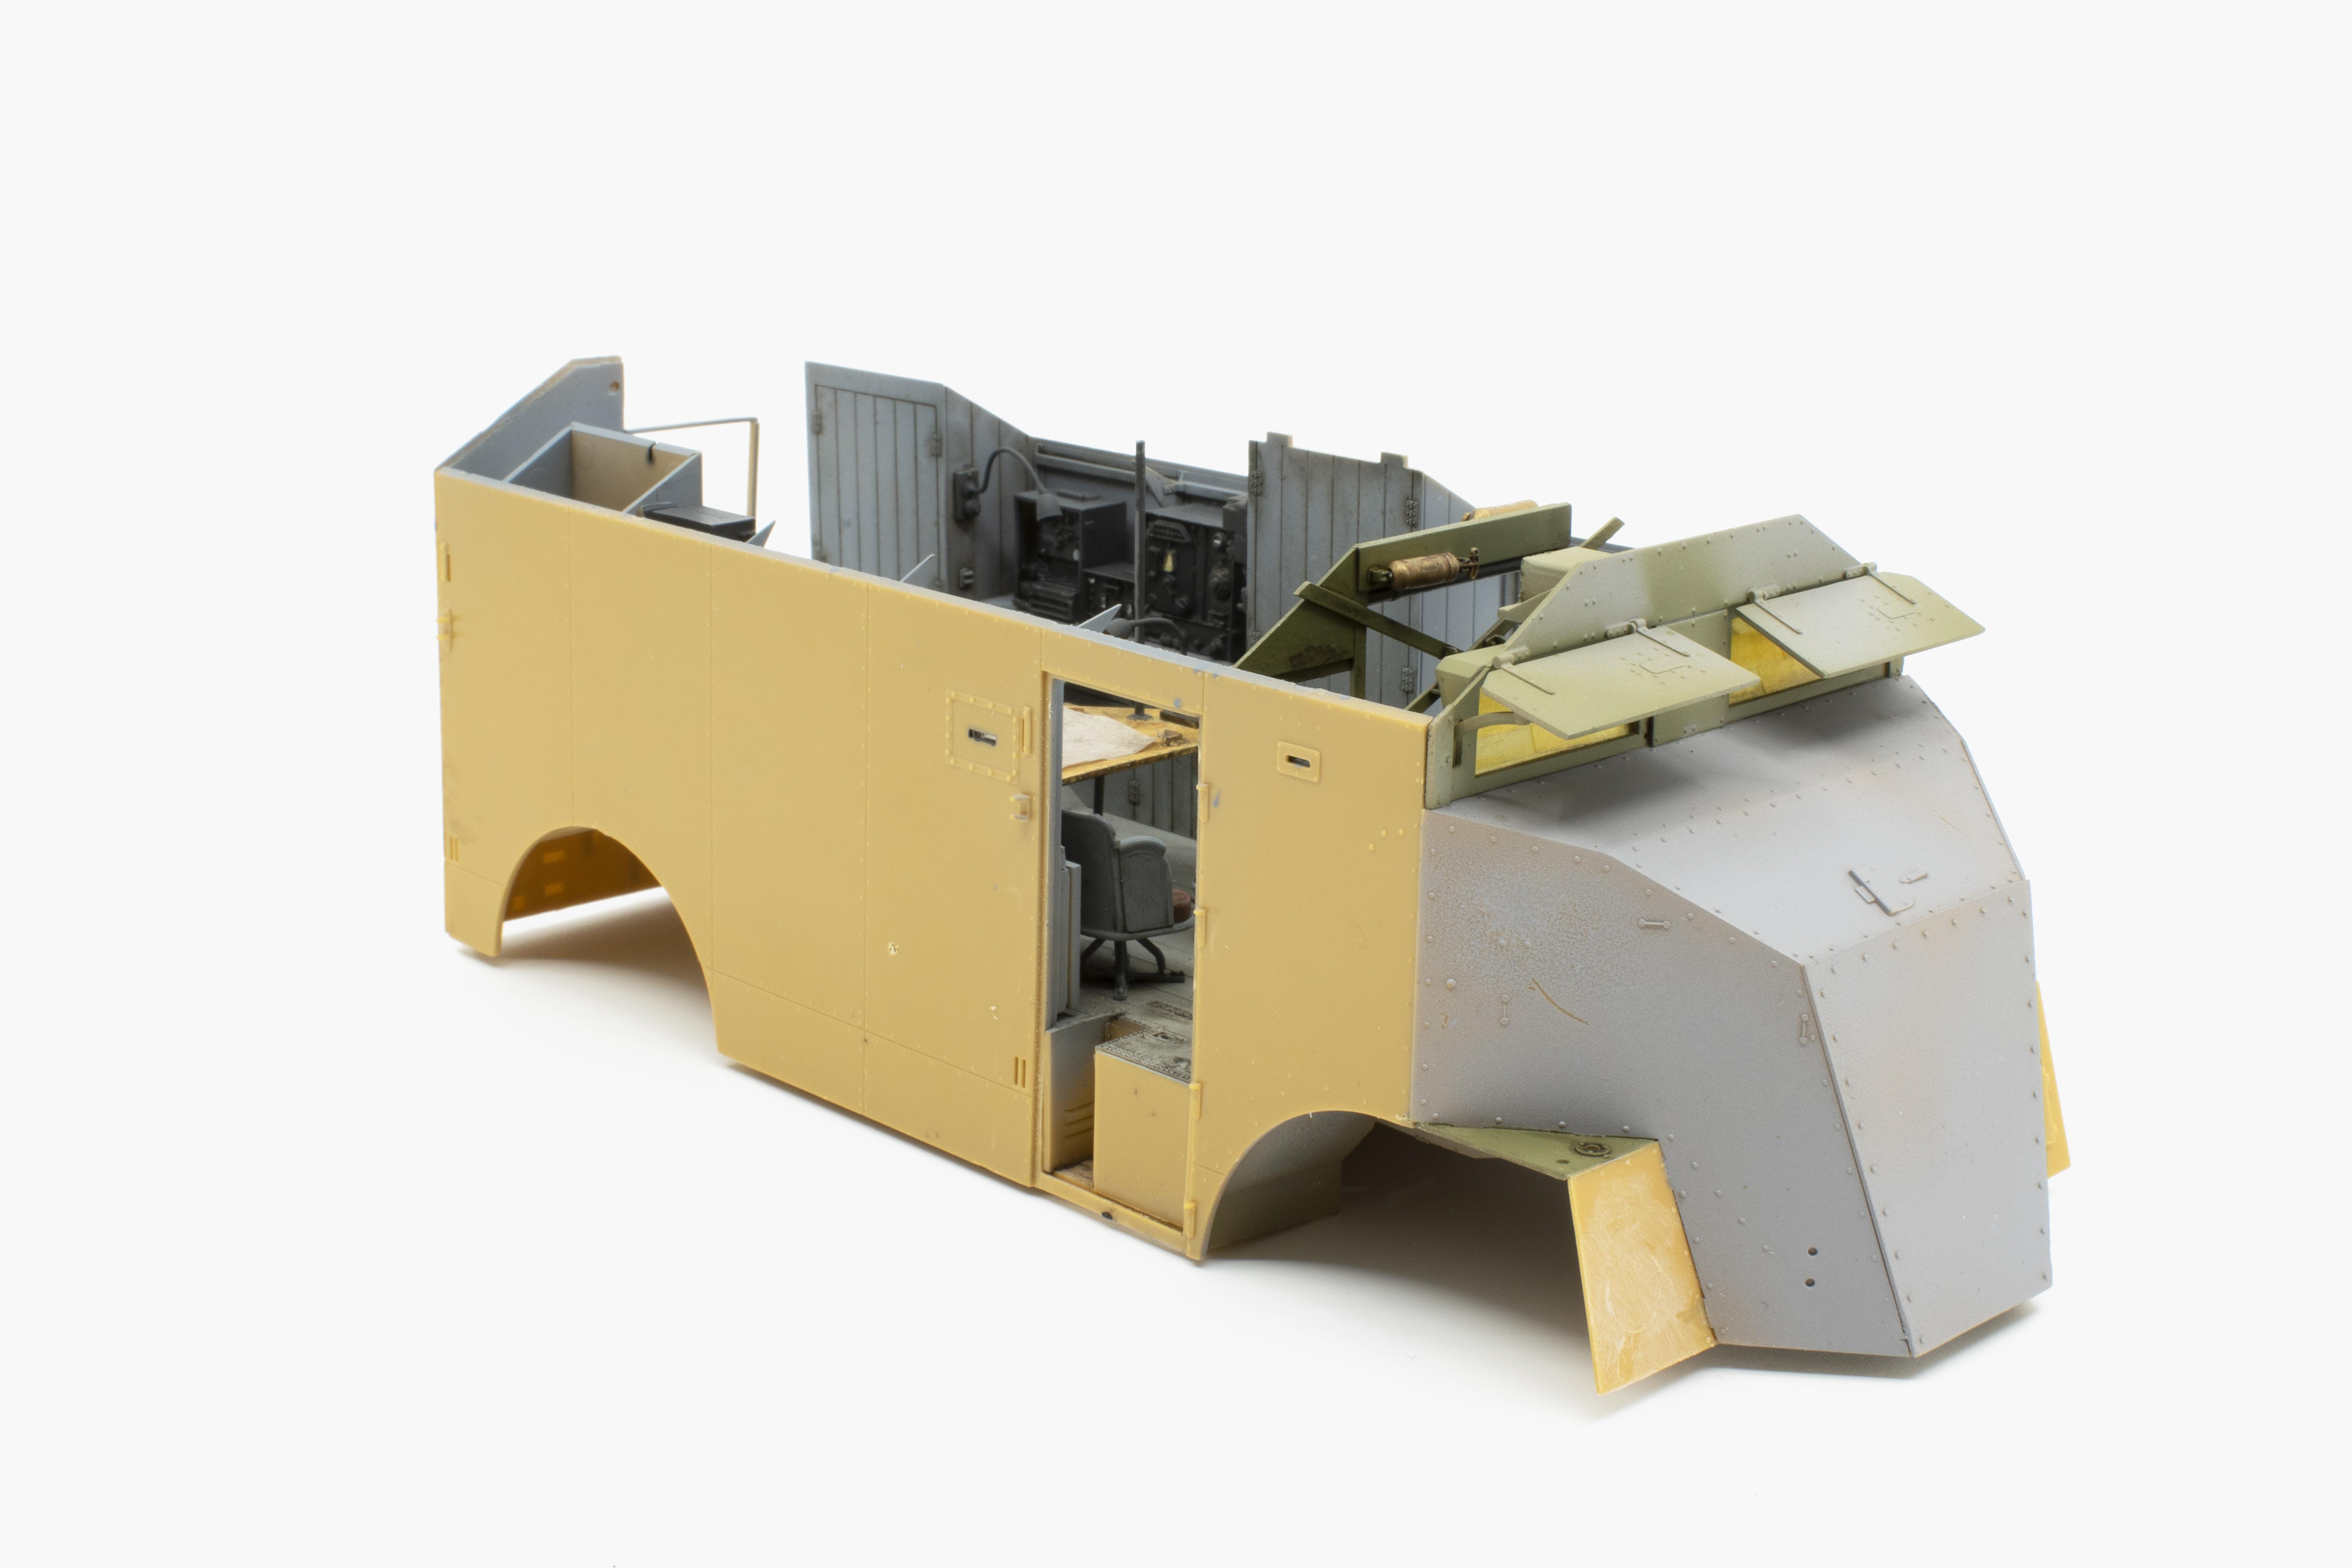 bulky shape of the (AEC) Mammoth into perspective. A few last photos of the interior spaces before I add the rooftop, closing off the views. It does look inviting in there, no wonder the vehicle was nicknamed “Dorchester” after the luxury hotel.
I began the exterior painting by first giving the car an overall layer of AK grey colored primer. This was followed by a bit of pre-shading of the panel lines and shading of the surface details. To be honest, I often struggle with the painting of light-colored vehicles and am hoping that the use of this pre-shading will add some depth to the finish. We will see how this plan works out.
Now it’s time to get down to business. When the Afrika Korps captured the AEC it was painted in the typical British desert Caunter Scheme. For these colors I relied upon AK Real colors, Portland Stone, Silver Grey, and Slate, each color thinned slightly using Tamiya lacquer thinner. I begin by airbrushing the lightest color, Portland Stone, into the general location of its camouflage scheme. The process of masking the disruptive camo scheme starts. I begin by masking the top edges of what will be the second color, Silver Grey, using Tamiya tape. Next, I protect the surrounding areas from overspray with wider strips of painter’s tape.


It’s always an anxious time when I pull away from the tape and see the results. So far, so good. Onto the next color. Preparation for the final camouflage color, Slate, is made ready. Again, I used the same process as before by laying the edge using Tamiya tape and then adding the painter’s tape to protect from overspray.
All of this patience and anxiety have paid off. Now that it’s on I must say that this is a very attractive scheme. I think it fair to say that you can also see the value of the Caunter Scheme in that it has effectively broken-up the silhouette. One of the good things about using references is that you have a guide to follow. The problem sometimes with references is when they are incomplete or in conflict with one another. For me, that was particularly the case with the front of the Mammoth. 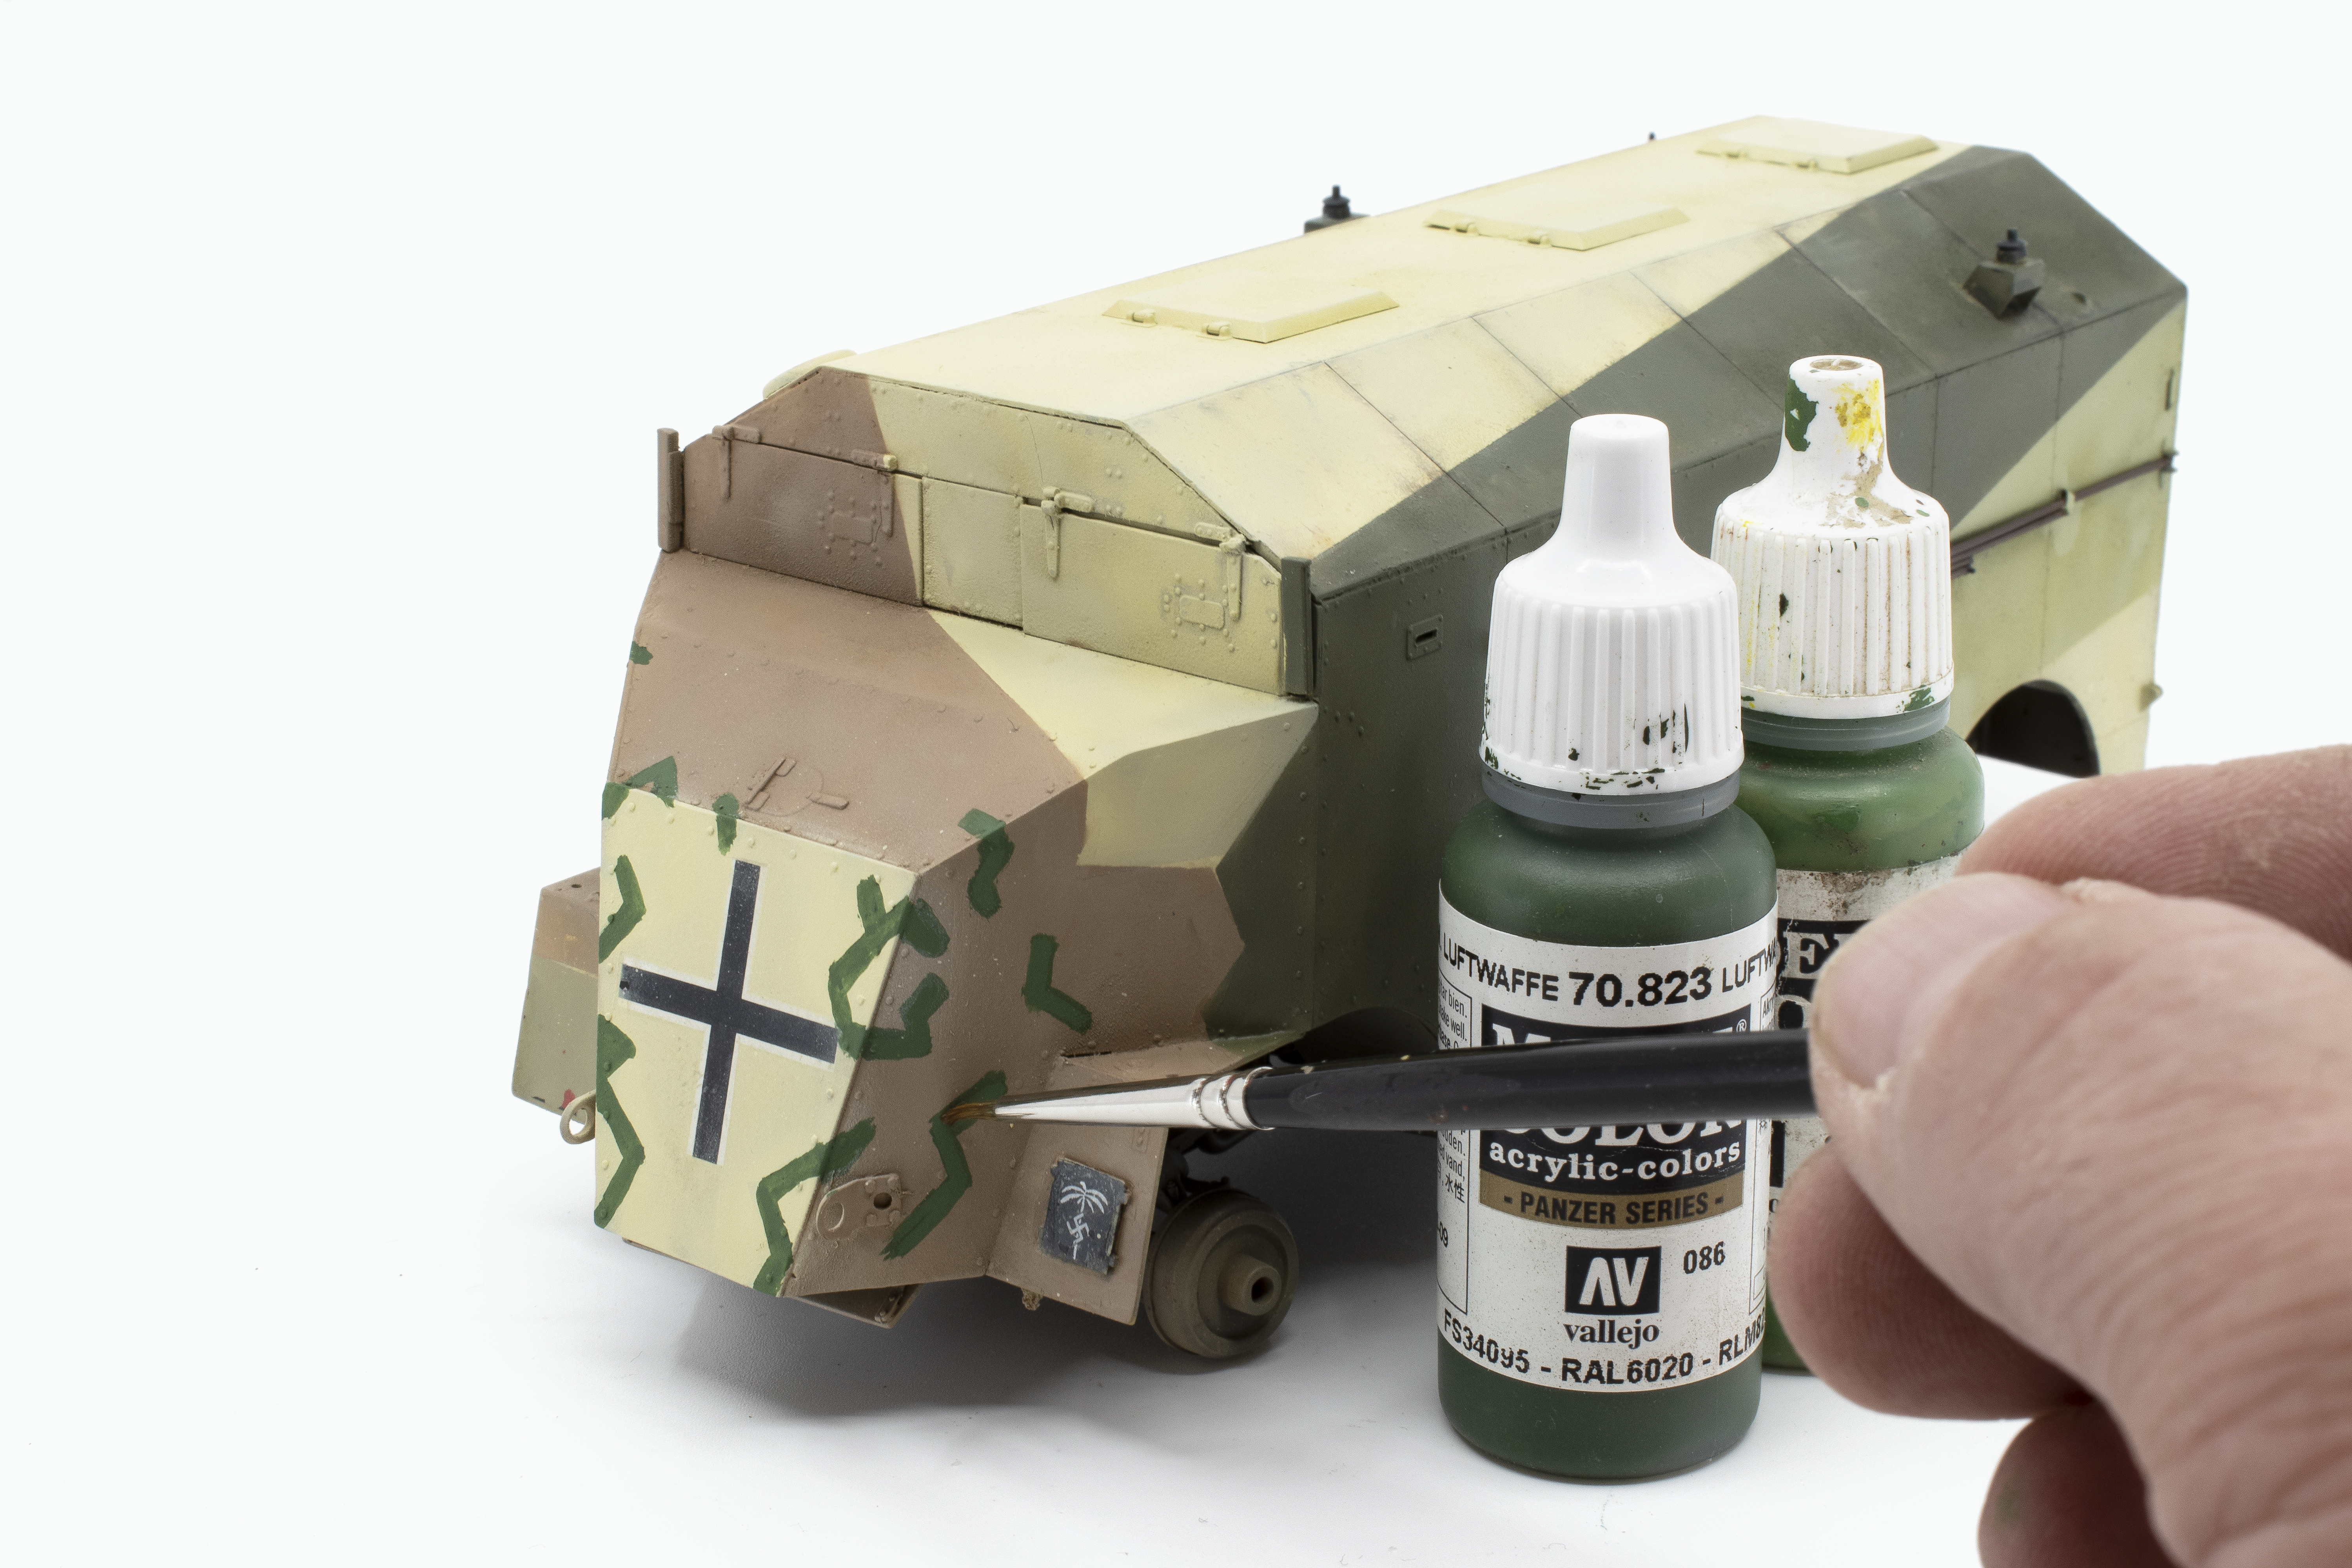 Described as repainted as either Dunkelgleb, Red Brown, Sand Brown – amongst others. The color photos that are available are perhaps colorized. In addition, the car may have been repainted a time or two which only confuses the situation. All of this is a preference to say that I struggled with this area and actually painted this area a few different times. In the end, I reverted back to brown sand color, mixing Tamiya Flat Earth and Buff to achieve the color. Once again, Tamiya tape and painters tape were used for masking.
Reference photos show a disruptive pattern on the front, most often portrayed as hand-painted versus sprayed. To accomplish this, I simply looked at the pictures and tried my best to follow the patterns using a mixture of Vallejo colors. 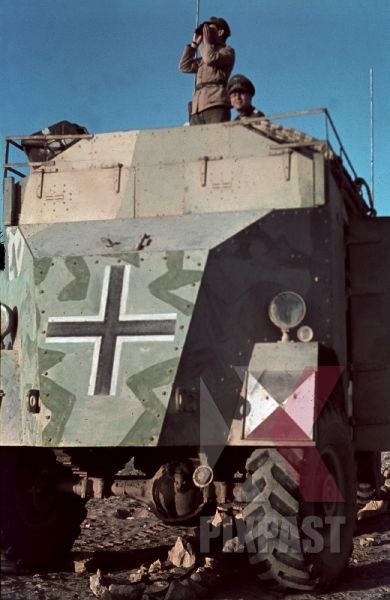 You might also notice that I’ve already applied decals, this is a result of changing my mind and repainting this area multiple times. More about the consequences of my indecisions later.
 I begin the weathering with a light misting of Dark Rubber and Elfenbein/Ivory along panel lines in order to begin a dusty foundation onto which to continue weathering. Using the airbrushed areas as a guide, I began to reinforce the dust areas using highly thinned, and retarded, washes of Lifecolor sand-colored acrylic paints. This can be a tricky, and risky process as water stains may occur which could ruin the effect. Work quickly and in small areas, with excess clean water always available to wash away any unwanted issues. I continued using the same process of adding diluted acrylic paints in order to simulate dust deposits, adding slight color variations to the mixture, working to achieve accumulation and sense of motion.
Switching now to oils, I begin to profile the edges of the panels and add stains and dirt deposits. I also use dust-colored oils to add depth and to soften, or feather, the areas where the strong acrylic dust deposits were 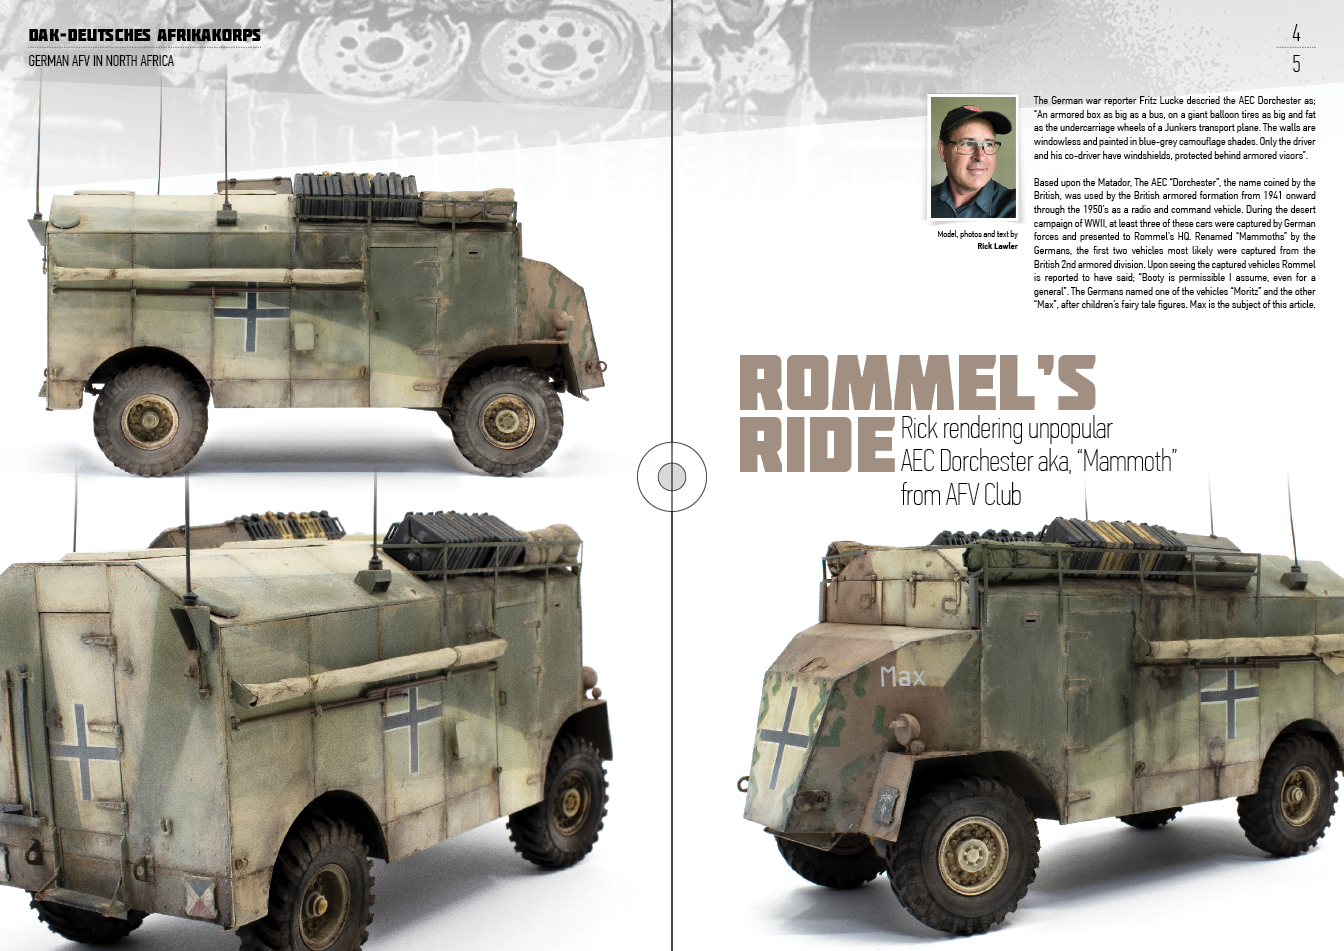 added. While I work, I am continually looking to refine and enhance areas, which leads to a lot of back-n-forth work. In this case, as I begin to work down the sides of the Mammoth I want to portray the large stains the trail down the sides from the moisture of the petrol and water cans as I noticed in the reference photos. To accomplish this I add extra dust streaks to lay the foundation for further weathering. Moving back to the oils, darker stains, and panel line profiling continue. As I said, it’s a balance, a back-n-forth dance, but a dance that I very much enjoy.


Continuing to the rear of the vehicle I used the same processes, beginning by adding heavy acrylic “dust” deposits. I must say that it does take a bit of nerve to begin adding this type of weathering on a perfectly good finish but take chances and you might be pleasantly surprised by the results. After all, it’s only a model. Later, I would once again follow these stains  with oils to blend and soften the edges of these acrylic “maps”. From references, I noticed large stains from the jerry cans carried upon the top racks overtaking the sides of the car. Over the previously applied acrylic maps, I used a combination of AK DAK Wash and Track Wash to provide more severe discoloration and stains. Returning to the rear of the vehicle I add darker shades of dirt and grime, especially to the lower areas using AK DAK Wash. If you recall from before, I began the rear of the vehicle by taking a deep breath and adding the harsh dust deposits using acrylic paint.
The tires. I’ll admit that I am not a fan of rubber tires as I find them hard to paint – and even harder to hold onto the paint. Regardless, I added a bit of wear to the tires using my Xacto knife, a few knacks, and cracks, and then paint them using AK Rubber Black along with a light dusting of AK Afrika Dust effects. 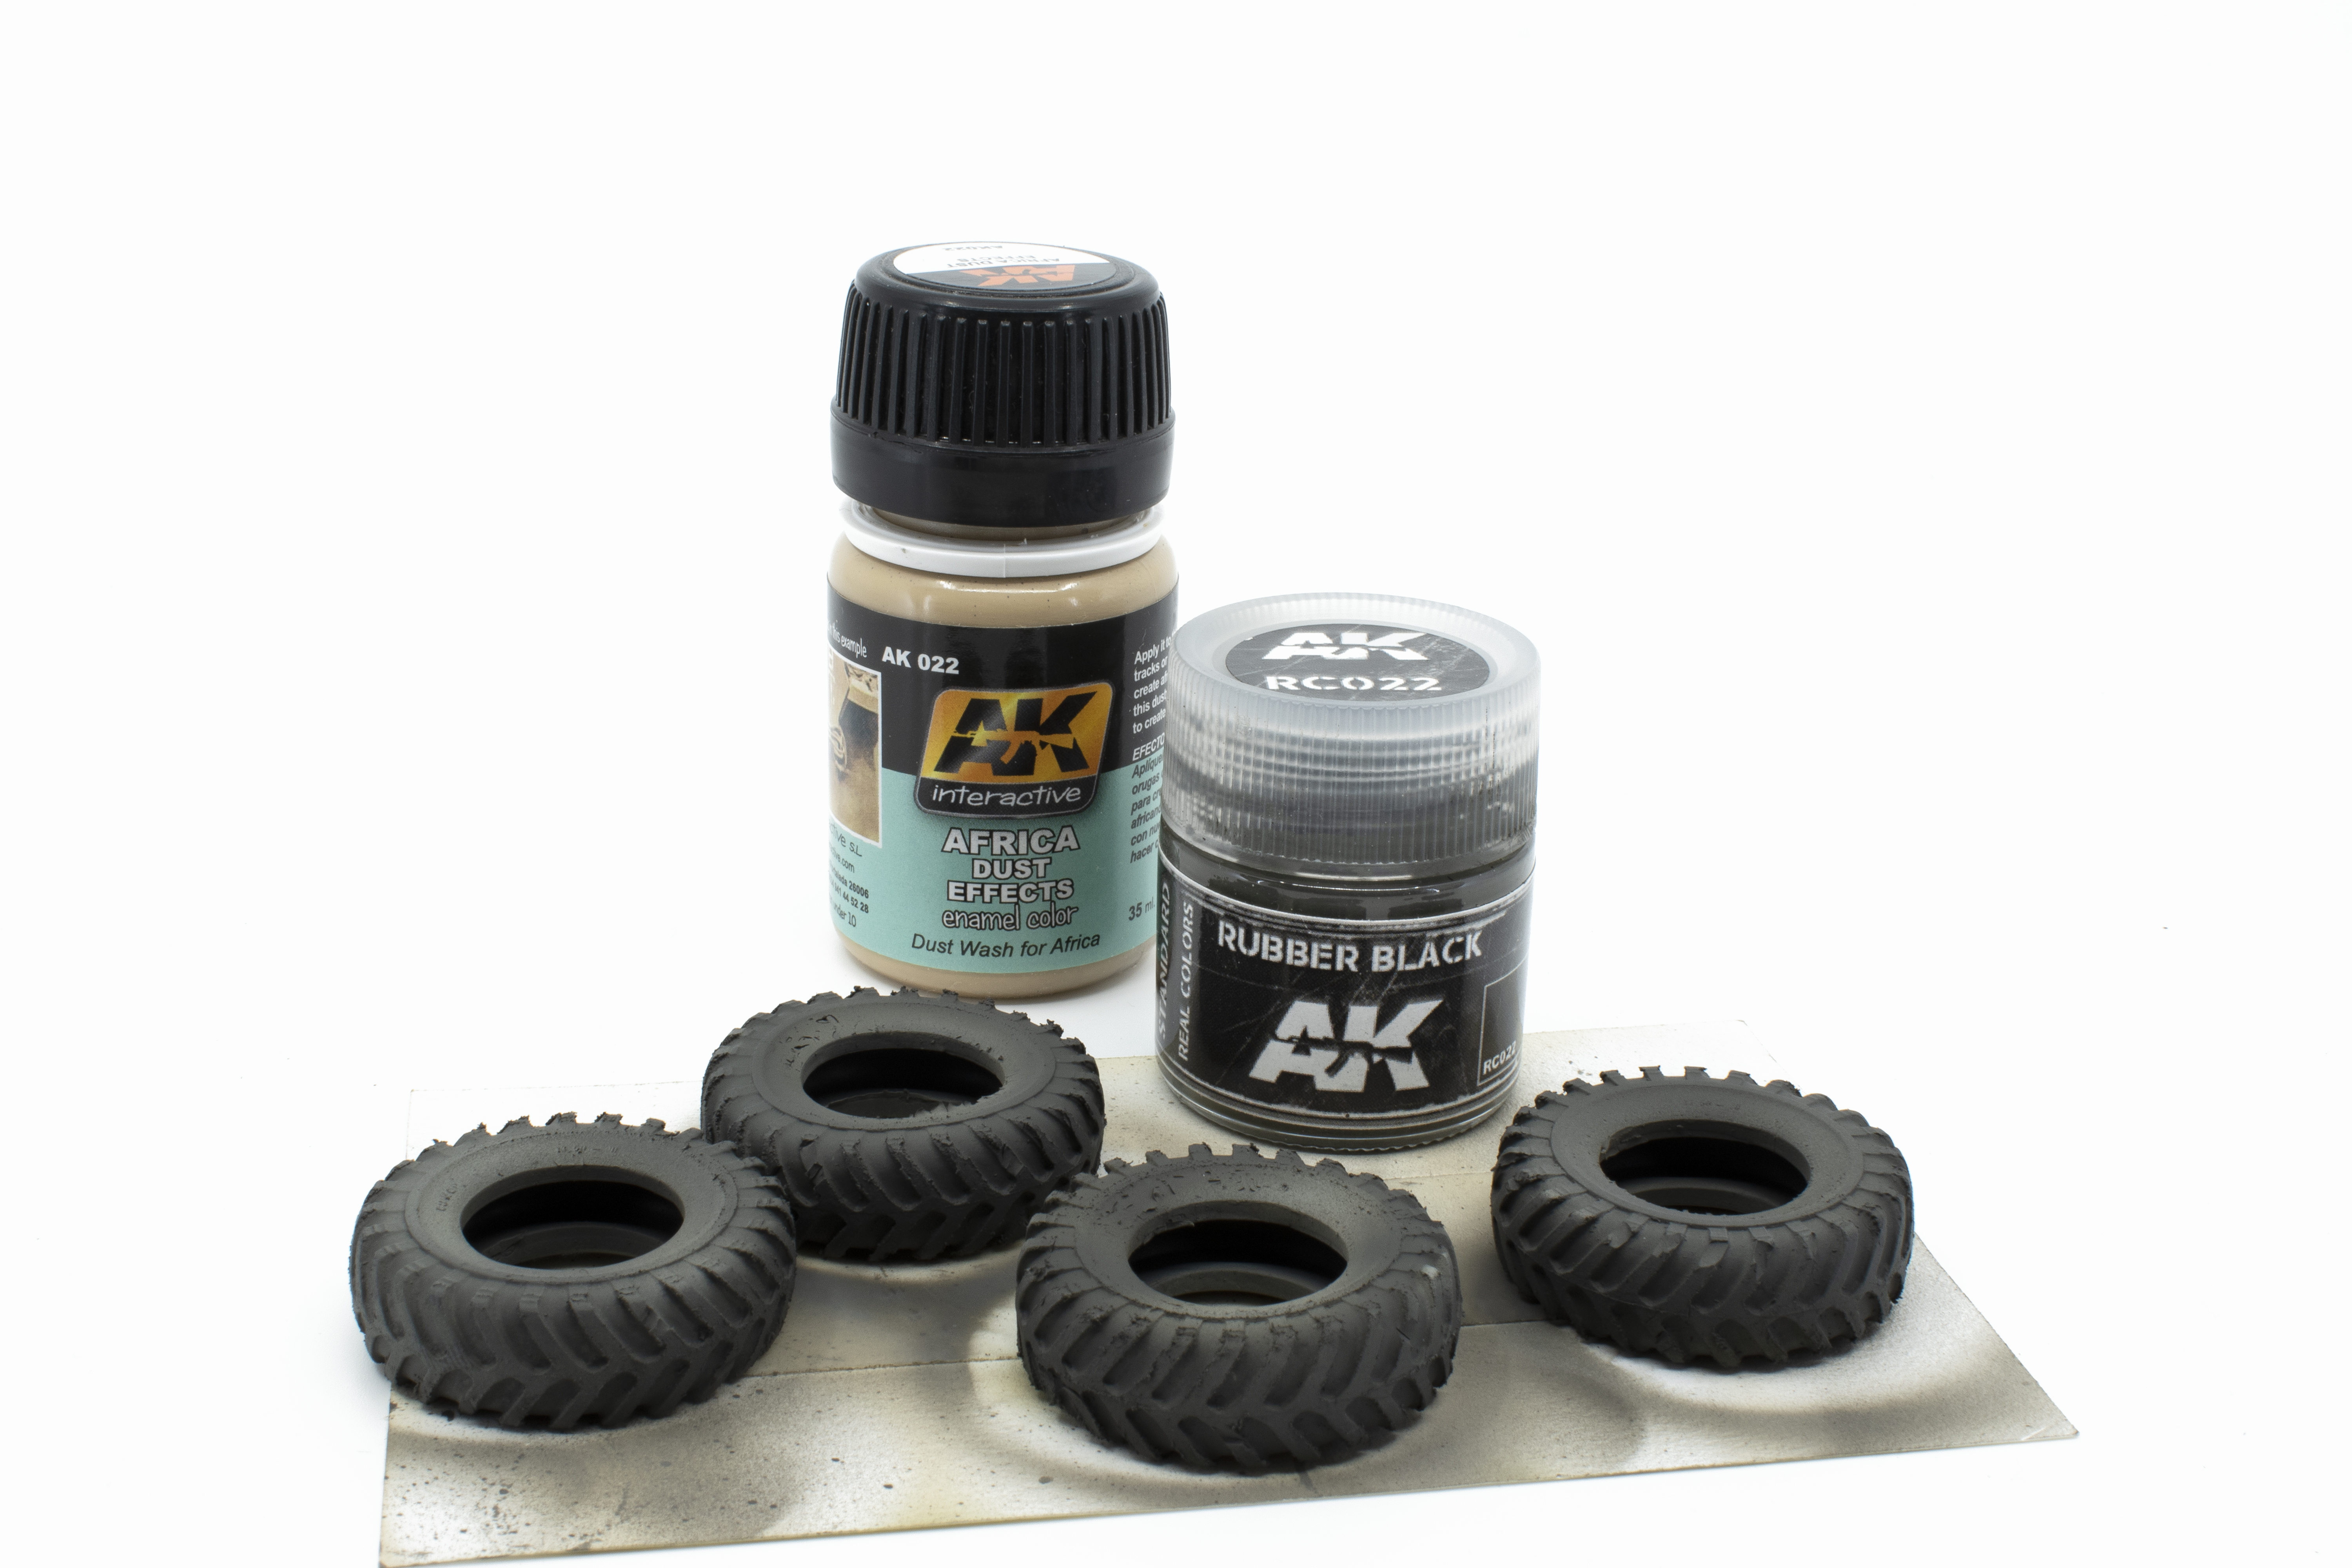
Now I’m are getting toward the end of the process, but still a process. I begin to add pigments onto surfaces to gain a little extra texture. Since this was a desert theme I choose to add the pigments generally in their dry form to certain areas, such as around the door latches, and then remove the excess. Once I am satisfied with the application I flood the area, in this case, an entire panel, with odorless thinner to set the pigments. In this photo, you can see the editing of the pigments versus the initial application of around the front wheel.
Do you remember how I mentioned earlier that I was very unsure of the front area camouflage and 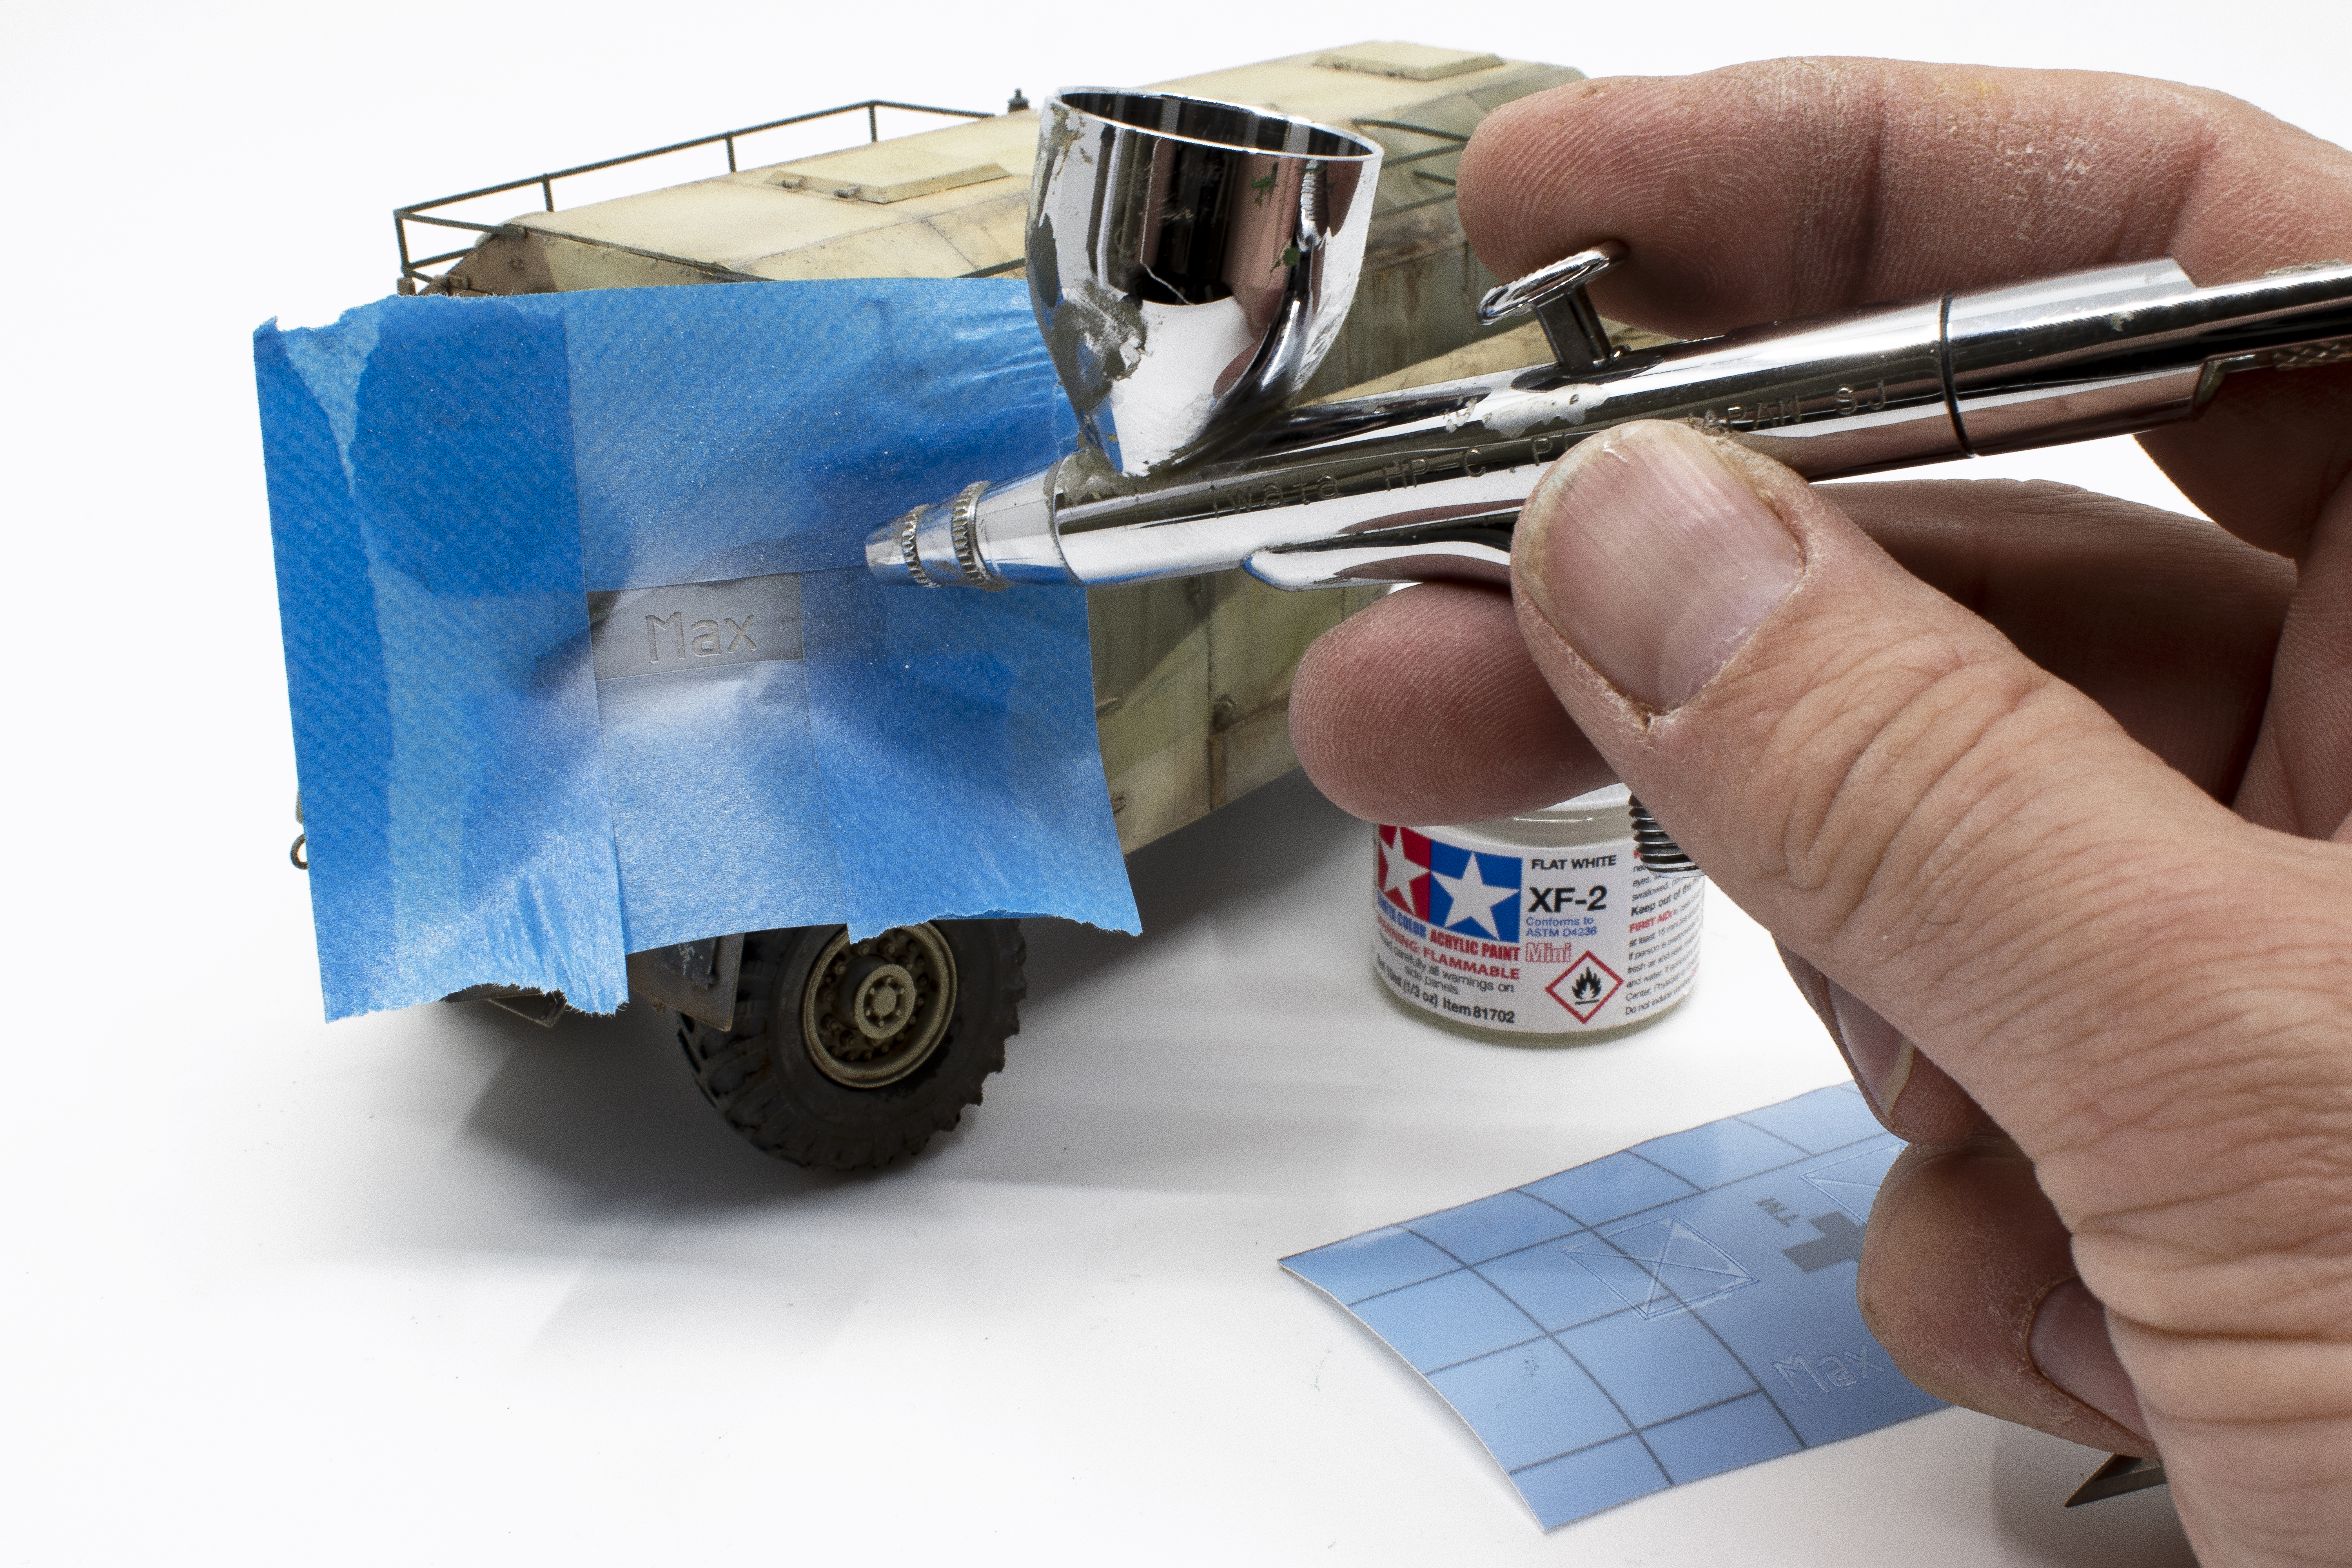 color scheme – and then my consequences? In that uncertainty, I had already applied the decals (attempt number 1), and later revised and repainted the front scheme a number of times; each time masking over the decals. During these revisions and masking attempts, I destroyed the decals, the iconic “Max” and “Field marshal” plaque in particular. My solution was to call a favor from my friend, Matthew Sinclair, who was able to provide me with masks for these two areas. Thanks, buddy! Upon applying the mask, I begin by applying a very light layer of paint which serves to seal the edges of the mask. When working with masks it’s important to remember that the colors are built-up slowly, light mist layers. Allowing each layer to dry before the next helps to ensure that there is no bleeding under the mask.


![]()