
 If there was ever one of those Just Do Something to Do Something projects, this is certainly it!! I had contacted my friend Charlie Pritchett who is working with the TAKOM model company. I took advantage of this knowing that if I asked for “something to work on” he’d find something that he’d like showcased for the line. Fair enough!! The offer was the T3 Transporter (VW) vans. Takom offers two styles, a van edition, and a short-cab rear cargo version. On the Takom website, both are conceptualized in German/NATO camo as they have history being used for general purpose vehicles. That was going to be fine with me….however…..follow me….
On most days I ride my bike to work each day – 15 miles. After arriving, I change my clothes and then walk to the nearby shops to bring back my morning cup of coffee. About 2 blocks from my work there is a railroad crossing that, on most days, is a pain in the ass because my timing seems to always coincide with a long, slow train blocking my morning walk.
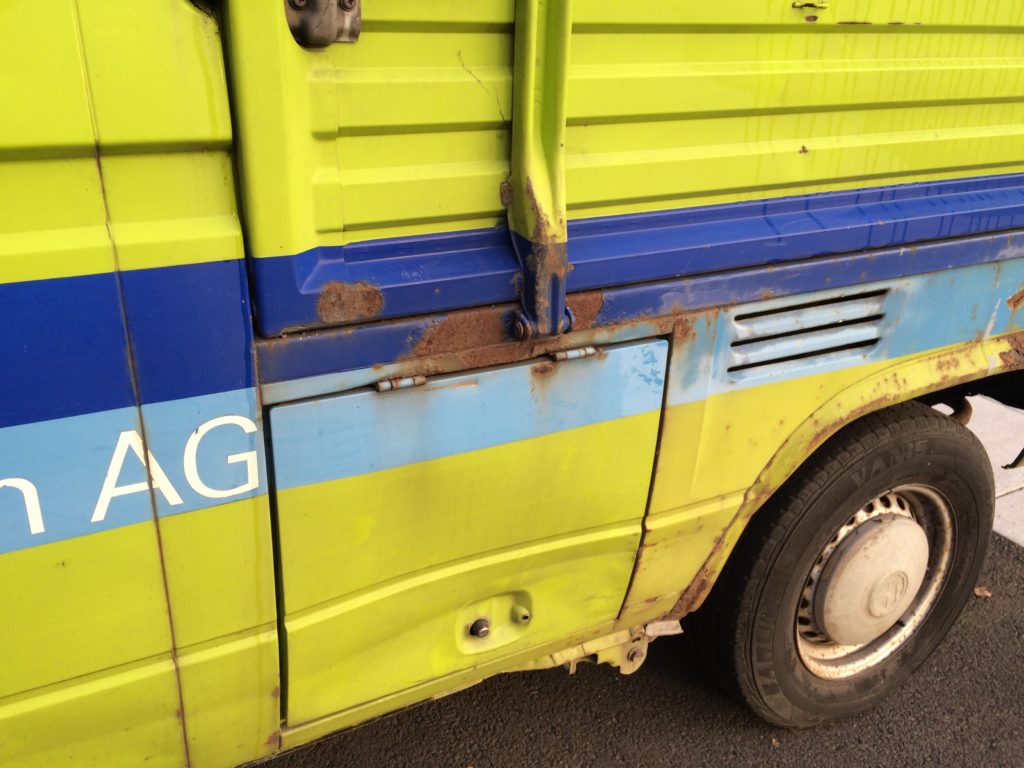
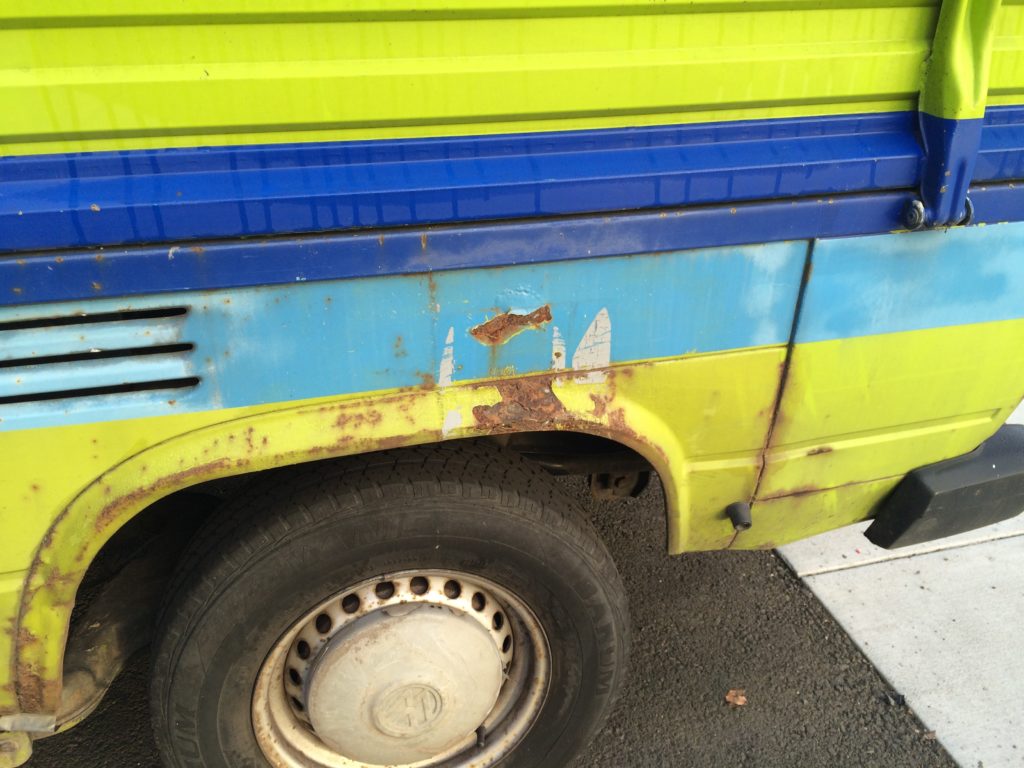
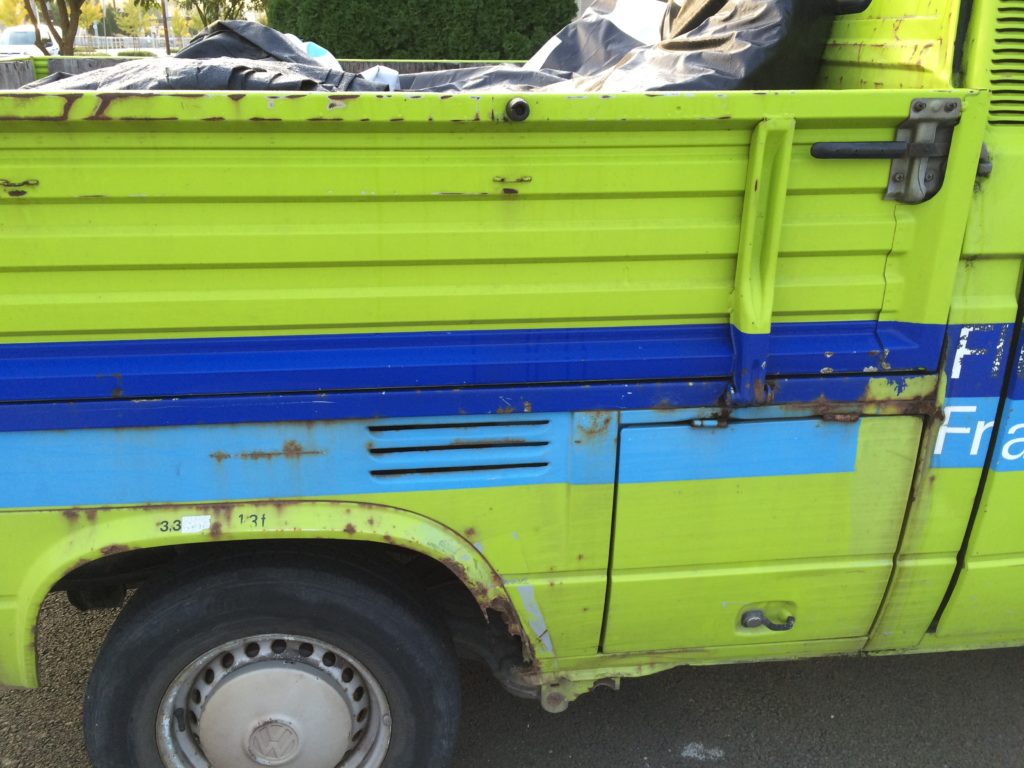
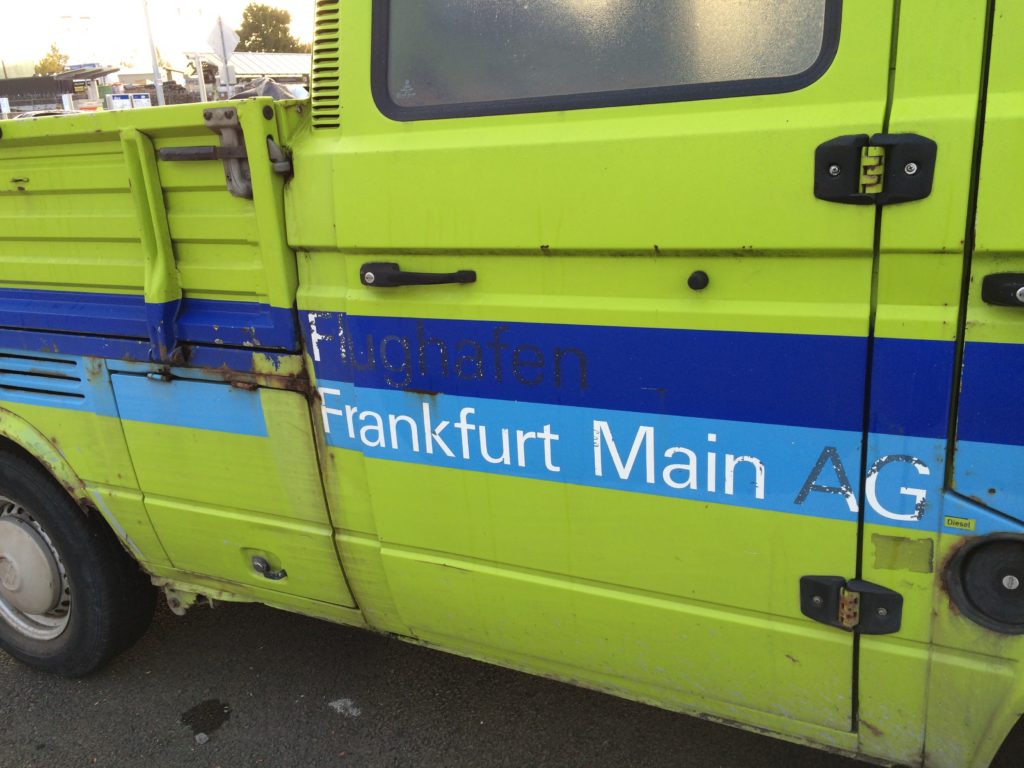
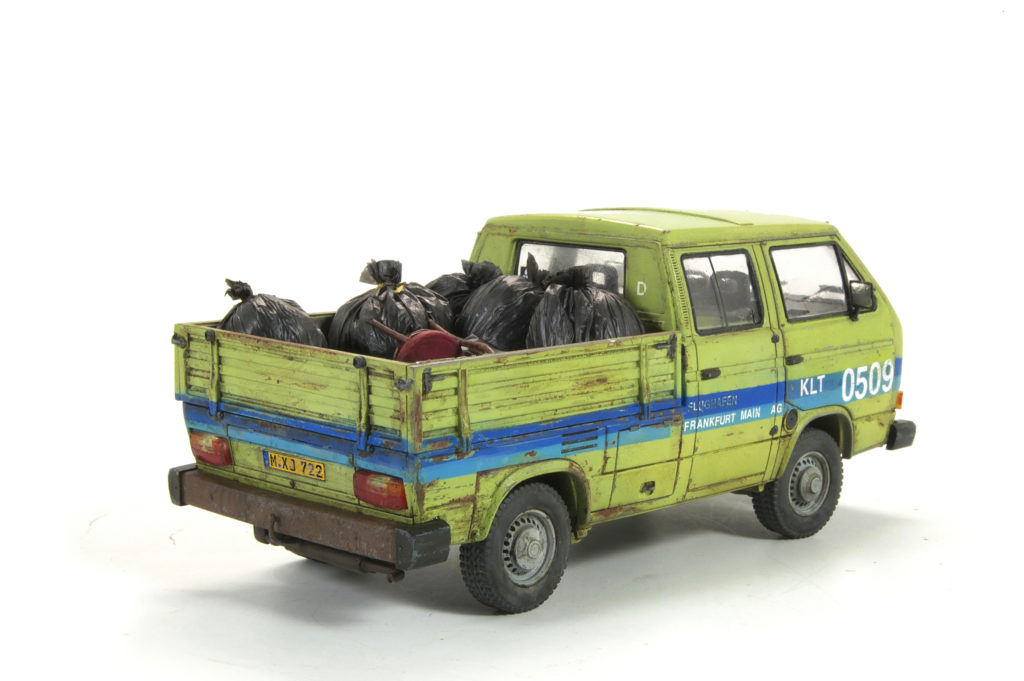
 On one of these days, while waiting for the train to finish crossing my path I happened to notice that a nearby business had a T3 parked in the lot. A weathered vehicle painted in bright – hi-visual – colors as serving at the Frankfurt airport. OH MY!!! It is perfect!
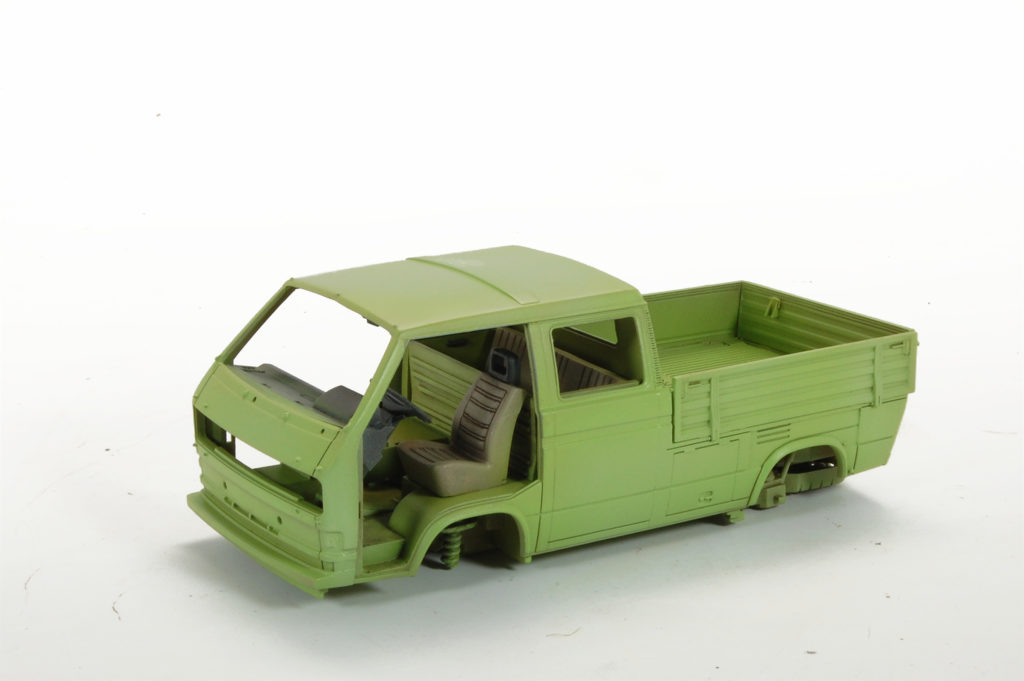
I immediately thought of the possibilities – and challenges – of reproducing this brightly colored eye candy. Once back to my work I emailed Charlie to see which of the 2 versions of the T3 he had sent – and as fate would have it, it was the short cab transporter version…..PERFECT!
While this was a bit our of my usual realm (primarily being an armor guy), the thought of adding bright colors and specific markings and decorations was both exhilarating and terrifying. I spent the next few days, until my package arrived, taking reference photos and developing my plan of attack. Dry transfer letters and numbers, I decided, would be a better (easier) solution than making masks (at least I hoped). The package arrived within a few days and the build begins.
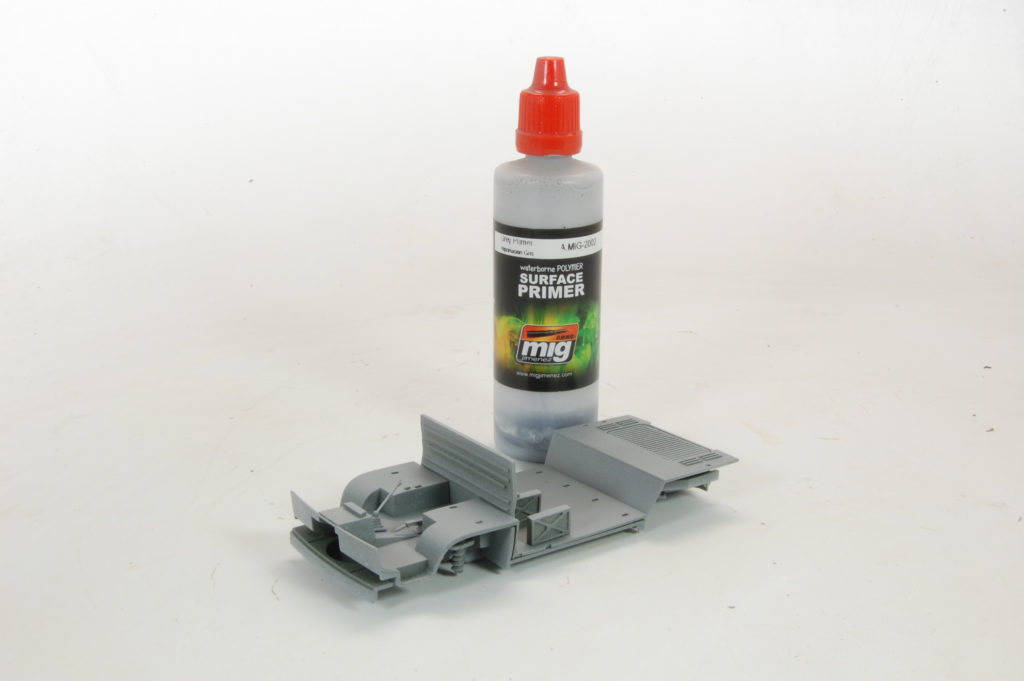
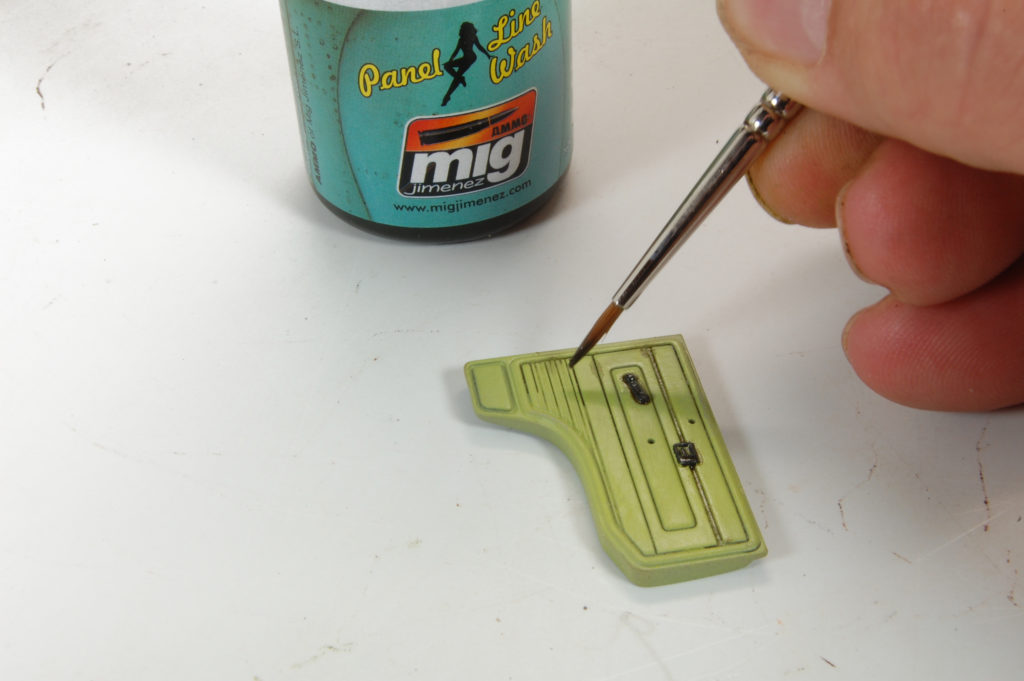
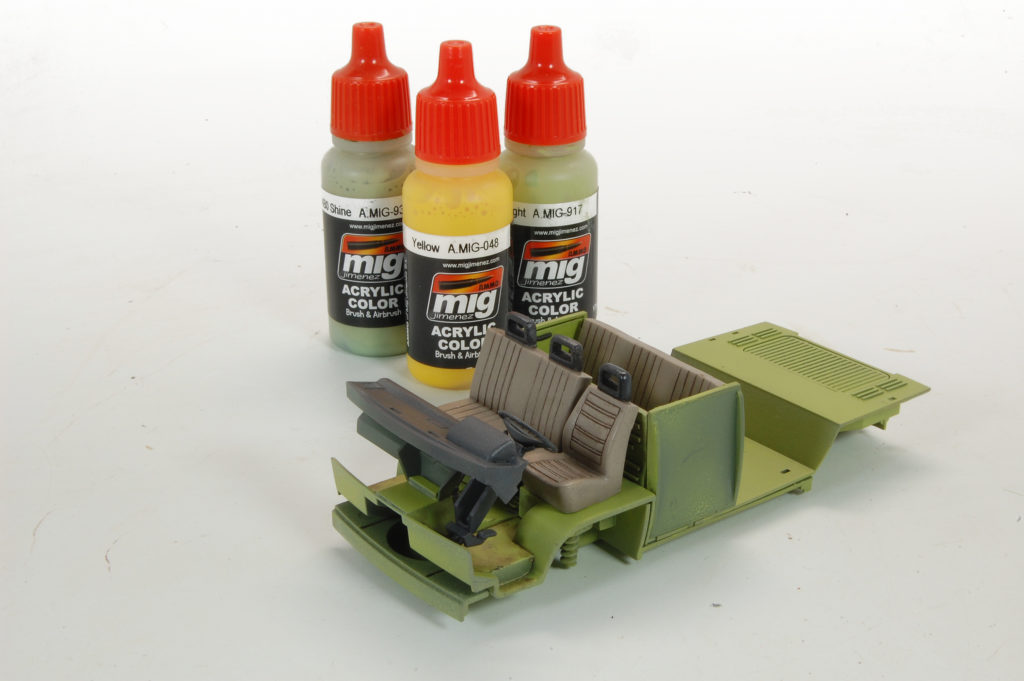
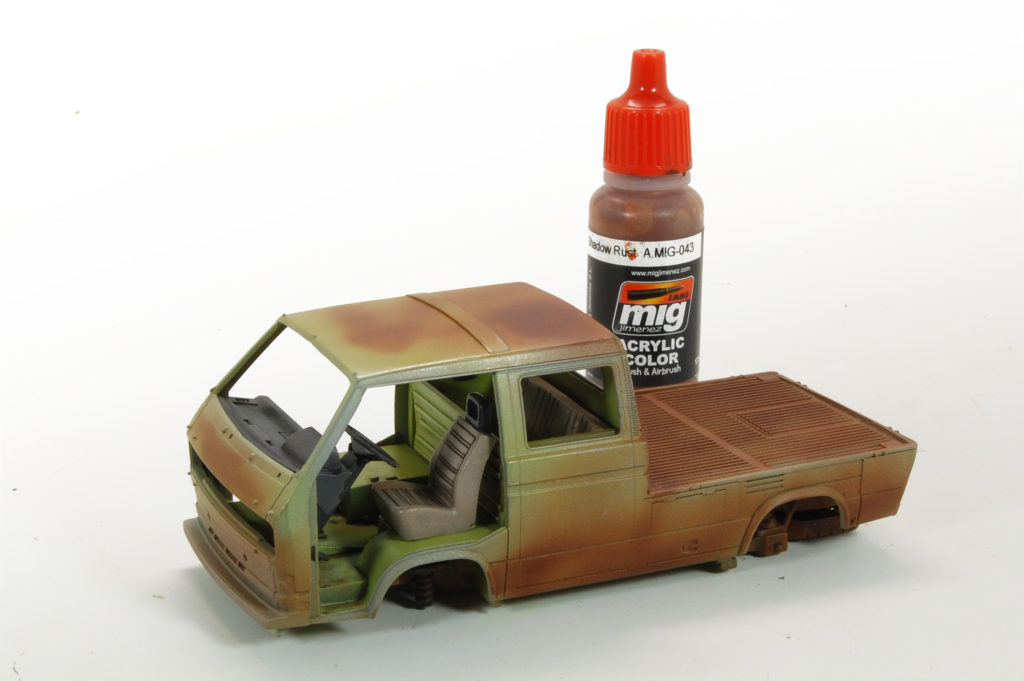
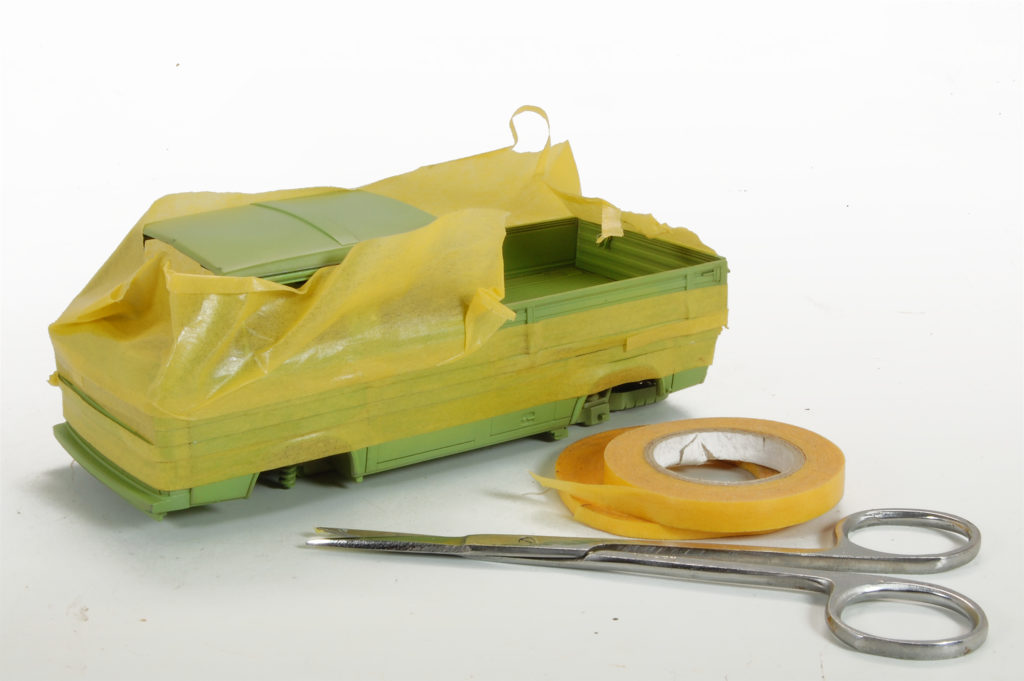
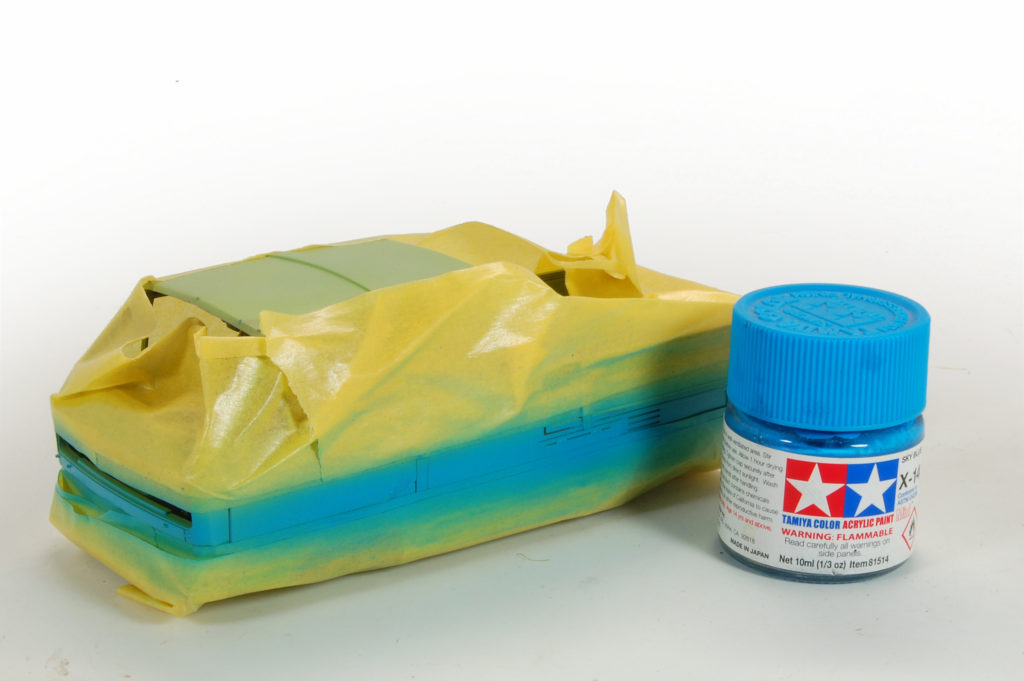
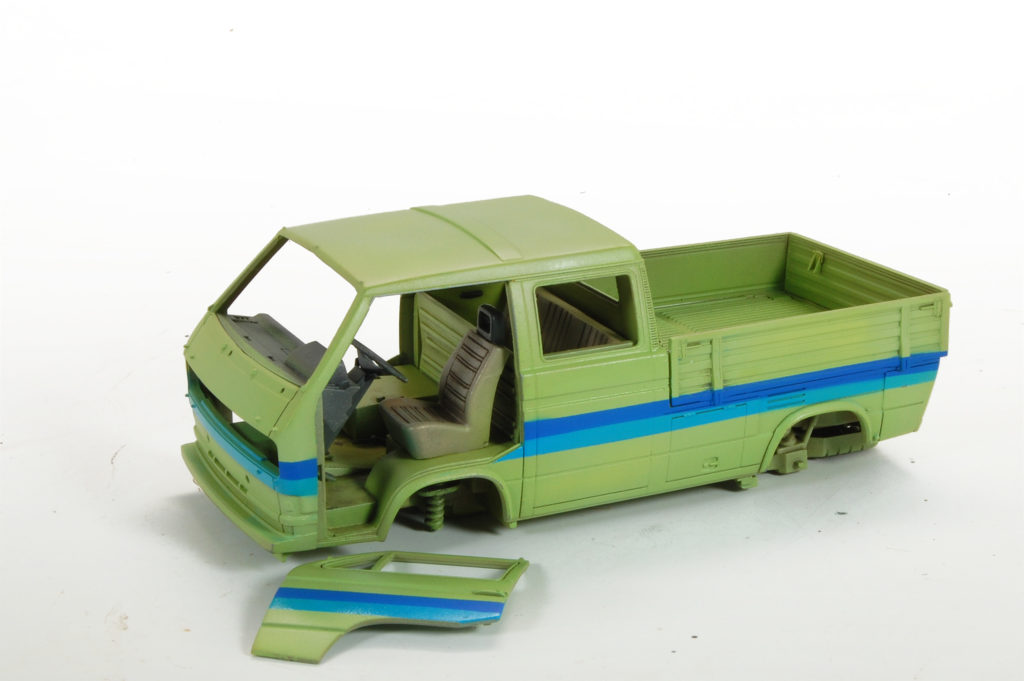
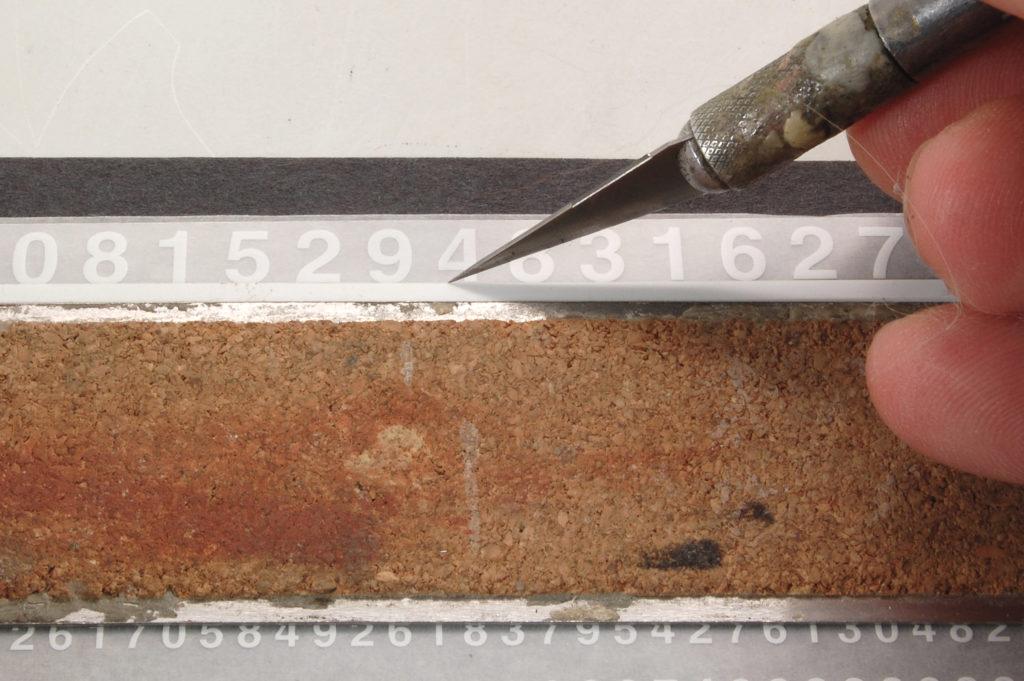
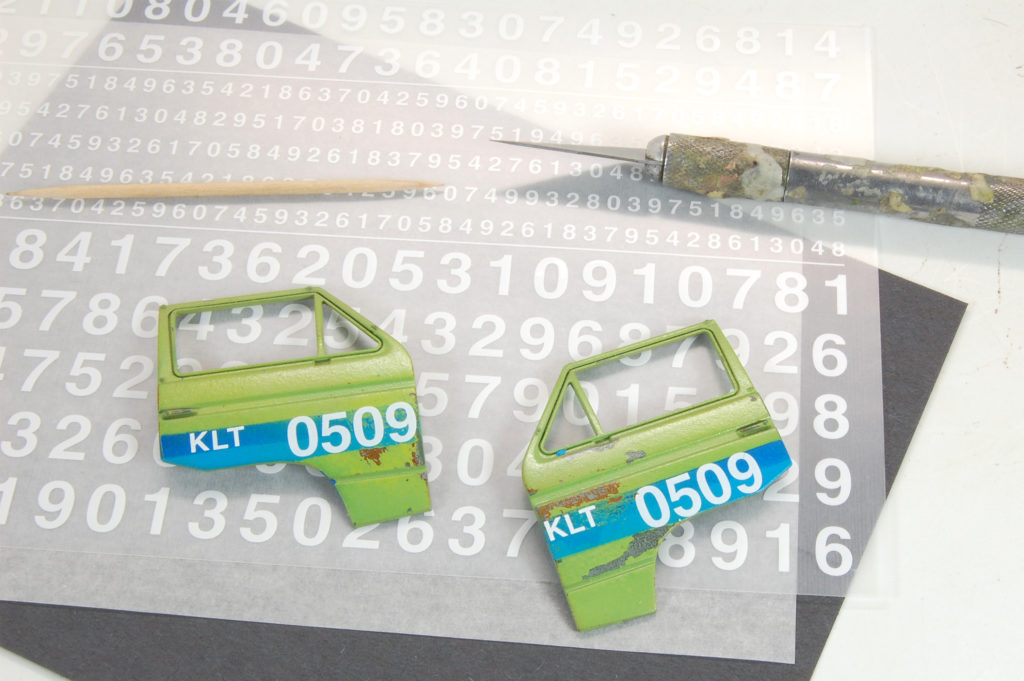
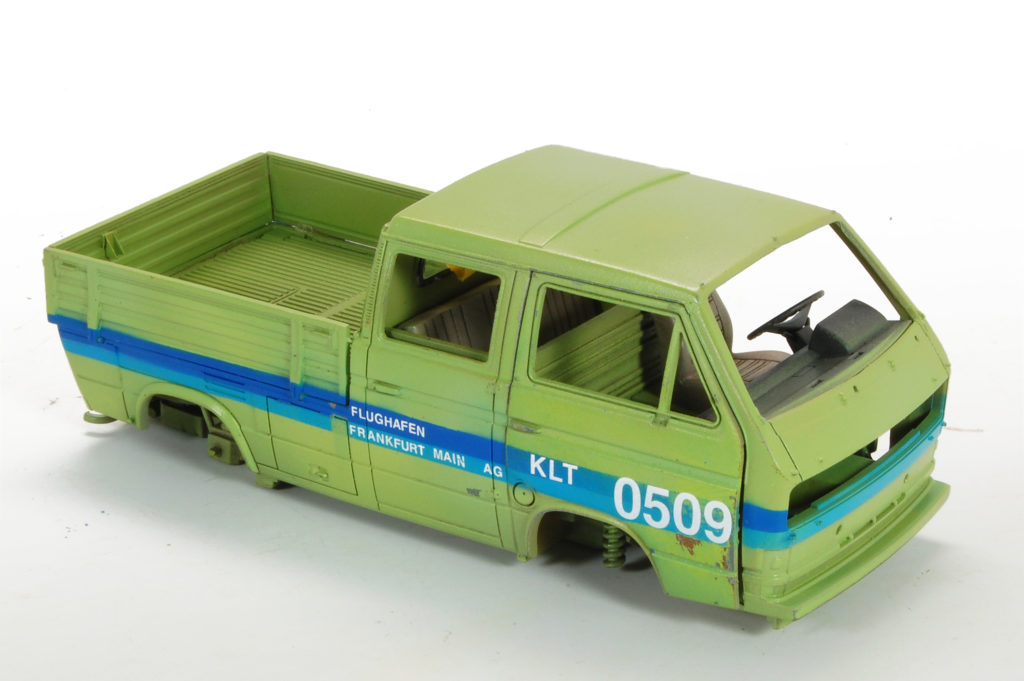
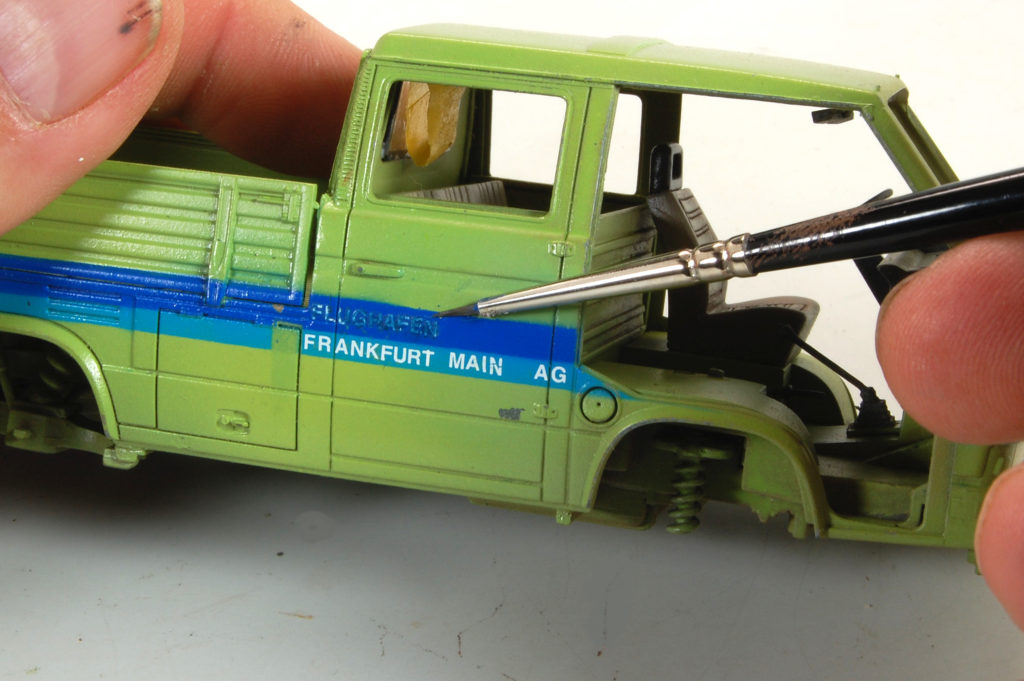

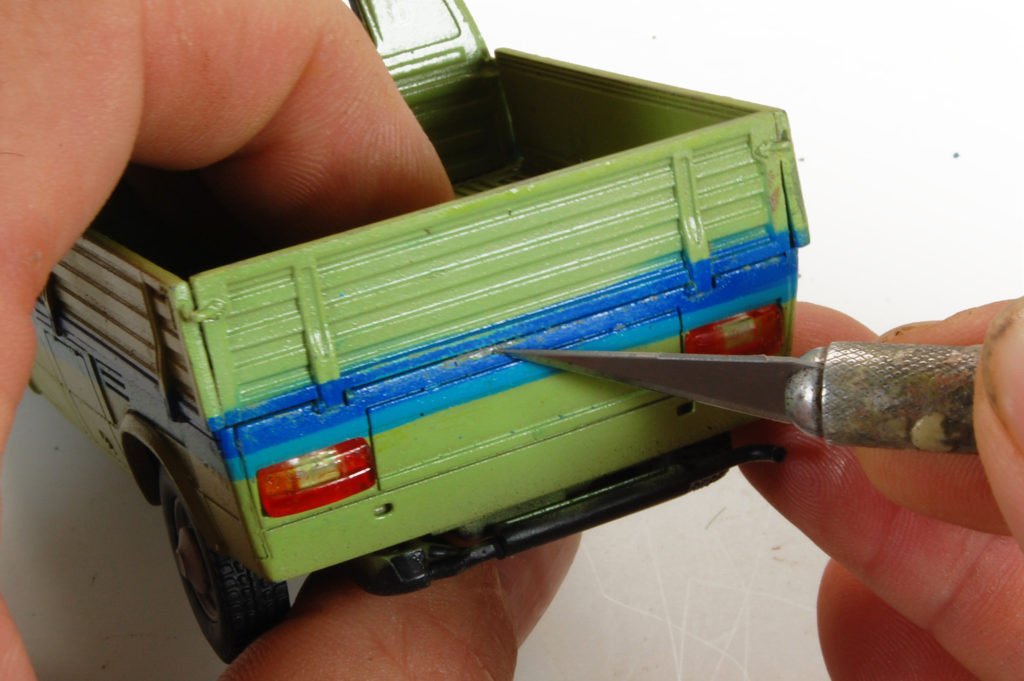
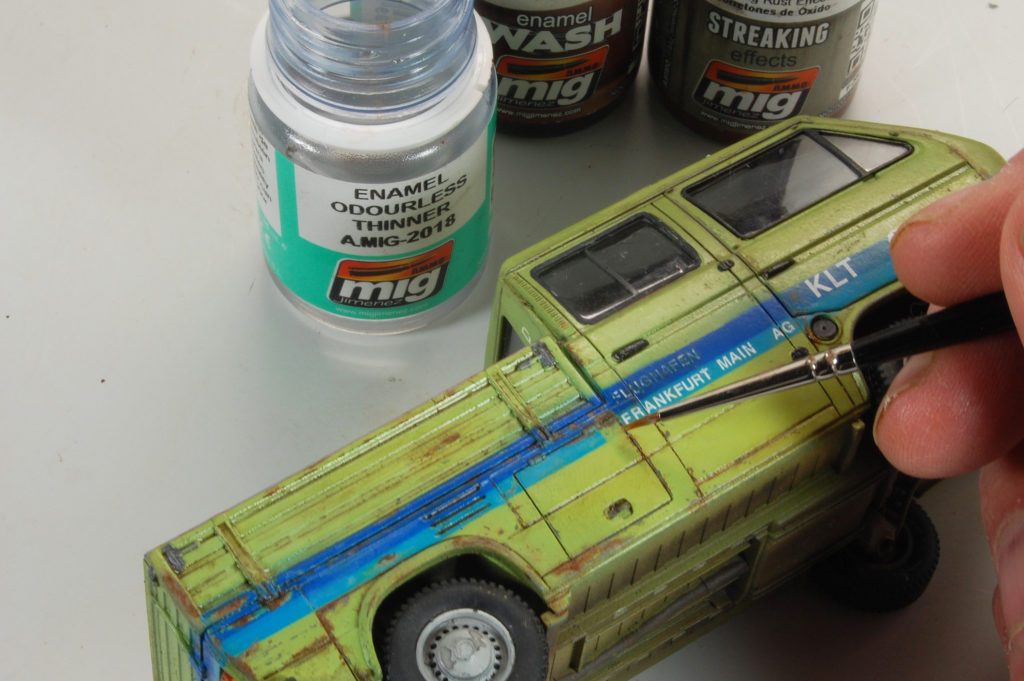
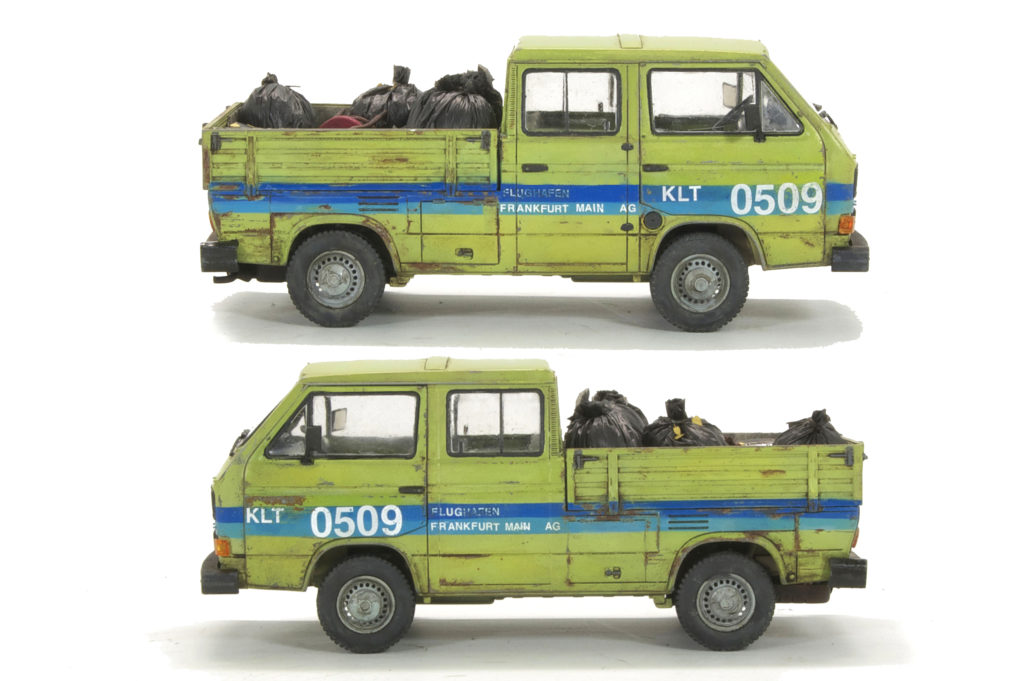
As you can see there was quite a bit of custom color matching and my struggles with masking lines and adding the dry-transfer markings. Painting, overall, began with a base layer of rust colors. Over this were applied the bright colors and markings. I felt from the outset that the final distressed finish would be a combination of Chipping Effects, Fine Painting and as you can see by the toothpicks – good old fashioned scrapping. Having a reference literarily just around the corner is nice and handy, but also daunting as I really began to over-analyze every speck and blemish. The other thing that I always reminded myself was that I portraying an actual, operational vehicle – not one of the rust-relics that we so often like to paint. I needed to keep the effects under control. A few shots of the real vehicle.

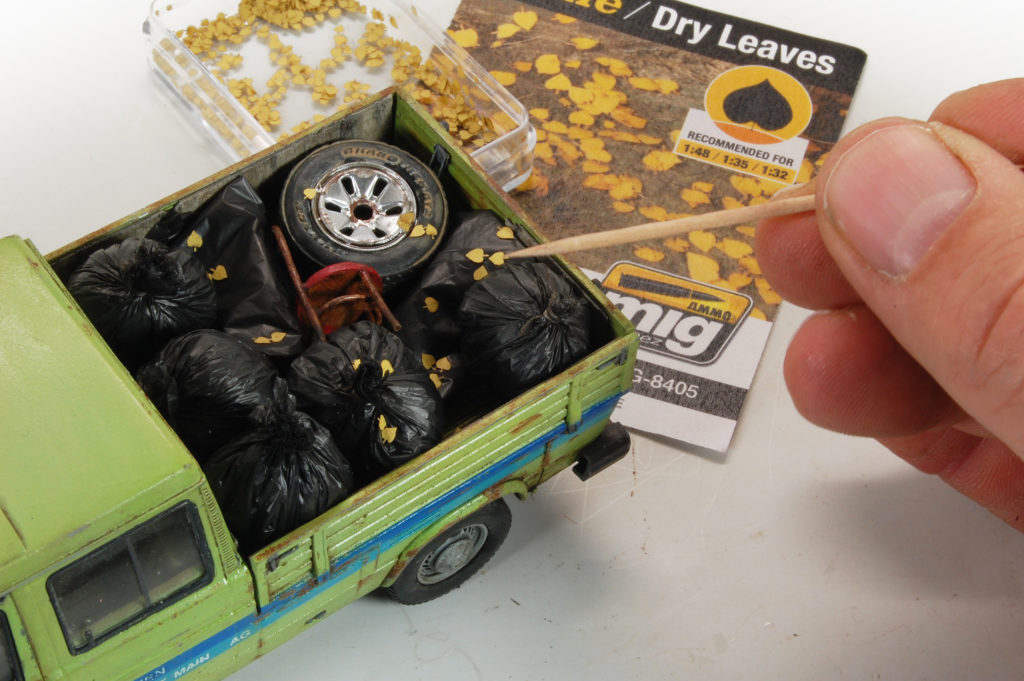
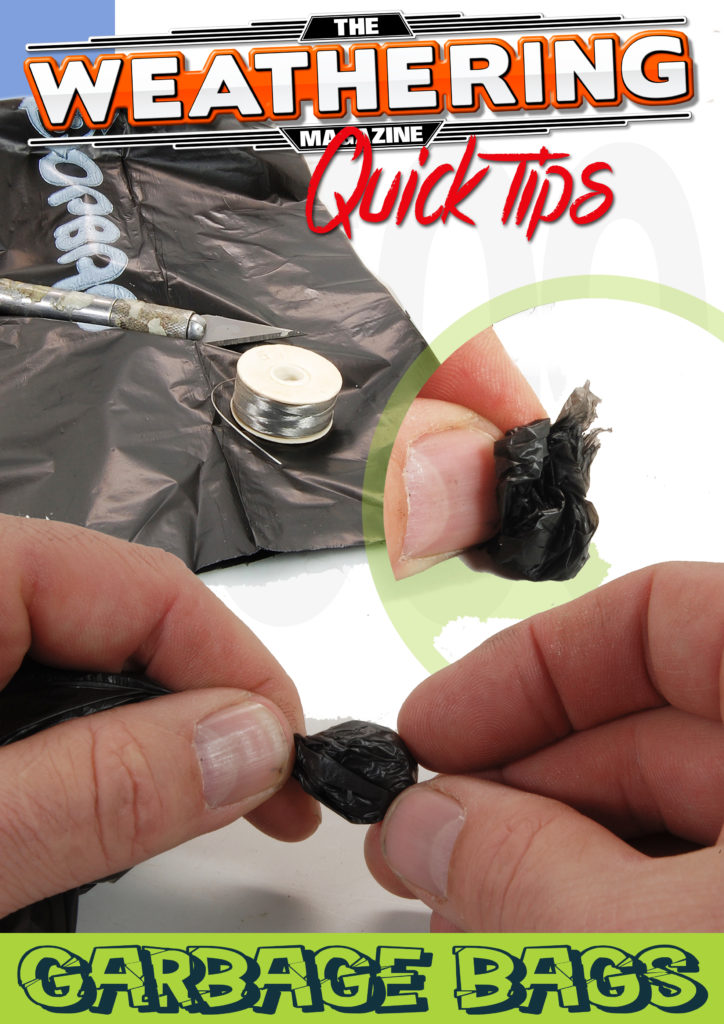
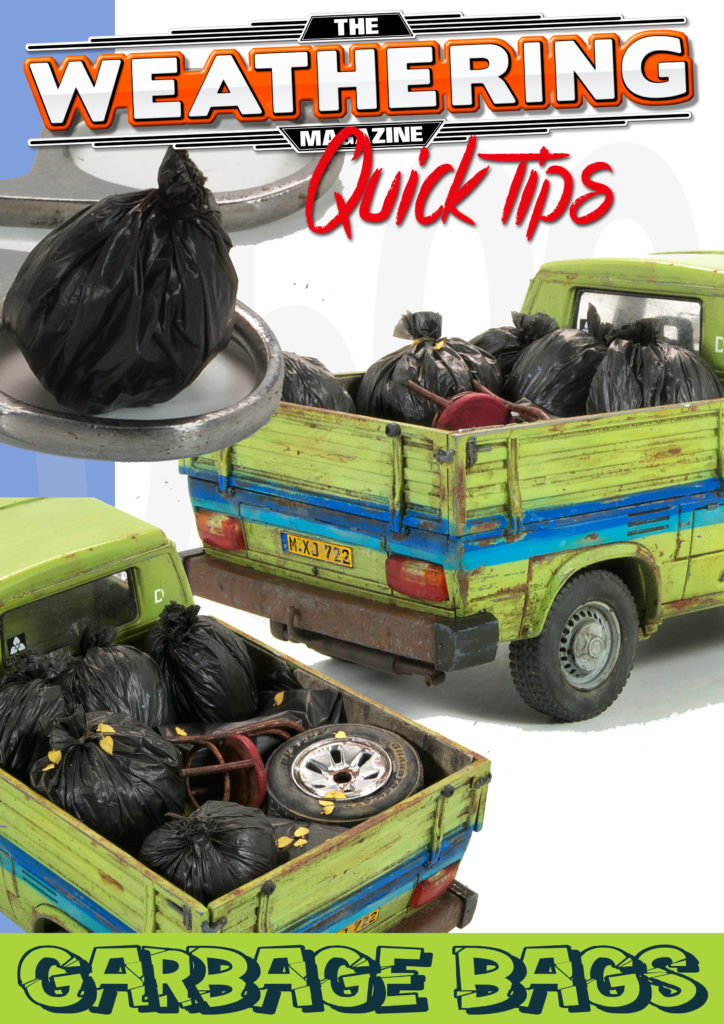
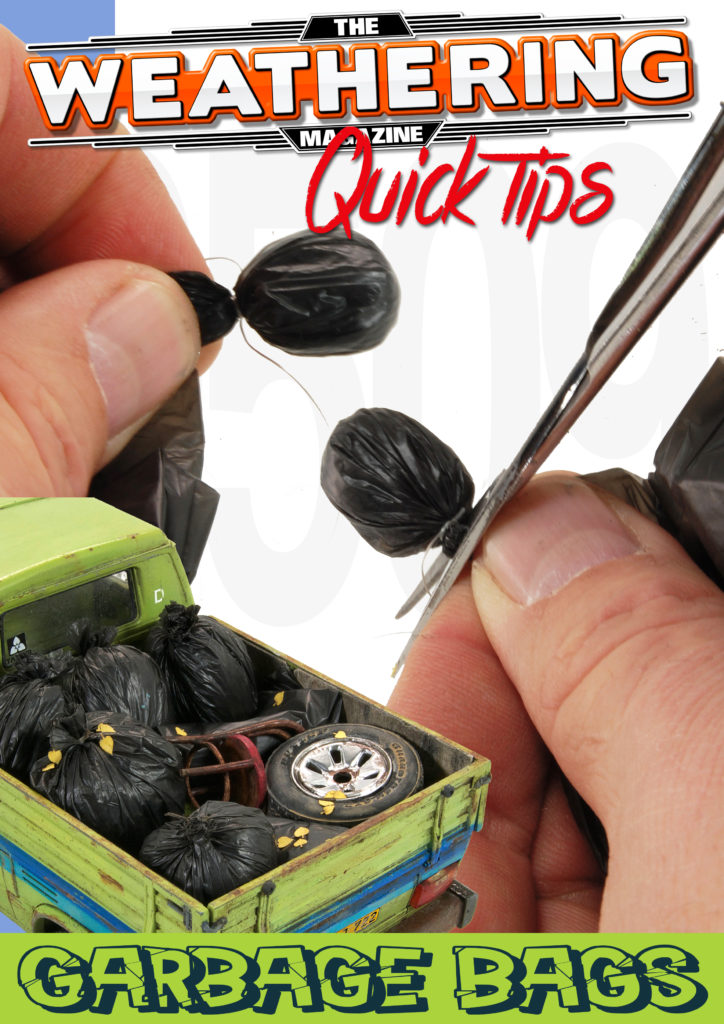
One of the dilemmas would be how to recreate the garbage and debris that is stored in the rear bed. Debris is easy, but the black tarps or garbage bags seemed to be a bit of a stumbling block. As it turned out fate was once again on my side. We happened to run out of dog-poop bags about now – and I was the one that ended up going to the store. Wow! The thin nature of the dog bags is perfect scale thickness for 1/35 black plastic garbage bags – the folds and creases are just perfect. I made small pockets of the bags and filled them with napkin filler and then tied them off. I felt that the idea was good enough to use if for a Weathering Magazine Quick Tips!!! In case you missed it – here you go.

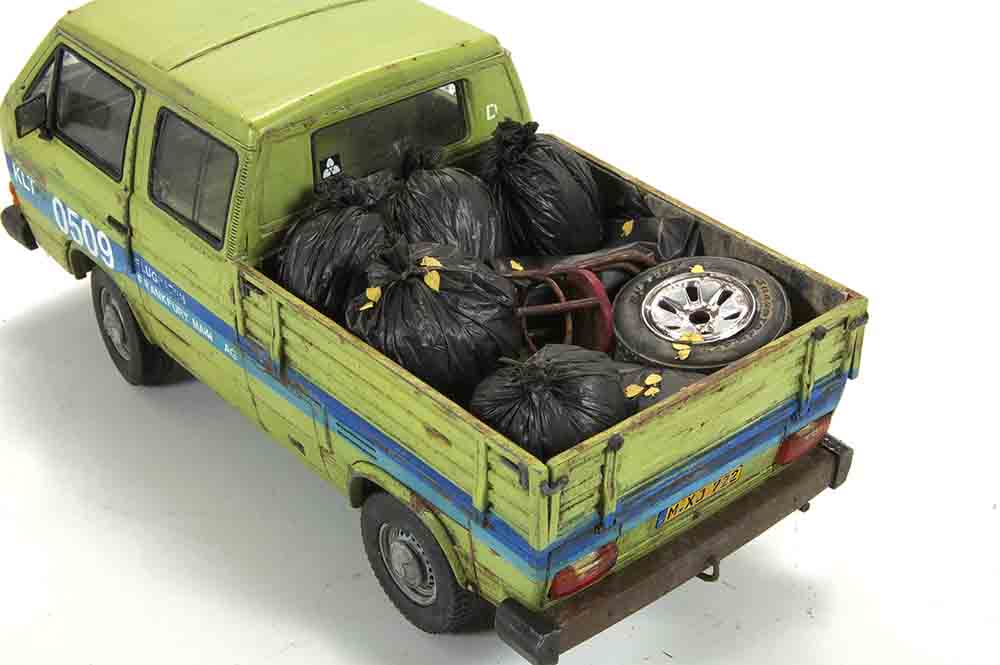
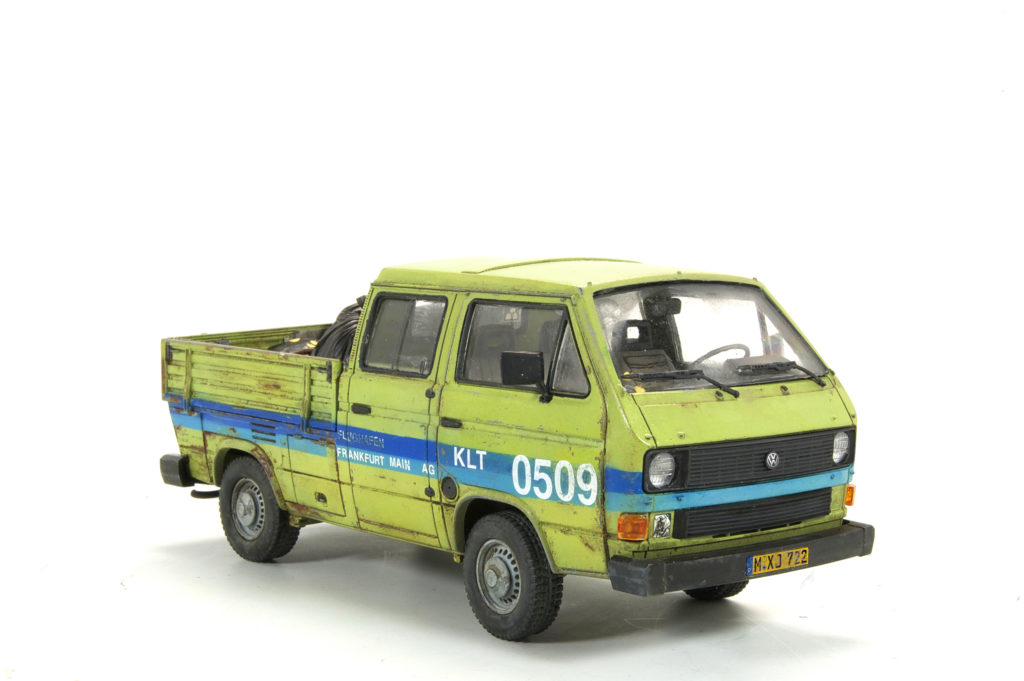
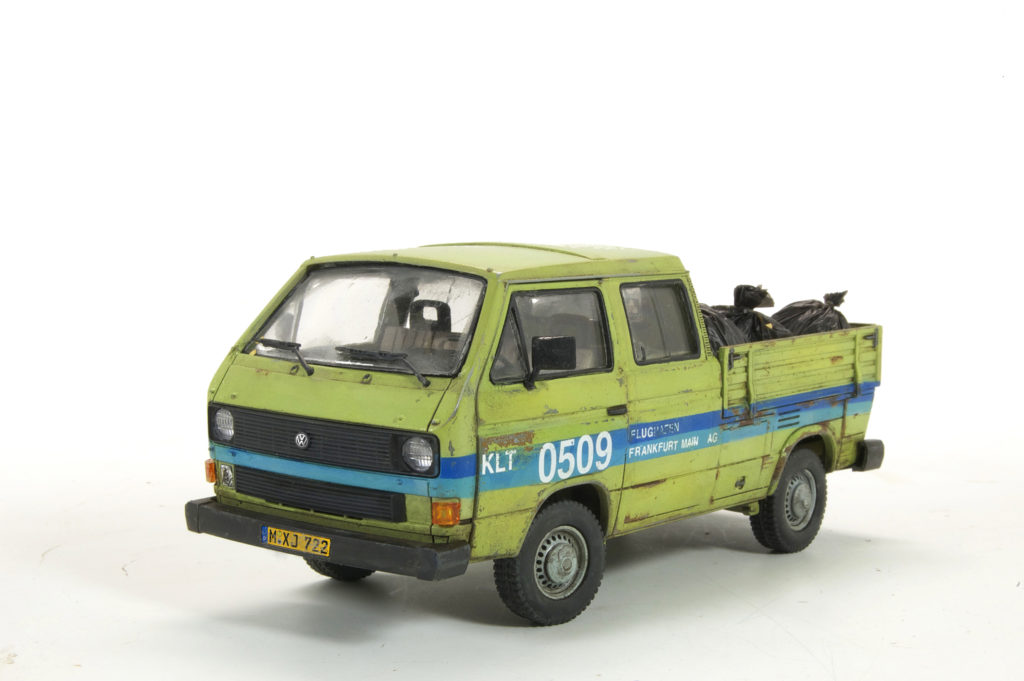
And of course – finally – the finished photos: Thanks.
![]()