Weathering the Rails
 If you happen to read these articles in any sort of sequential manner, you’ll notice that it’s been quite a while since I’ve updated. Kinda sucks! Not so much for you as I doubt that you pay too much attention to any of this, but for me indicates that either I’m not building models or that I’m lazy. The truth lays somewhere in the middle – busy and lazy. (can the two co-exist?) Well….sure, why not?
What I have been doing, in a modeling sense, is quite a few projects for AMMO of Mig Jimenez. Again, if you read sequentially you’ll have followed my path within the industry….first with MIG Productions, then AK Interactive and now with AMMO. I have enjoyed every aspect and very much appreciate the opportunities that I have been presented to me, but I am extremely happy working with the AMMO team and have enjoy every minute of it. So, why this bit of historical introduction? Because one of the reasons that I haven’t had much 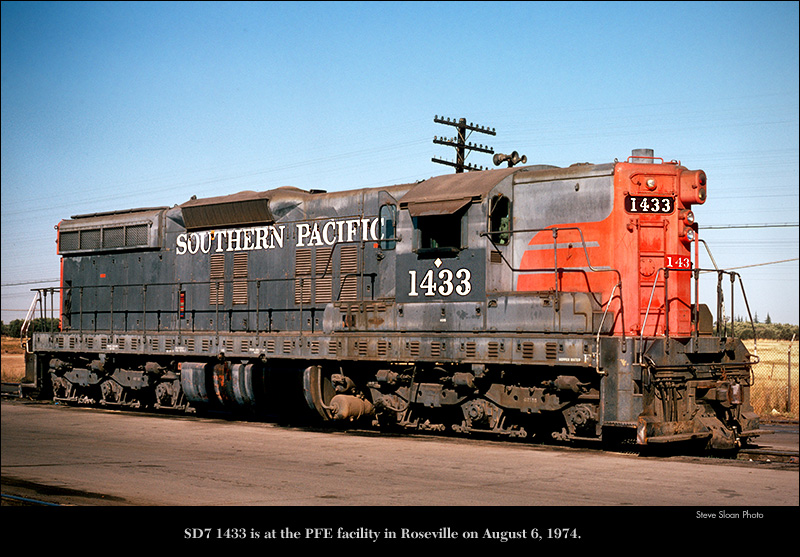 time to update my personal website is that I have been doing quite a bit of work specifically for AMMO. The project gets done, the work shown in whatever context it is meant, but I never get around to posting it here.
Well, here we go – a little catch up. This project was originally intended to be added content for the re-release of Issue 1 of The Weathering Magazine – the Rust Issue. Mig asked me to prepare a rail car, weathered and rusty, to be included with the release. As it turned out, once he saw the content he decided that it would be better, have more impact and be of better use as a AMMO Techniques Blog article – rather than a magazine article.
|
|
|
|
|
|
|
|
|
|
So what we have here is basically the re-print of the article as shown in the Techniques Blog – with a little added content. The added content being that while I was working I was doing 2 cars at once – one made it to the blog, the other being held in reserve for ??? Well, at least so far it hasn’t been used, so I’ll add a few shots of it here. Here we go:
In American Culture there is a romantic notion around trains; a sense of freedom, of exportation and of adventure. While it’s a nice ideal, the reality is that trains do a lot of heavy hauling, day after day, mile upon mile in all types of weather. Rust and stains are badges of honor for a ling life of service on the rails. It is this combination of steel framed construction and extreme conditions that gives modelers a special notion about trains.
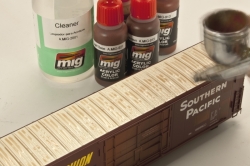
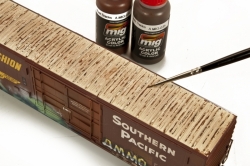
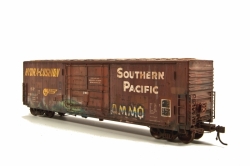
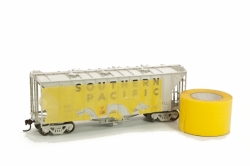
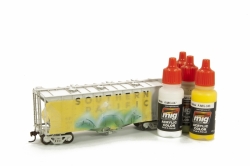
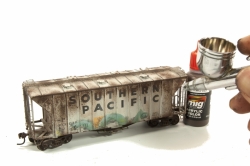
HO scale train cars provide an excellent option for modelers looking for a quick and fairly inexpensive subject to practice rust and weathering techniques. The final choice of style was easy for me as the Southern Pacific line operates in my area. The car arrives to my workbench in factory fresh paint. I mask off areas to paint in differing shades of the base color in order to provide a more interesting canvas to paint over. I begin the rusting process on the roof by spraying rust colored acrylic paint that have been highly diluted. The thinned paints flow easily and pool on the surfaces in a natural way of providing the first steps for an interesting base.
|
|
|
|
|
|
|
|
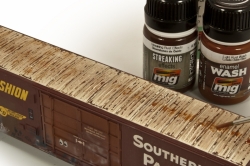
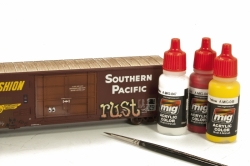
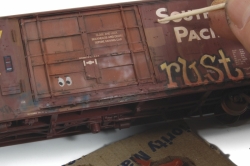
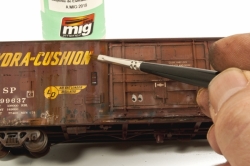
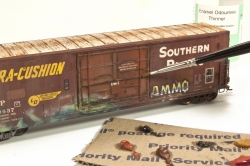
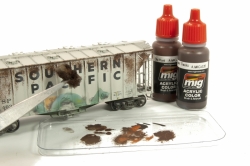
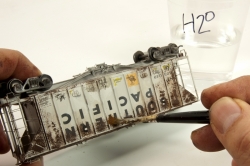
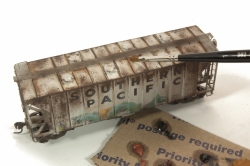
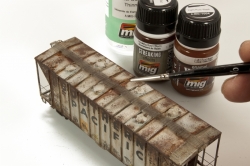
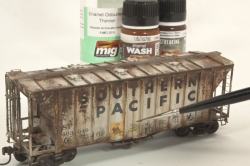
Deeper rust stains and corrosion are painted on the raised detail using a fine tipped brush. References show many rail cars with a distinctive rust stain running along the crown of the arched rooftop. An application of AMMO Streaking Rust and Light Rust Wash heavily diluted with thinners are applied to the center and allowed to flow outward to replicate this stain pattern. It is rare to see an older rail car that hasn’t been subject to graffiti and tags. A fine tipped brush and AMMO acrylic paints provide the tools for a quick splash of thematic vandalism. Dark brown artists’ oils are applied around the surface features to increase definition. The larger surface areas are also treated with applications of artist’s oils to enhance color richness and achieve fading effects. Using a toothpick as an applicator, very fine dots of dark brown and dark rust colored artist oils are applied replicate the small chips and pits often seen on older rail cars. The small dots of artist oils are drawn downward using a brush moistened with thinner to create stains so often seen washing down the sides. Vary the amount of thinner used and your brush stroke to create variety and realism.
Now for the “bonus” build. Not much too different done with this one. I had a few reference photos showing this type of car which showed them with an incredible amount of chips and rust on them – especially those primarily in service in the eastern parts of the US. Like I mentioned, I was working on both cars more-or-less at the same time, but my concentration was on the box car, and it shows. Whenever the other car was at a drying point I would switch off to this one – not really paying care or close attention. Thus, the chips are not as delicate as they should be, nor the placement as precise as I would have preferred. Never-the-less, once you apply the layers it does begin to tie together. In this case the AMMO enamel effects really did the trick.
