Shoot to Thrill
 The images that have come to us during these past years from the Ukrainian Crisis have certainly have been compelling; often showing the despair, tragedy, and destruction that comes with war. But for modelers, it has also provided us with a wealth of real-time, modern reference materials; captured and re-purposed vehicles with colorful identification bands, make-shift vehicles, improvised armor and gaudy camouflage schemes. These “traditional” references are all well-n-good, but when you can combine armor with rock-n-roll – then you have it cranked to 11!
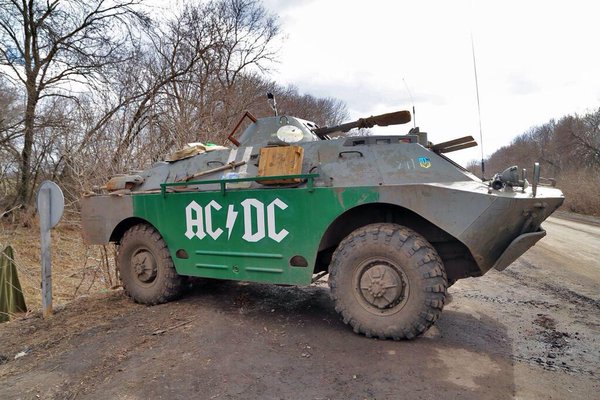
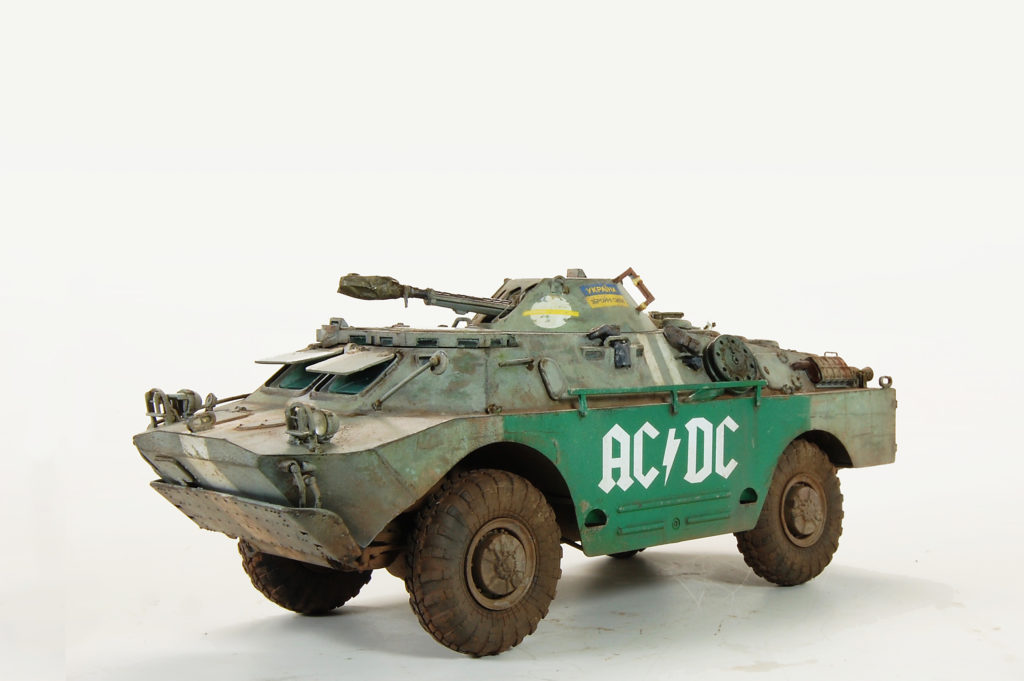
The reference for this project came from 2 images, found online, showing a Ukraine force BRDM-2 situated on a lonely road – apparently providing check-point services. A worn, scuffed and distressed vehicle that had obviously seen its share of use – including the requisite white I.D. stripes. What makes this vehicle takes it to an 11 is the addition of a large AC/DC logo emblazed on either side the vehicle. Oh yea, Rock-n-Roll, Baby!
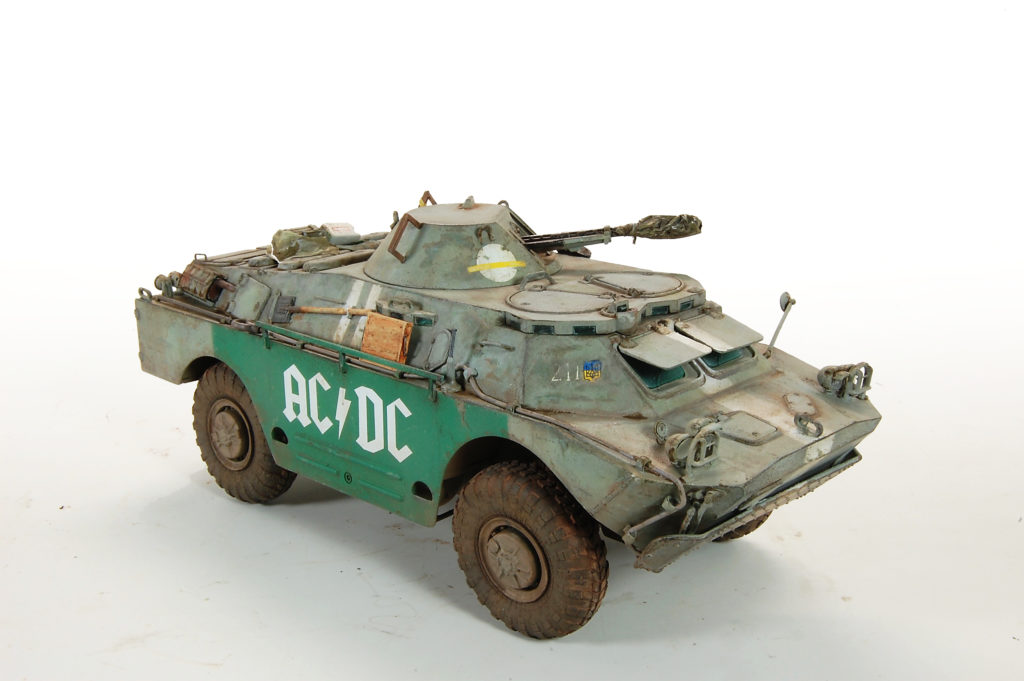
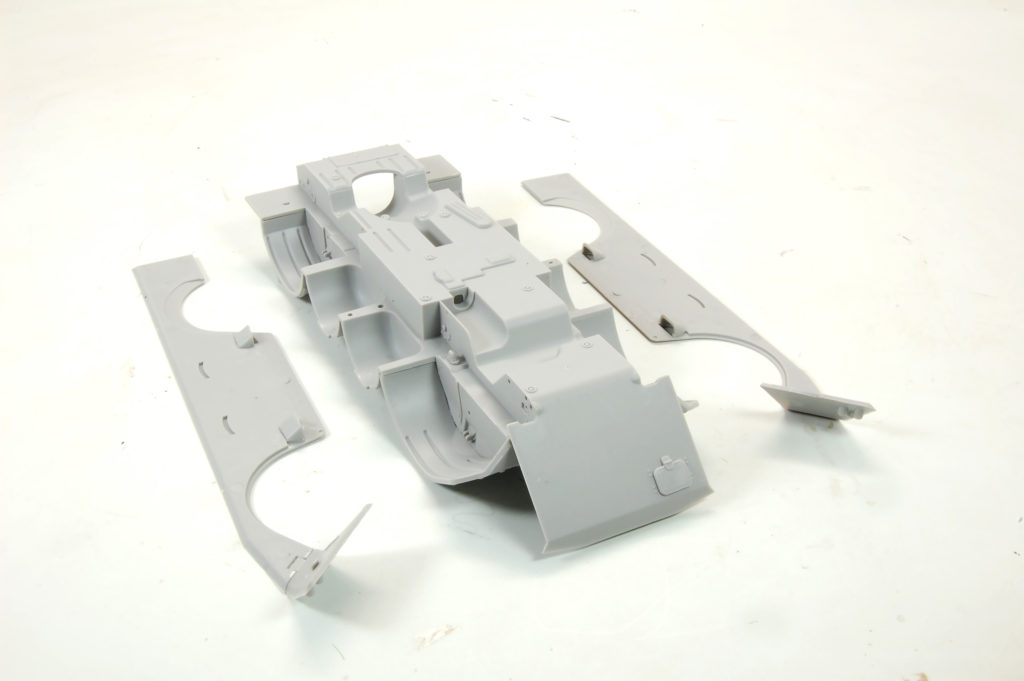
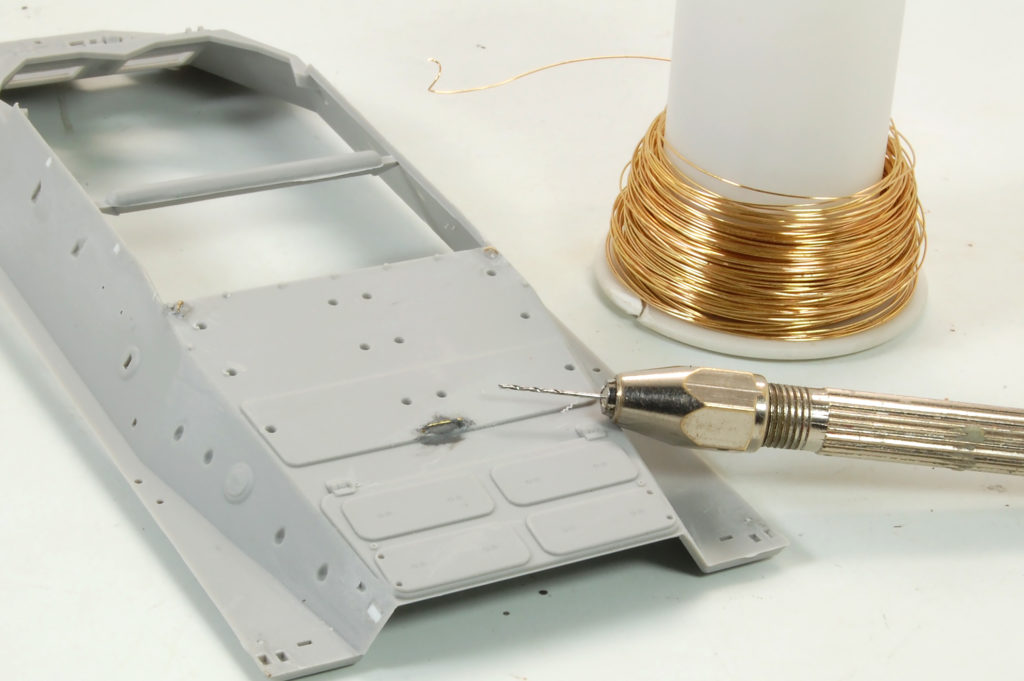
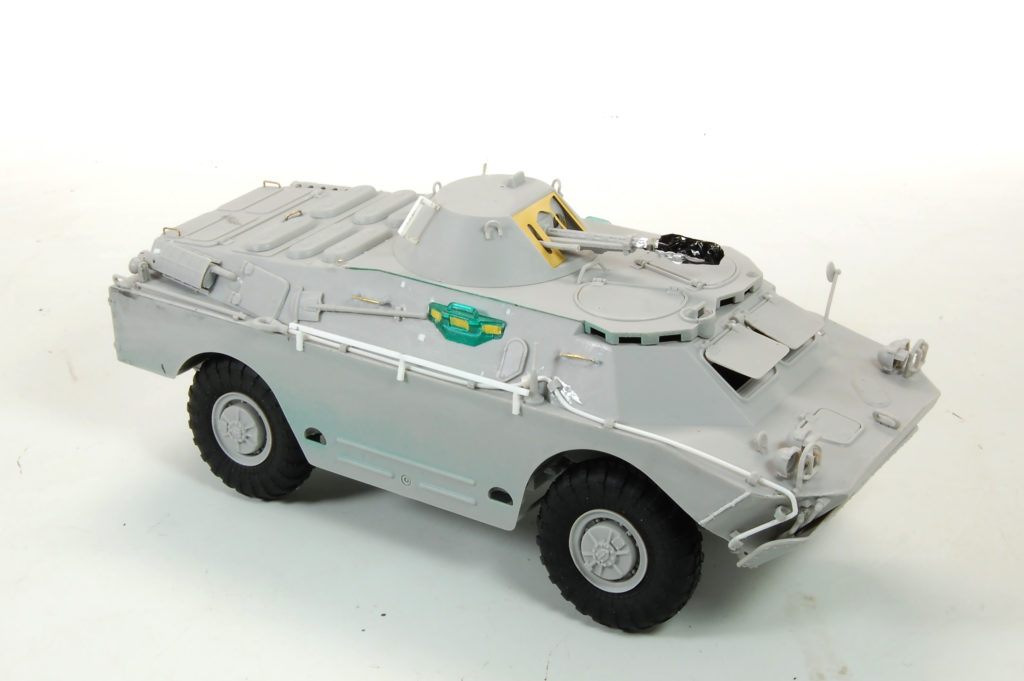
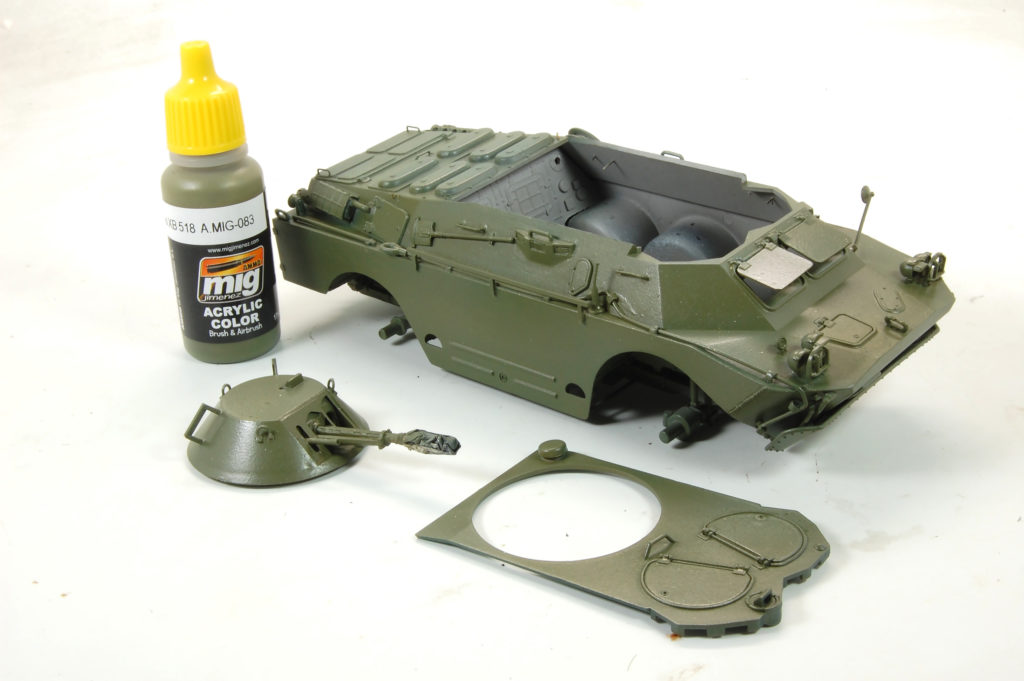
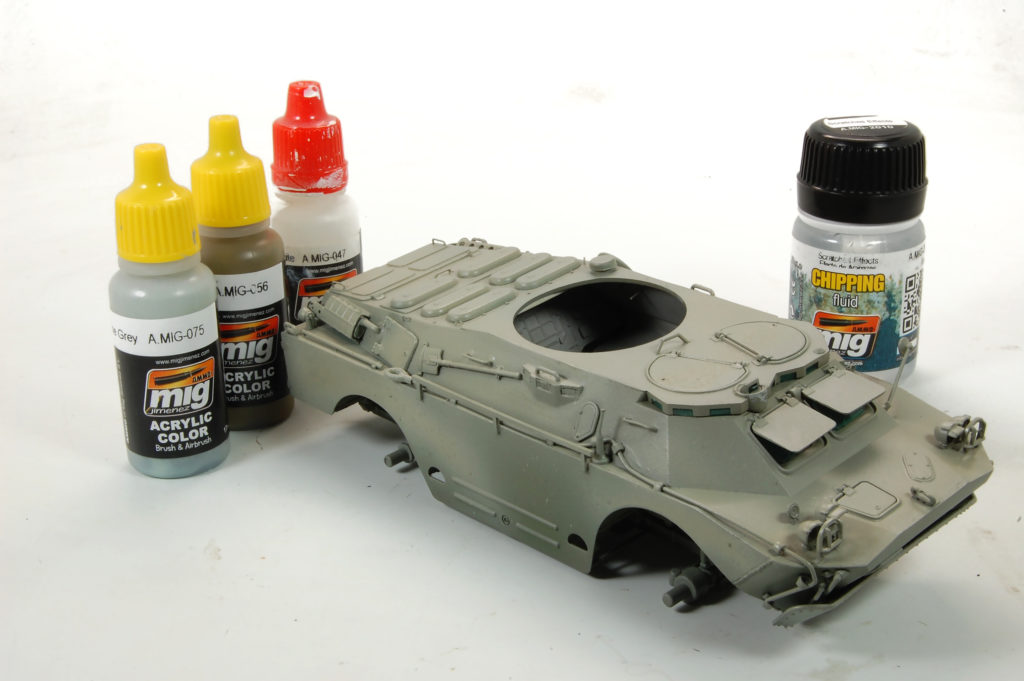
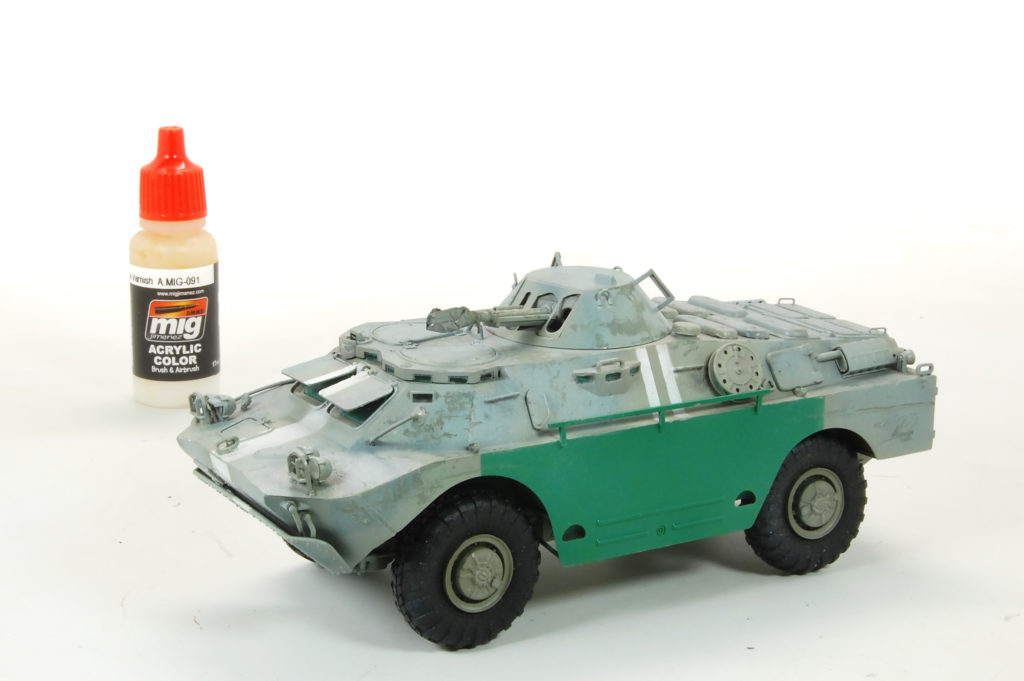
The Trumpeter kit goes together, well, like most Trumpeter kits. Their clear instructions and good fit provide an enjoyable and quick build. Without letting myself get too involved in super detailing, I do spend a little time 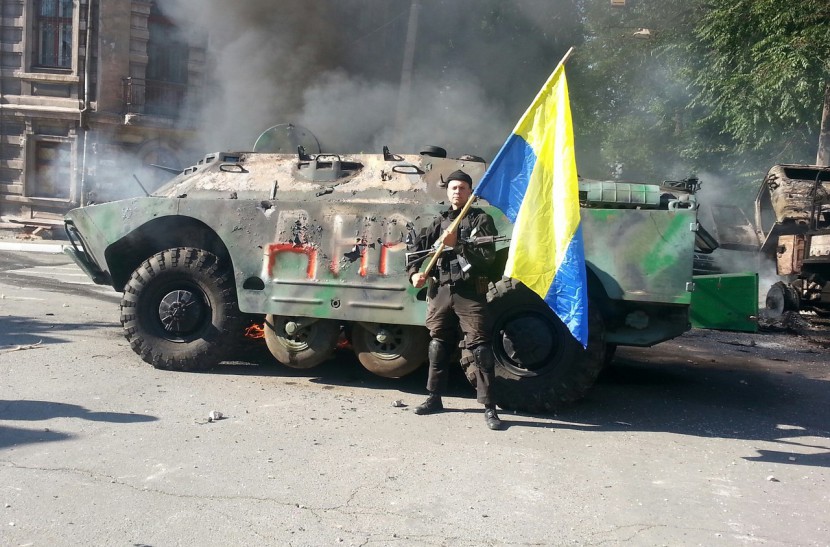 looking for some of the easier details that can easily be enhanced. In this case, the “blocks” that are used to represent handles are cut away and replaced with thin wire. I’ve used styrene strip to create the small side railings and turret brackets as seen on the reference photos, the wrap on the gun muzzle is Bare Metal Foil which is excellent for portraying cloth and canvas. The vision blocks have been painted using AMMO Crystal Green on the interior side, then protected with a bit of tape. Now, it’s time to get started with the process of creating the worn and battered appearance. I begin by applying a base color using AMMO A.MIG.083 (XB-518 ZASHCHITNIY ZELENO (RUSSIAN POSTWAR GREEN).
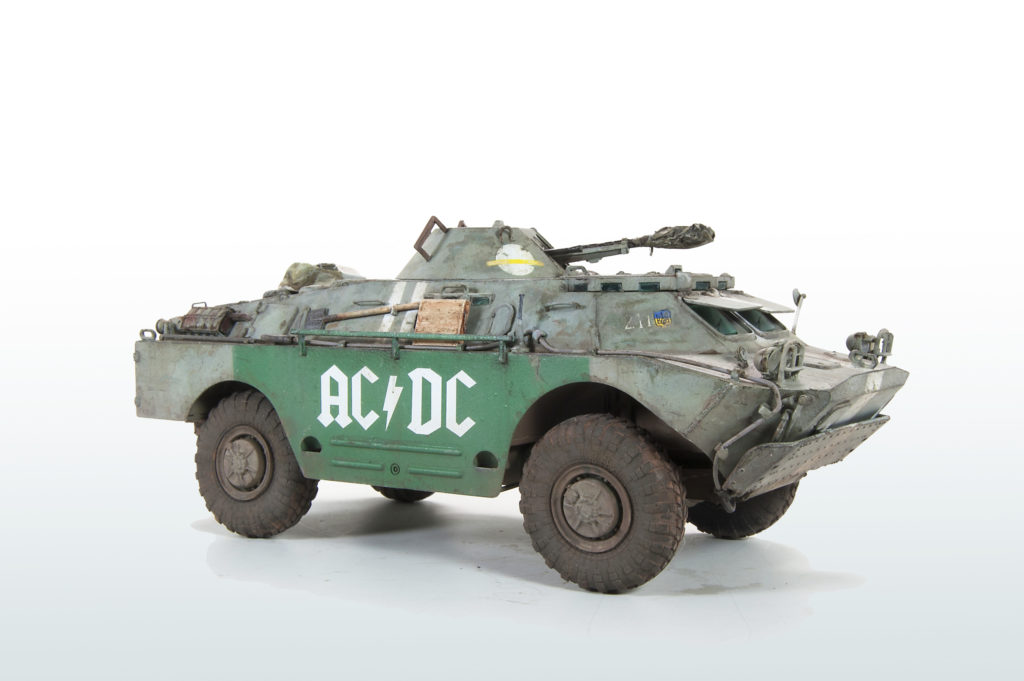
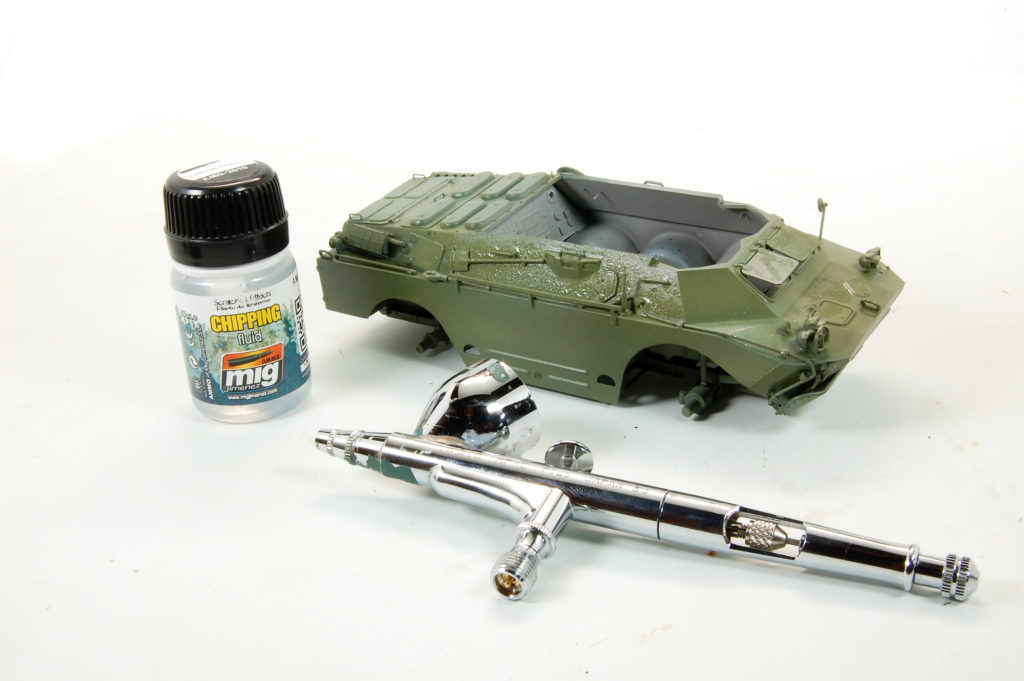
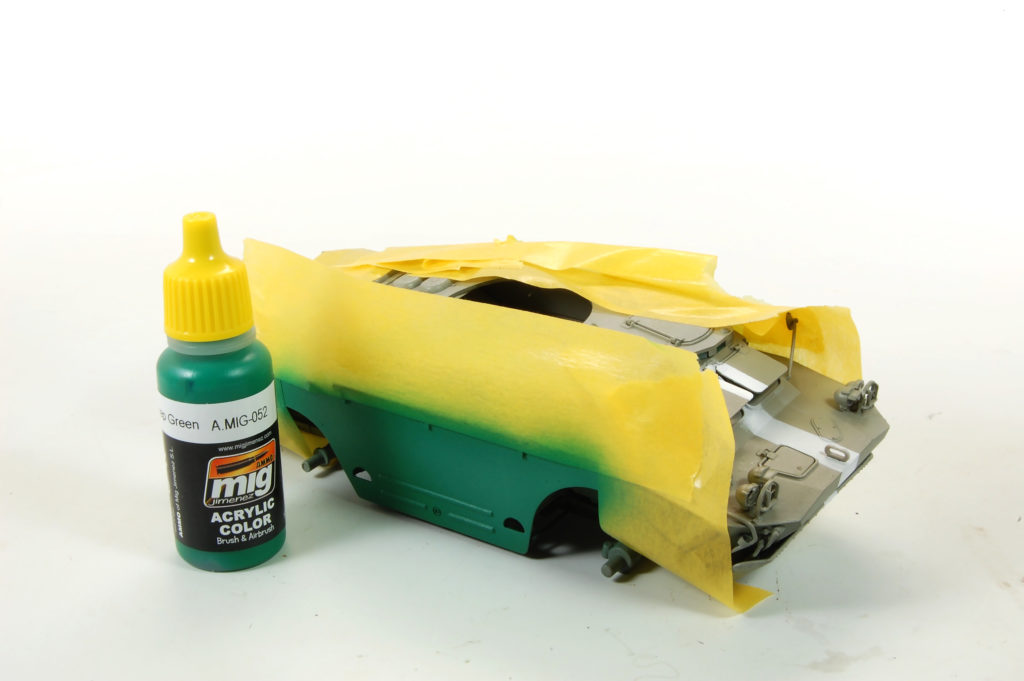
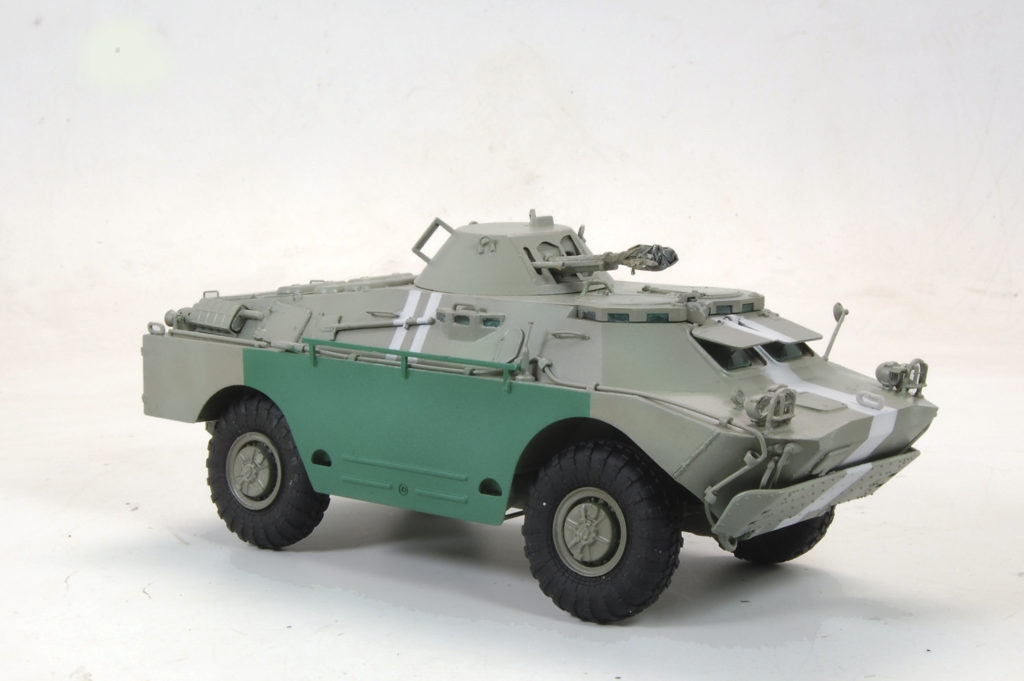
Once the paint is dry I apply a light layer of AMMO Chipping Fluid overall, allowing the fluid to dry for approximately 30 minutes before proceeding with the next steps. The reference photos show the overall color of the vehicle to be a faded, grey/green color. I couldn’t find the “perfect” color in one of the bottles, and so simple I worked toward this color by mixing a few colors from the AMMO acrylic range. Tamiya tape is used to mask the white ID stripes and large green areas. The bright green color, Protective MC, A.MIG-056 is from the AMMO range and is a perfect match to color as seen in the reference photos.
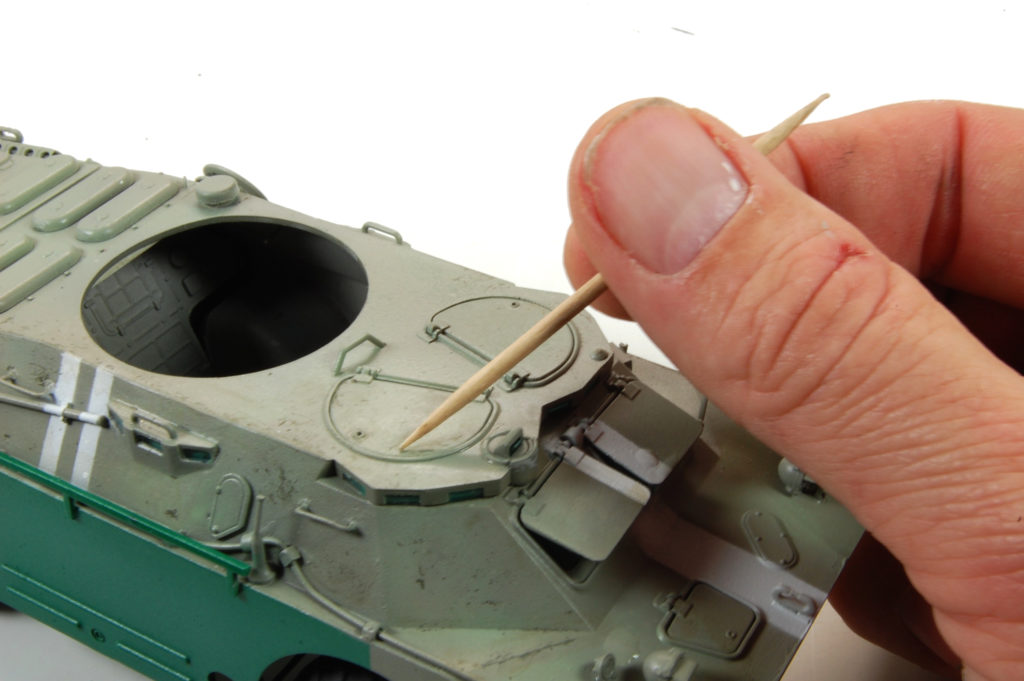
With the basic colors applied I can now enjoy this rockin’ vehicle in all its glory – the bright green panel and white stripes already make this a striking vehicle. But wait! The real show is just about to begin. The worn and distressed appearance as shown in the reference is one of the key 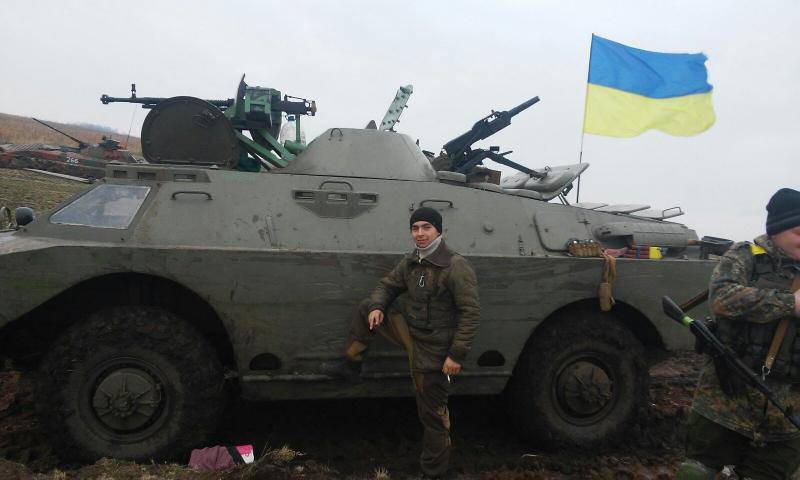 attributes that made this project so attractive to me. And while it’s relatively easy to show indiscriminate wear and chipping, I am hoping to replicate the same wear patterns as displayed on the real vehicle. Planning will be key. Using a fine brush, I apply shades of greens and greys colors in a “mapping” fashion to simulate the peels and chips as I observe in the reference photos. In other areas, small scratches are made using a toothpick. Moistening the tip with water can speed the process by activating the Chipping Solution underneath. Slow and steady progress is the key here as I work to maintain a balance between “creative” and “realistic” results.

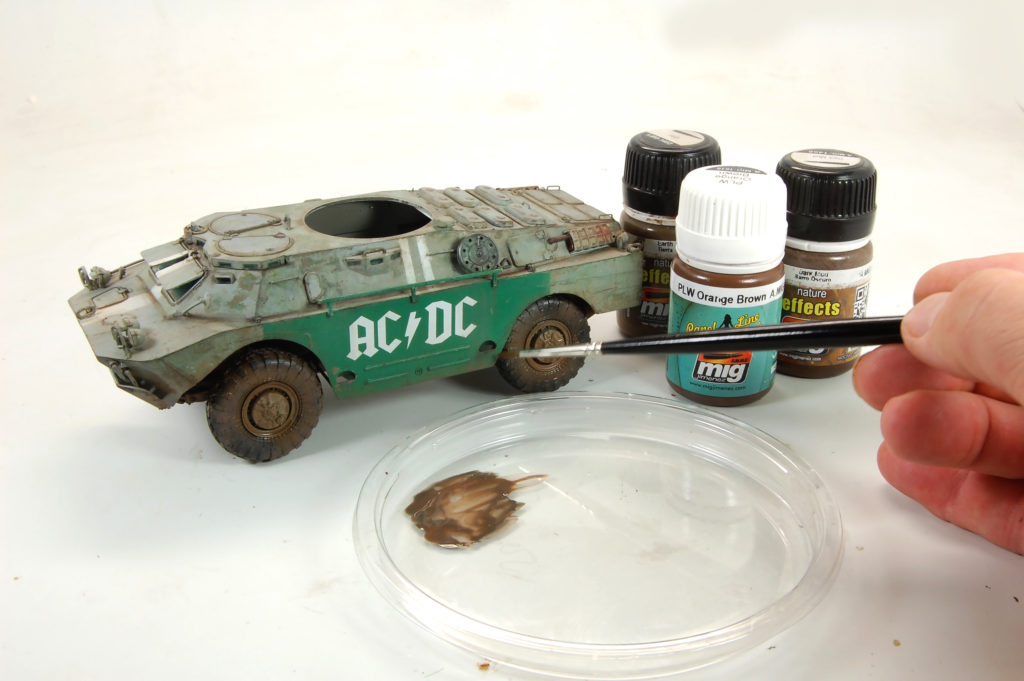
Once I was satisfied with basic chipping and wear patterns, I prepared the surfaces for the large AC/DC decals by applying a layer of gloss varnish. The second layer of varnish will be applied after the decals are applied in order to seal and protect during the weathering process. Now we are Rockin’!!! The markings are from Echelon, Ukrainian AFV’s Pt. 6., a wonderful pack that includes this AC/DC reference, along with a number of others. The weathering process of adding dirt and 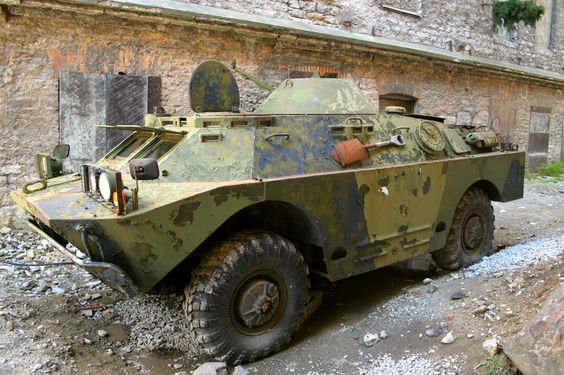 grime now begins in earnest using a number of enamel products from the AMMO range. Final weathering continued to be a back-n-forth affair, adding a bit, taking away a bit – subtle refinements until I thought I had captured the look in the reference photos.
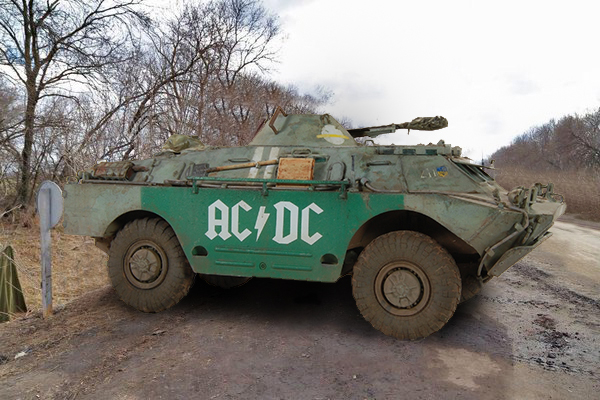
Finally, one of the things that I enjoy doing is to place my models into a photoshop background. With this model, I decided to try and replicate the original reference image. That is, the picture taken from the same angle as the original and then superimposed in the same position. On the left is the reference photo – the right being the model placed into the photo.