
OP&E
 This particular subject is truly nothing more than a
“weekend fun project” What makes this interesting (for me) is the personal touches that I was able to bring to the project. But first, let’s explain the project.
As some of you might know I have am fortunate to be able to work in the scale modeling industry. My beginnings as a magazine contributor brought me to the attention of Miguel Jimenez who (at the time) was the principal force behind MIG Productions. For 3 years (2009 – 2012) I worked with MIG Productions as the product distributor for the US and Canada. During those years, Mig left MIG Productions and moved onto new interest which later became a new company, AK Interactive. In the summer of 2012 I agreed to join the staff of AK Interactive. It wasn’t too long after joining AK that a box of sample products show up at my door – time to get acquainted with the new products.
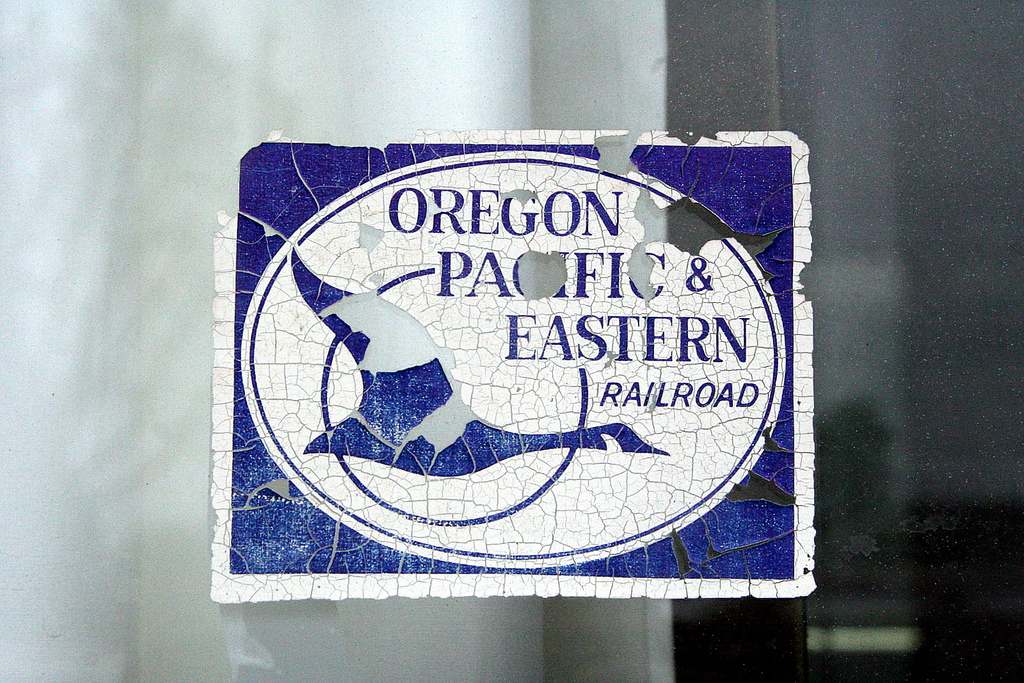
![]() So, what you are being treated to here are my first experiments with the “new” AK products – the test drive – if you will. Of course, at this point I wasn’t too much interested in building an entire model just to try out the paints. And then my moment of brilliance – I purchased a “mostly built” HO scale railroad car from my local hobby shop. Not being one to leave well-enough alone, I happened to stop by another local train shop which had a small box stuffed full of aftermarket logo’s and markings. Not being a railroad guy nothing really struck me one way or another until I flipped onto the logo of OP&E – What?!?! – The Blue Goose, as it was known, was the short line train that was based in my hometown. A small rail system serving the areas local lumber mills and then tying into the larger Southern Pacific.
So, what you are being treated to here are my first experiments with the “new” AK products – the test drive – if you will. Of course, at this point I wasn’t too much interested in building an entire model just to try out the paints. And then my moment of brilliance – I purchased a “mostly built” HO scale railroad car from my local hobby shop. Not being one to leave well-enough alone, I happened to stop by another local train shop which had a small box stuffed full of aftermarket logo’s and markings. Not being a railroad guy nothing really struck me one way or another until I flipped onto the logo of OP&E – What?!?! – The Blue Goose, as it was known, was the short line train that was based in my hometown. A small rail system serving the areas local lumber mills and then tying into the larger Southern Pacific.

|

|

|

|

|

|
The photographs document the experiments – learning curve. I began by painting the rail car the requisite blue color associated with the OP&E. And then – the fun began as I experimented and played with the new toys. Honestly, I was quite impressed by the ease of use and the versatility of the products. The key, as is the case with mos weathering products is to work in layers – slowly building to the desired effect.
 However, the best part of this project – in my opinion – were the personal touches that I was able to add to the car itself. The graffiti shown on the sides of the car come from my own personal experiences growing up in the late 70’s – early 80’s small town. A few highlights include; Lions (High School Name), CG (reference to Cottage Grove – home town), Van Halen, Gonzo, AC/DC -the music I was listening to, ’80 (for the year I graduated from highschool – and finally a small heart with the letter “M” for my high school sweetheart and now wife, Margie. Maybe a little silly, but being able to make a personal statement and have some fun makes these fun, little projects so enjoyable.

|

|

|

|

|

|
 One small “trick” that I think might be worth pointing out is near the end of the photo sequence were it shows a bottle of Tamiya Lacquer thinner being used. Once I had applied he various markings to the side of the car I felt that they looked too new, too un-faded – they just didn’t fit with the overall worn nature of the box car. My solution was to give the areas of graffiti a light brush wash with a soft brush lightly moistened with the thinner. Lacquer thinners are very aggressive so care must be taken, however, a light wash is a great way to “age” paint as it slightly streaks and blends the colors to give it that faded appearance.
As I said earlier, this was truly a weekend project – matter of fact it was a single day project – just what the doctor ordered to test the new products and put a smile on my face.

|

|