 In a letter written in 1487, Leonardo da Vinci wrote the following;
“I can make armored cars, safe and unassailable, which will enter the closed ranks of the enemy with their artillery, and no company of soldiers is so great that it will not break through them. And behind these our infantry will be able to follow quite unharmed and without any opposition.”
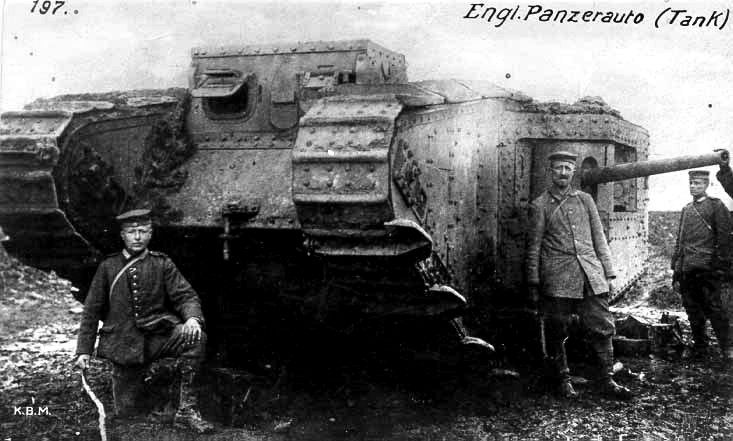
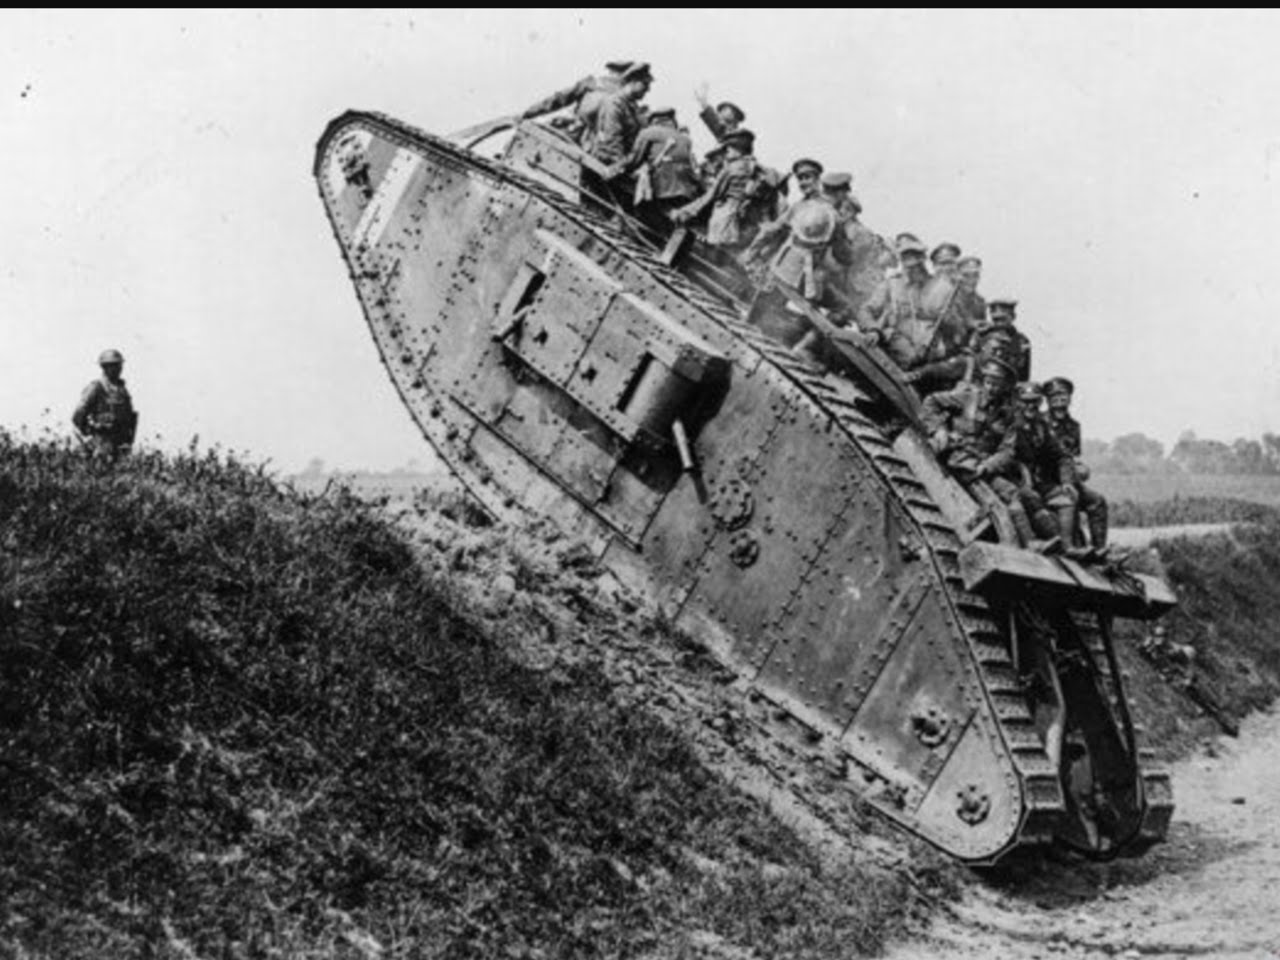
However, it wasn’t until 1915, following a demonstration of the Killen-Strait tractor, that a young First Lord of the Admiralty, Winston Churchill, pushed the sponsorship of the Landships Committee to investigate the potential of constructing a new weapon that, it was hoped, could to break the stalemate of trench warfare. In 1916, a massive iron beast (given the name “tank” to protect its’ secrecy) rumbled across the barren battlefield and into history.
Their first operational use was in September at Flers-Courcelette, but this first attempt was a near disaster. Most of the tanks broke down on their way, others bogged down in the mud. However, despite the lack of training of their crews, some managed to reach their designated objective, if only too few. Only 59 were part of this attack, most of them being captured afterward by the Germans. The first issues quickly arrived at the War Office. When they appeared however through the fog, they had an uncanny psychological effect on the German troops, which fled their trenches, leaving their machine guns. The distant roar and clinging of the tracks, and later the slow-moving masses emerging from the fog which resembled nothing built yet were enough. But their ability to take punishment and return fire was compelled by the fact the Germans were caught completely unaware of their existence. A real surprise achieved by the well-guarded secret behind the name that stuck ever since, the “tank”.
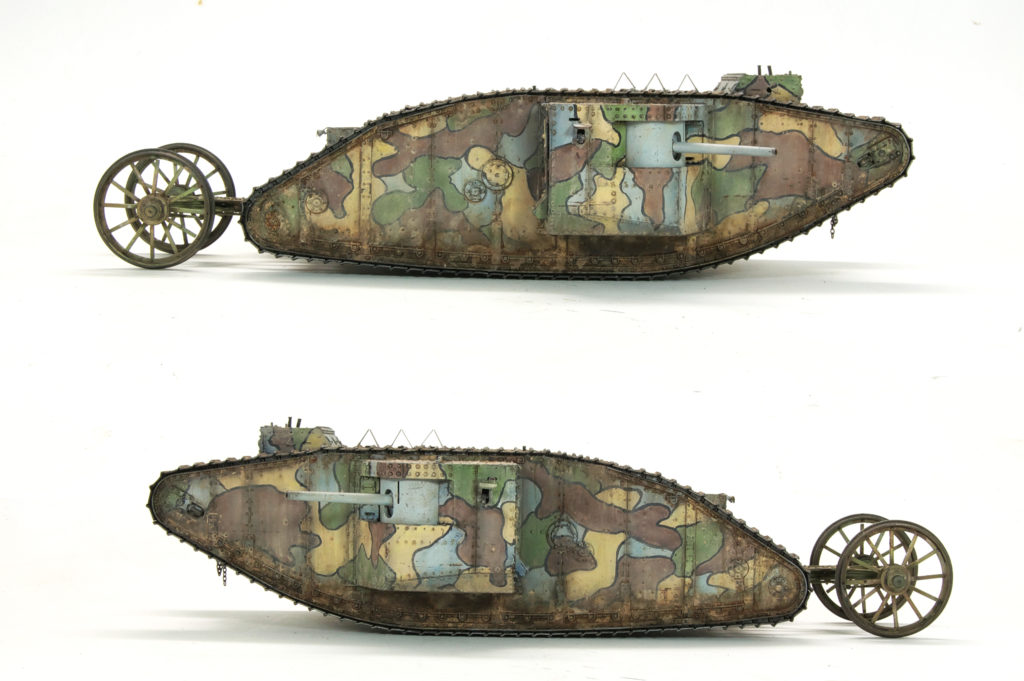
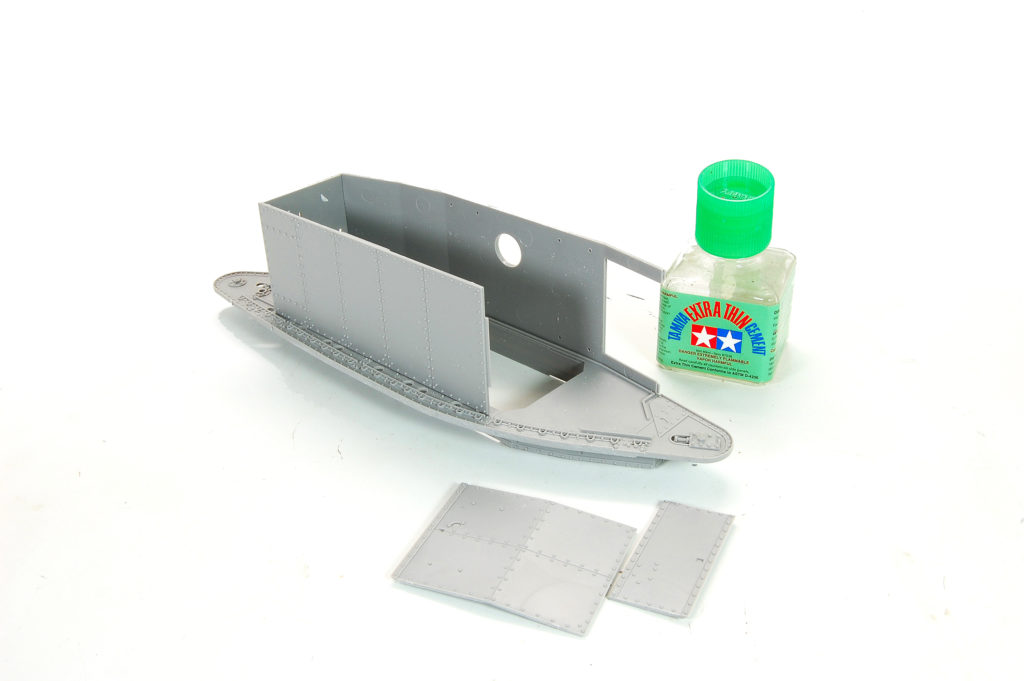
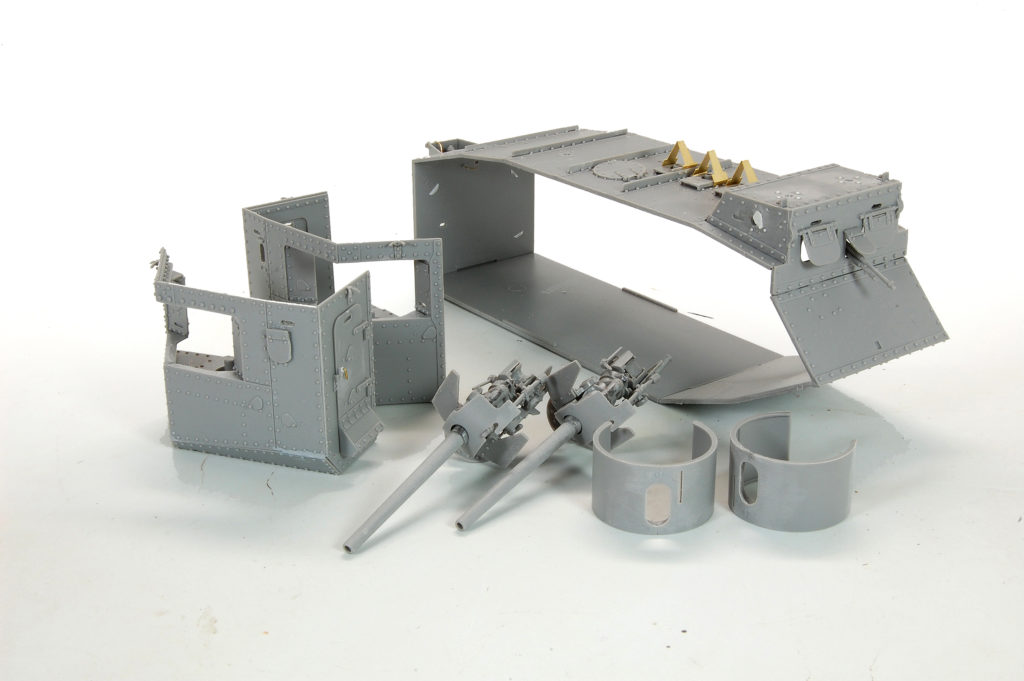
 The Takom MkI kit(s) are really wonderful “weekend” projects as the large surfaces and good fit provide a quick build – easily done within 2 days. Having built both the male and female versions of the MkI and, except for the main armaments and a few accessories, they are identical kits. I chose to deviate slightly from the instructions in certain areas, mostly keeping the sub-assemblies apart for ease of painting. However, be aware that when you do put everything together that there is a certain sequence that must be followed for everything to fit properly – especially the trailer. It’s not a big deal, just be mindful.
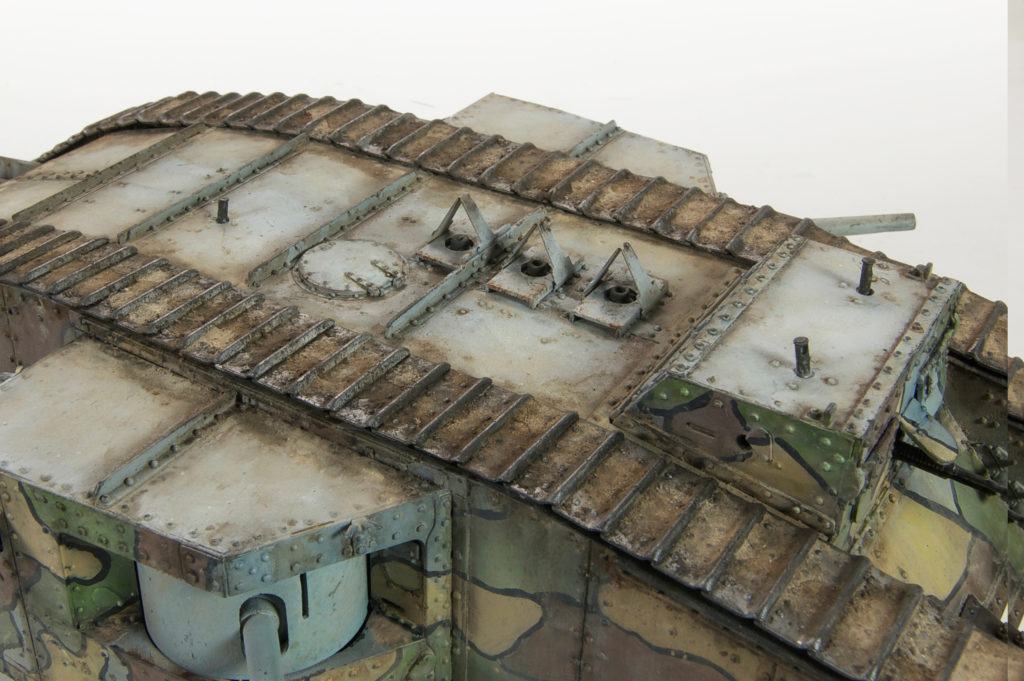
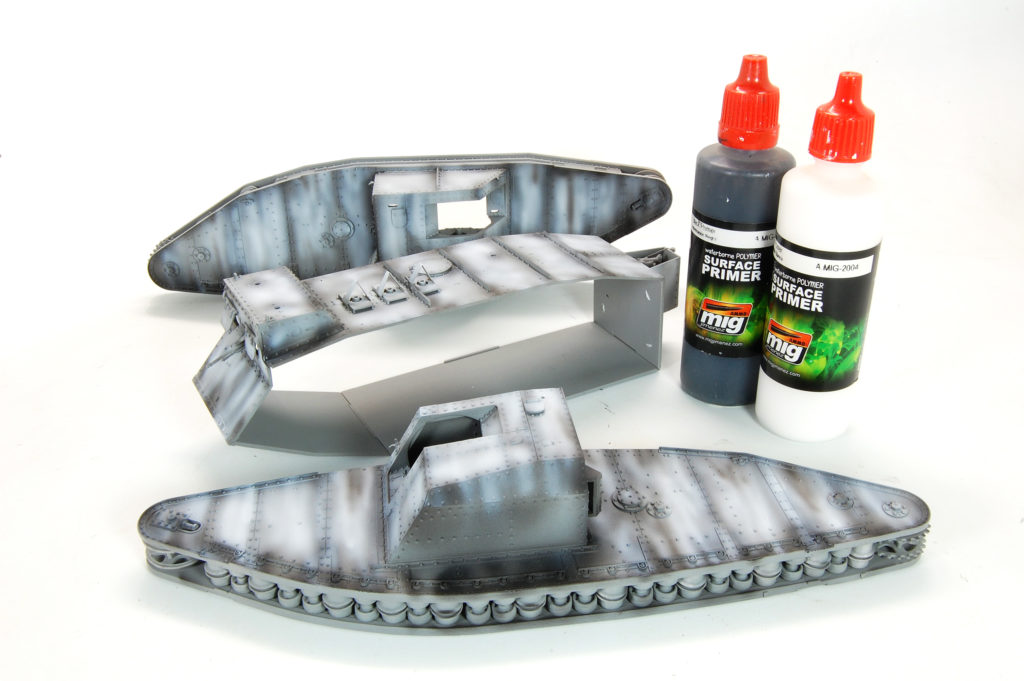
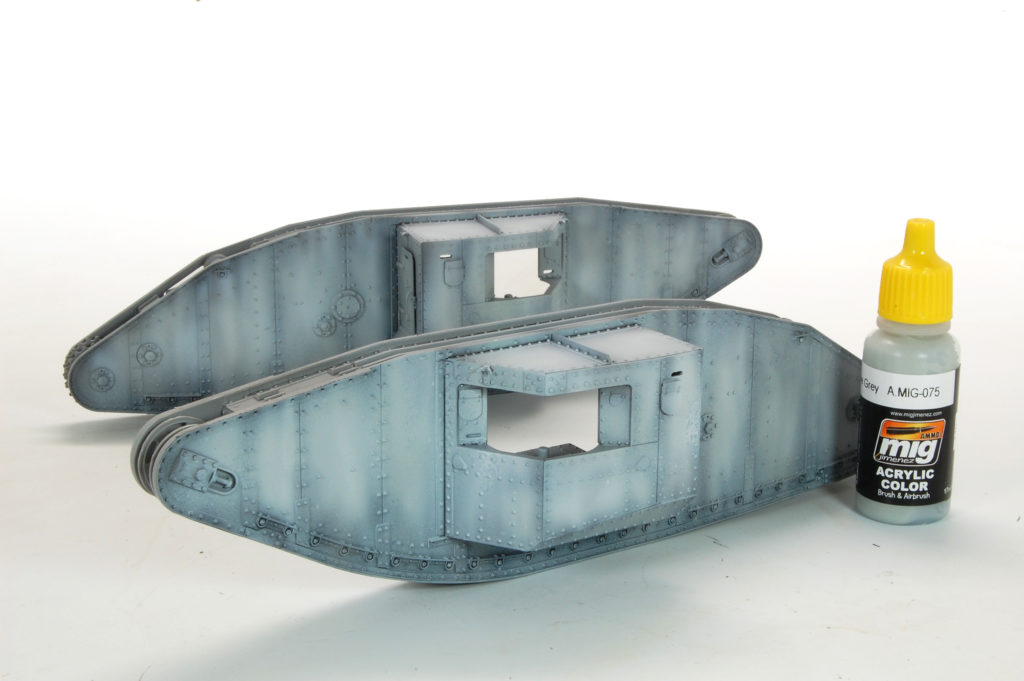
Gone are the days of the simple primer layer. One of the keys to creating a visually interesting presentation is in creating depth and variations within the finish. A variation of our familiar pre-shade techniques, here I use black and white (and shades of grey) primer to establish the underlying tones and textures. I follow by airbrushing an uneven and somewhat translucent layer of AMMO Slate Grey as the overall base color. The trick here is to apply enough paint to establish the color, while still allowing the primer shading to show through.
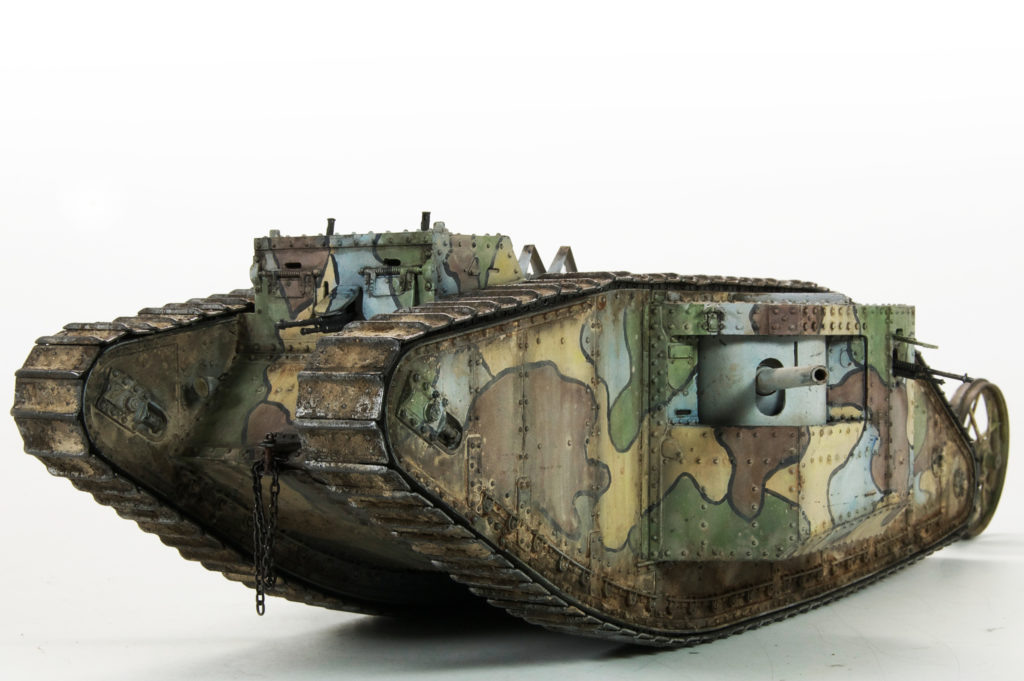
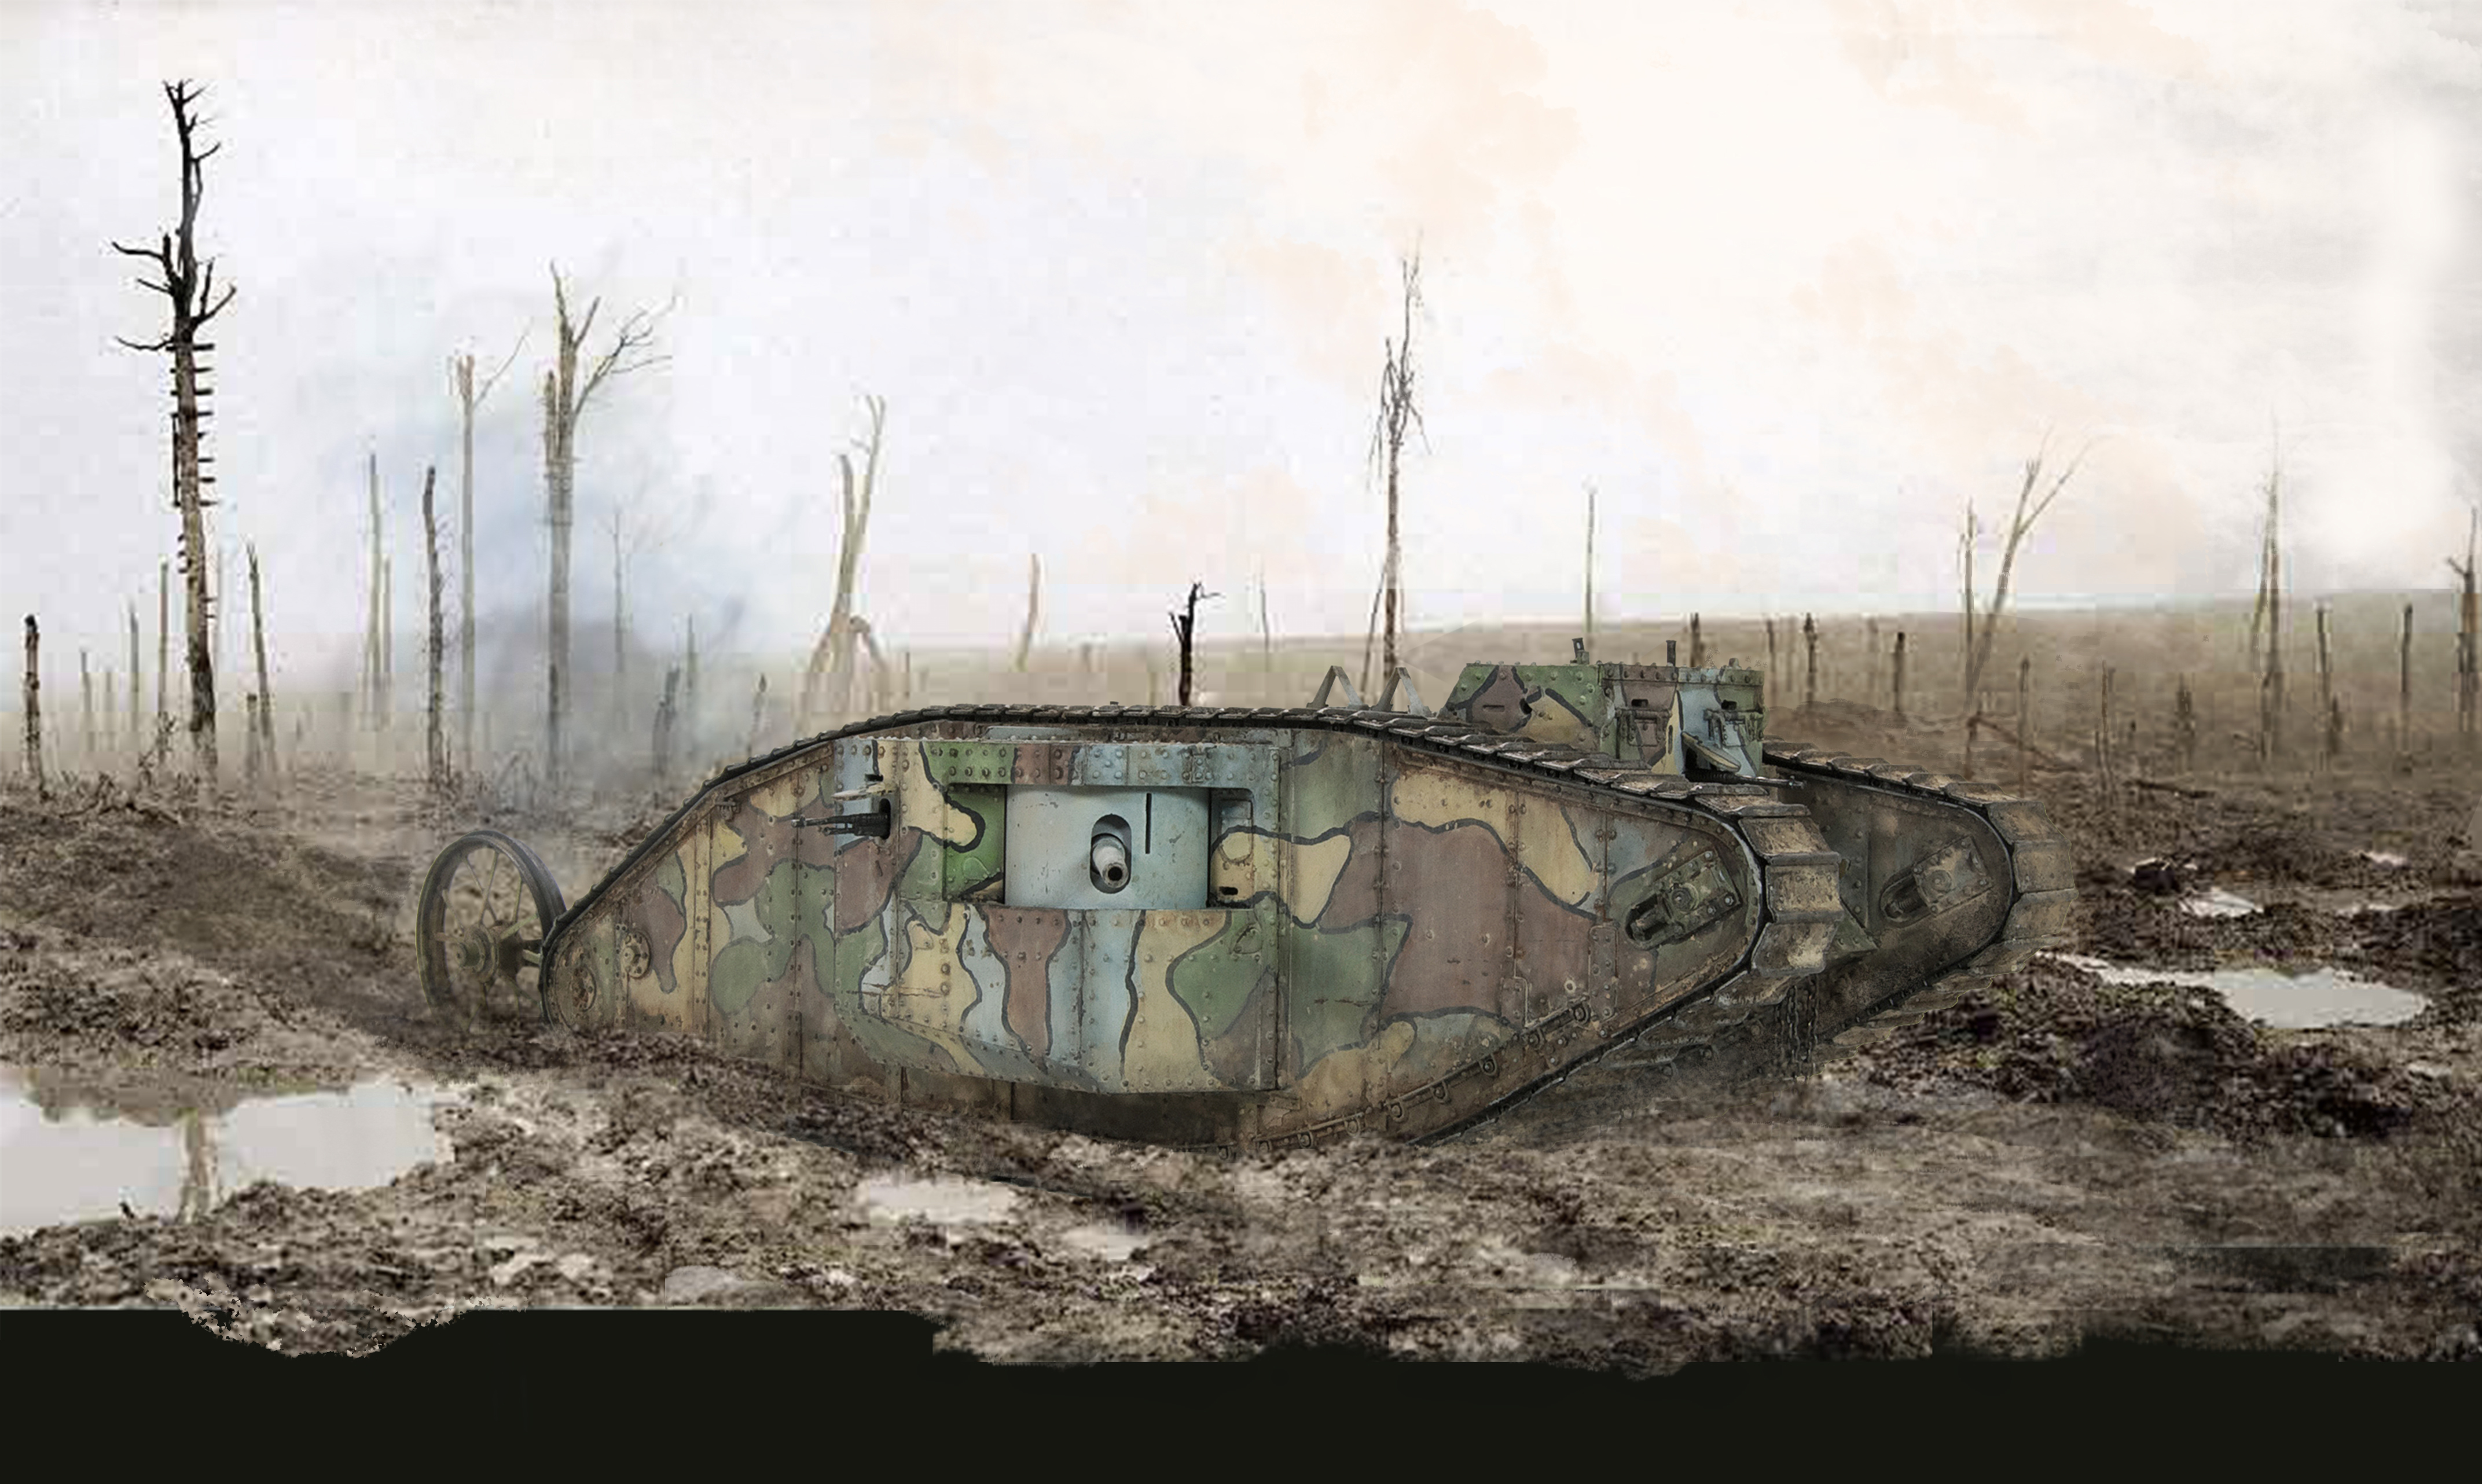
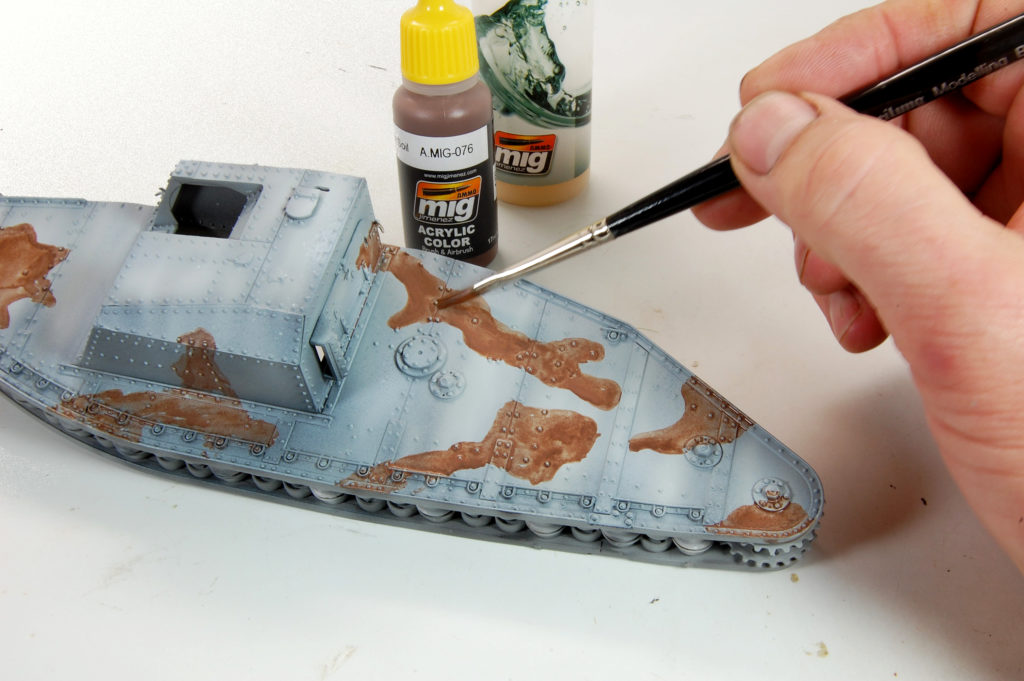
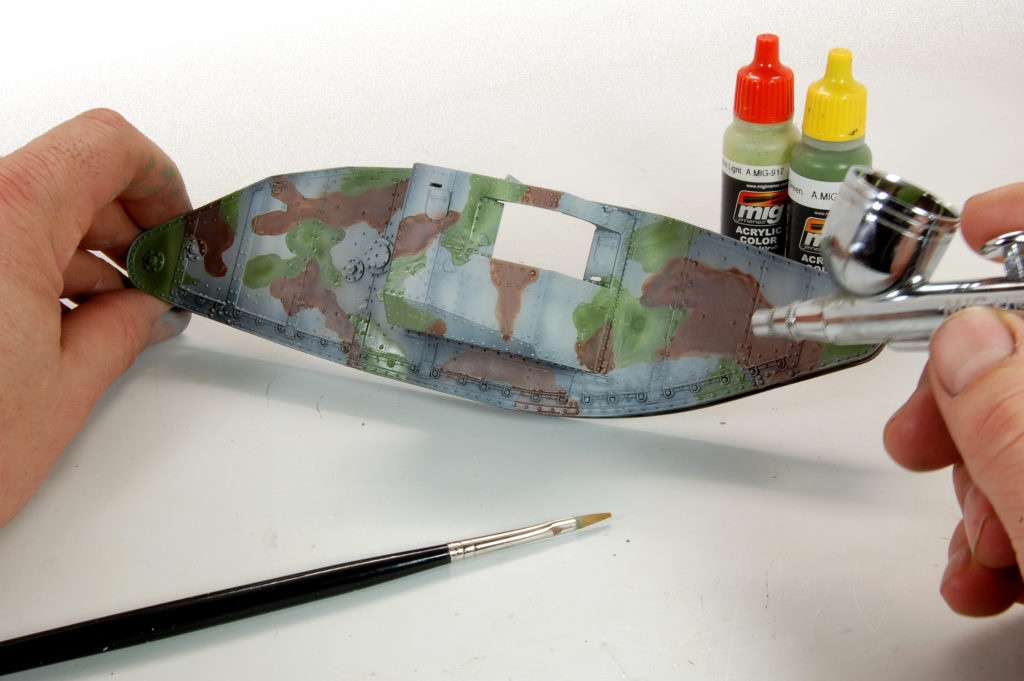
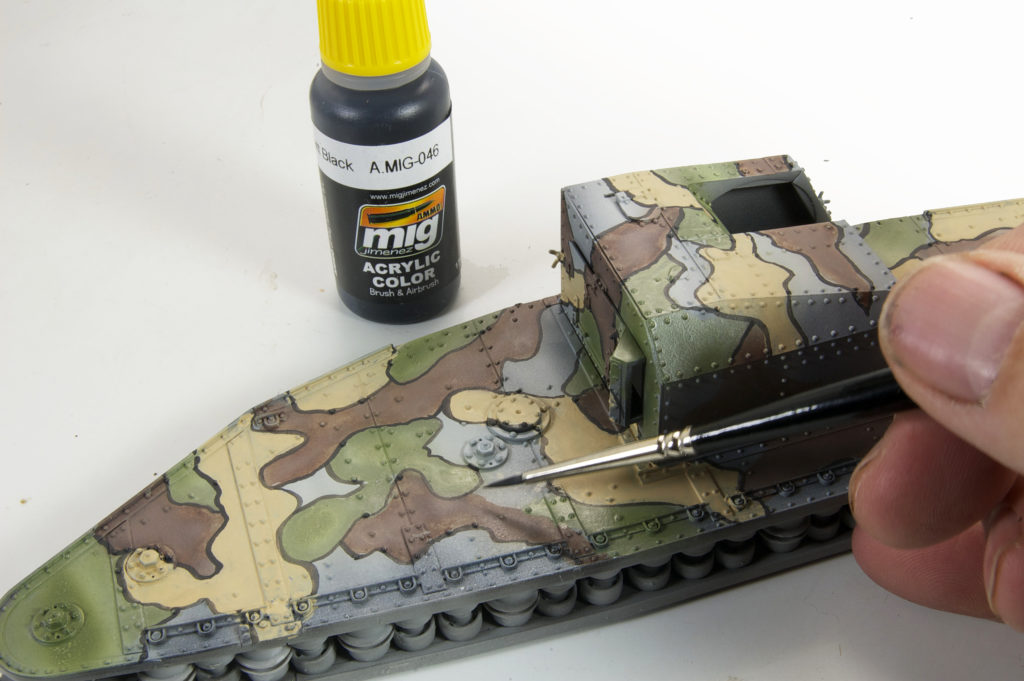
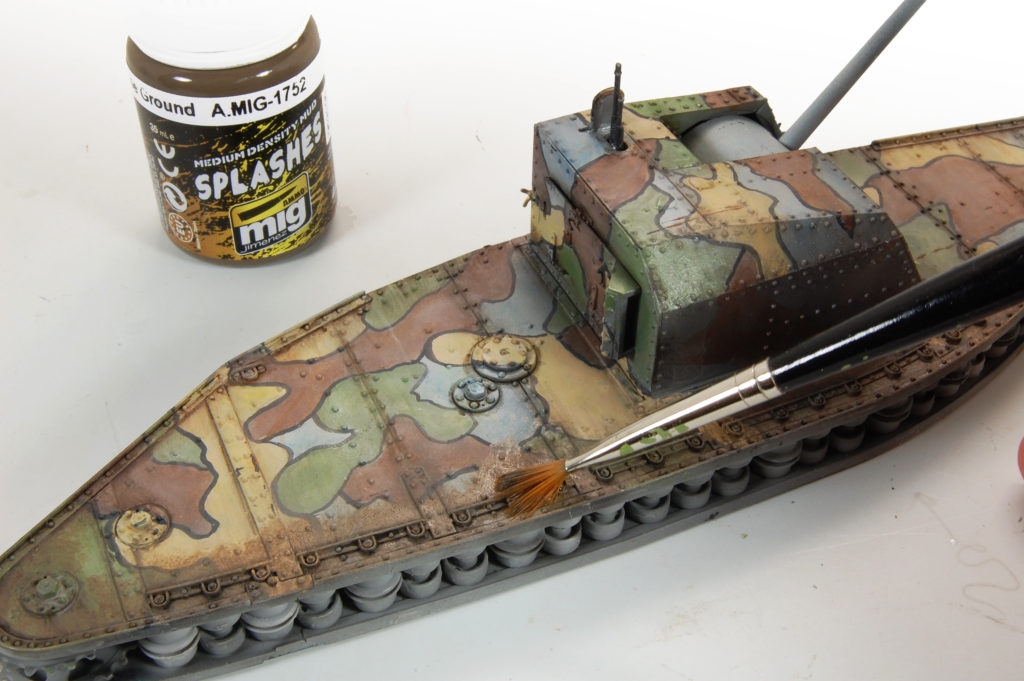
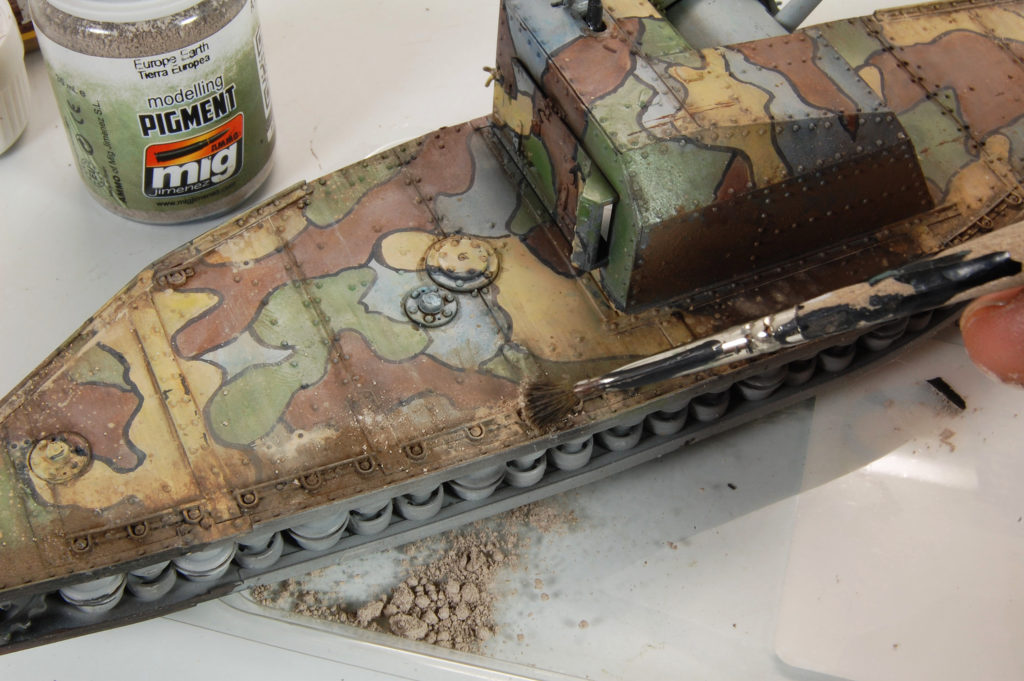
When first deployed, British tanks were painted with a four-color camouflage scheme devised by the artist Solomon Joseph Solomon. Though colorful, it was found that they quickly got covered with mud, rendering these elaborate camouflage paint schemes superfluous. In late 1916, the Solomon scheme was abandoned and tanks were painted with a single shade of dark brown. Lucky for me this vehicle represents the earlier, more colorful scheme, but rather than worry about masking the camouflage I simply paint the blobs of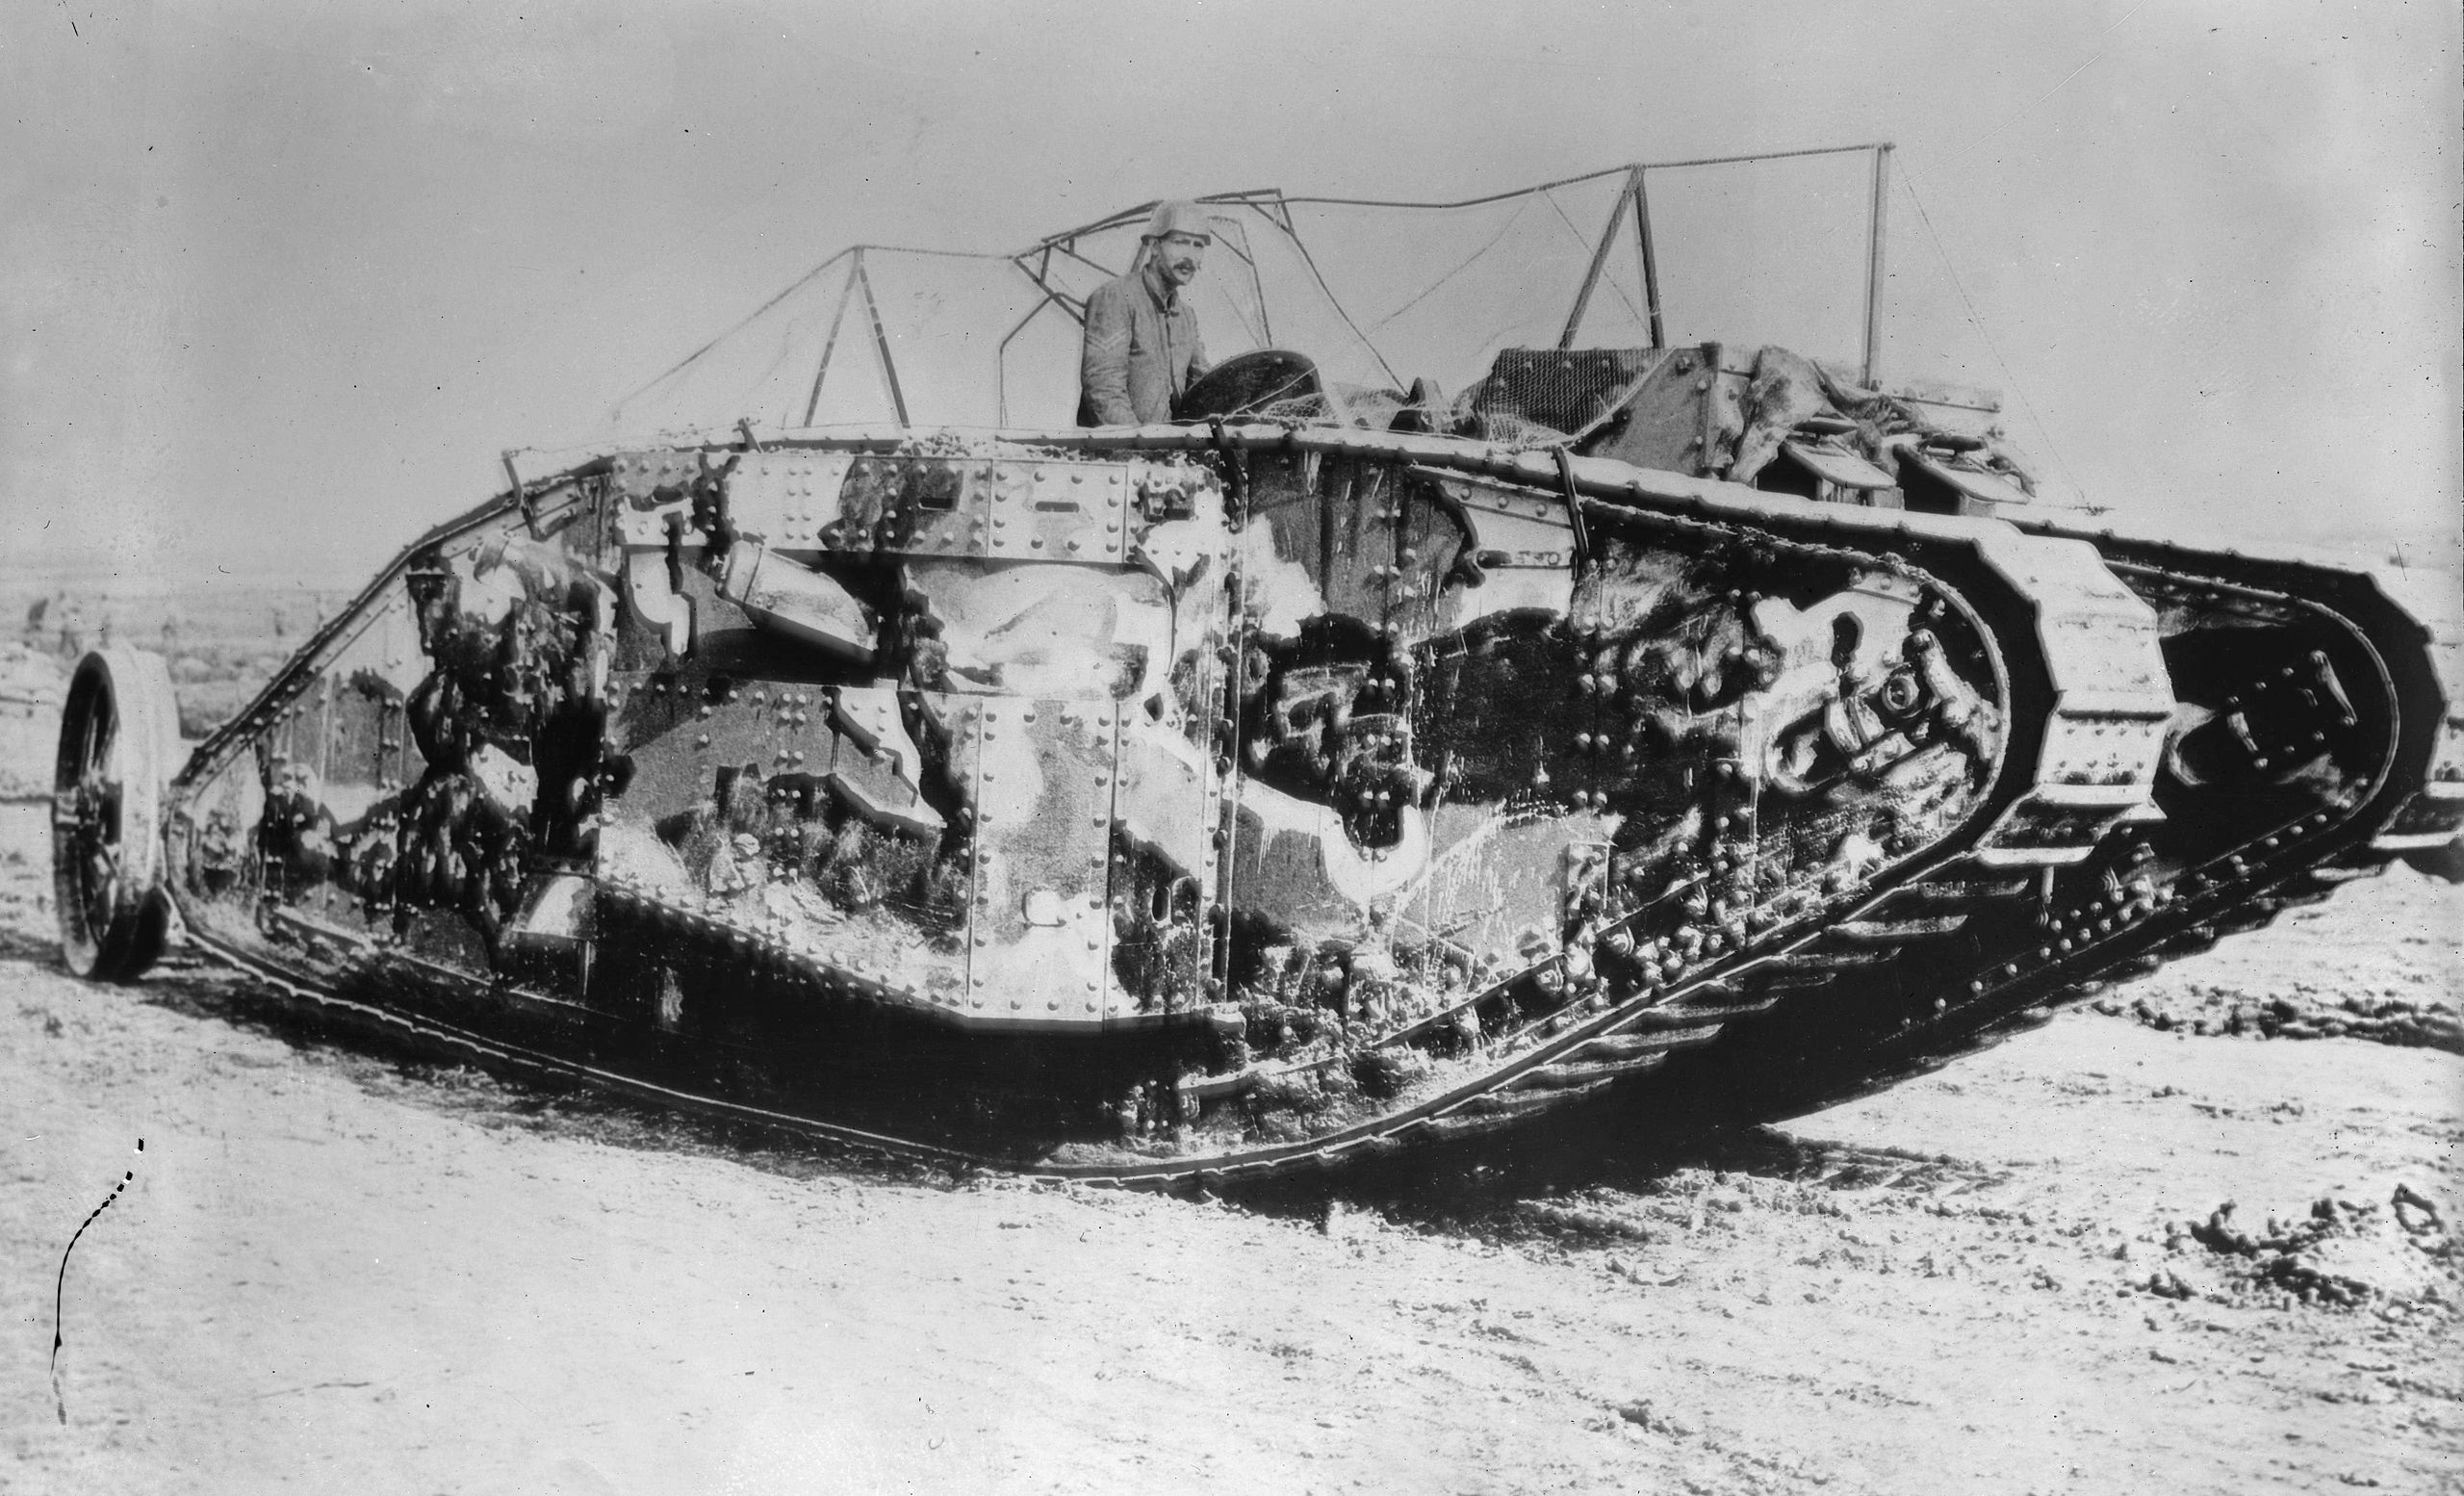 color by brush using AMMO colors thinned slightly using AMMO acrylic thinner. Once again, at this stage, I’m not terribly worried about complete coverage. The hand-painted blotches are lightly filled and center portions unified using the airbrush. The coverage is not uniformed, as I want to maintain the “hand-painted” feeling. As you can see in the photo, the colors blotches have been applied and filled but the coverage is intentionally uneven so as to help promote visual interest and texture in the finished results. And then just as was done on the real tanks, the disruptive outlines are hand painted.

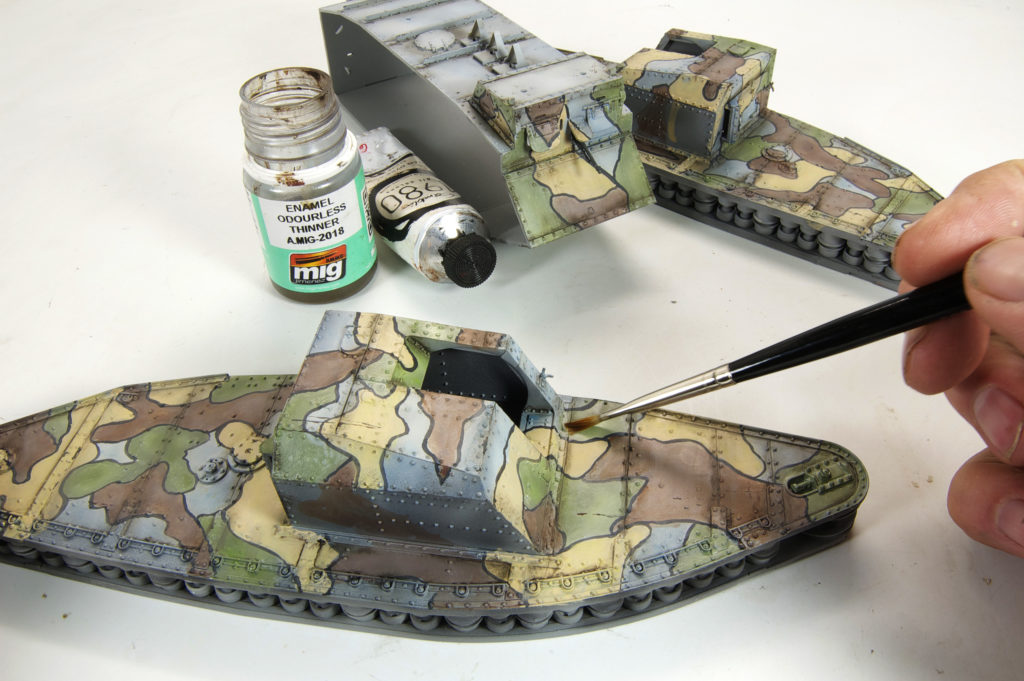


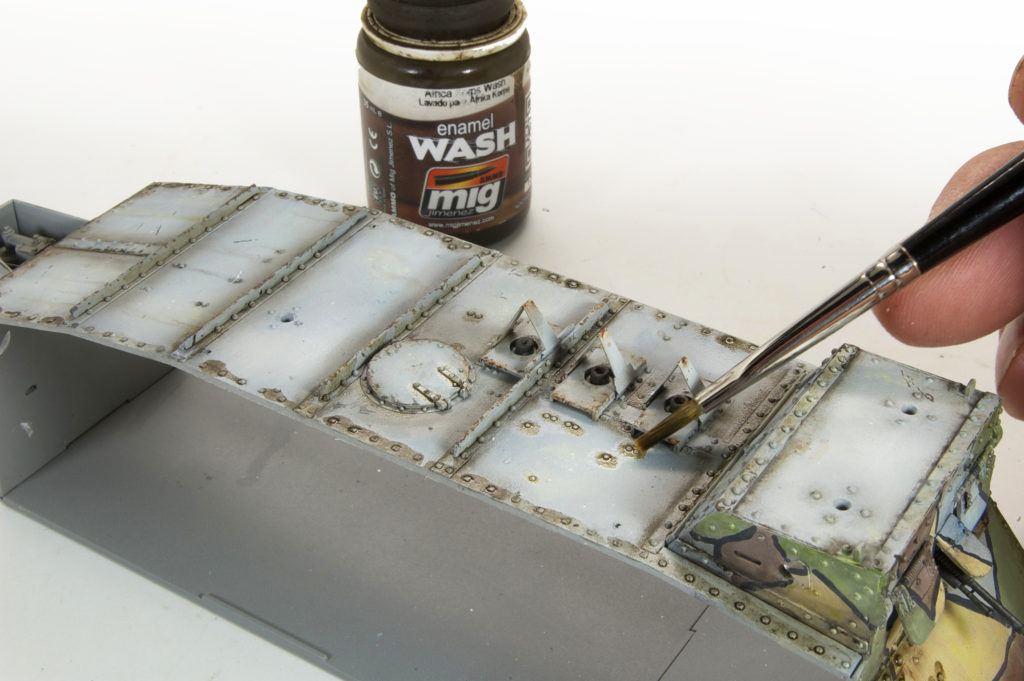
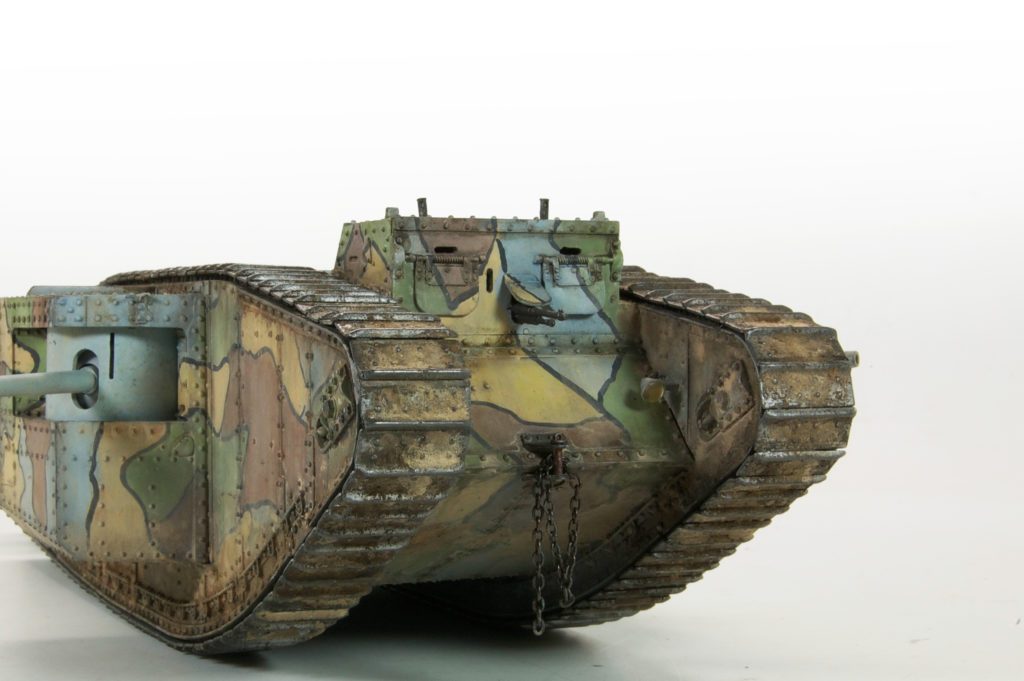
 As usual, my weathering begins with a round of artist’s oils. At this stage, I am adding the shadows using Raw Umber – straight from the tube and worked with a dry brush into the corners. Thinner is used to clean any excess. I’ll also use yellows, blues, browns, and greens to add variation, interest, and fading to the color splotches. Enamel washes were used to bring out surface details, generally more precise Pin-Washes, so as to avoid too much darkening or discoloration of the surrounding surfaces. The excess will be cleaned and blended away using a clean brush moistened with thinner. The washes continue, with the heaviest concentrations in those areas where I want to portray dirt accumulations. These steps lay the foundation for the earth effects weathering steps that follow.
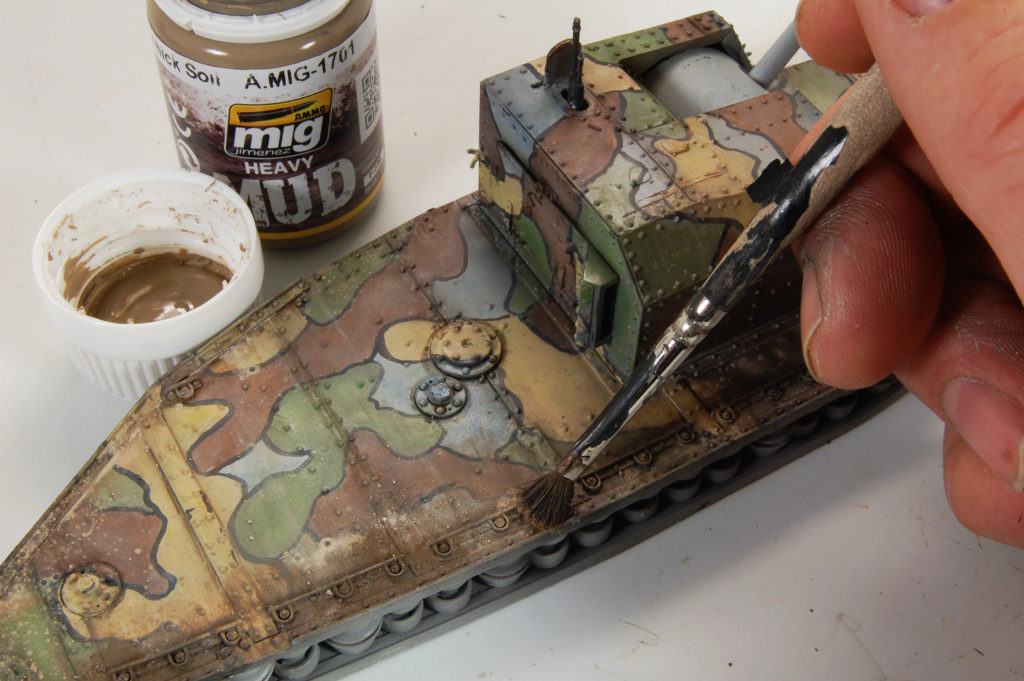
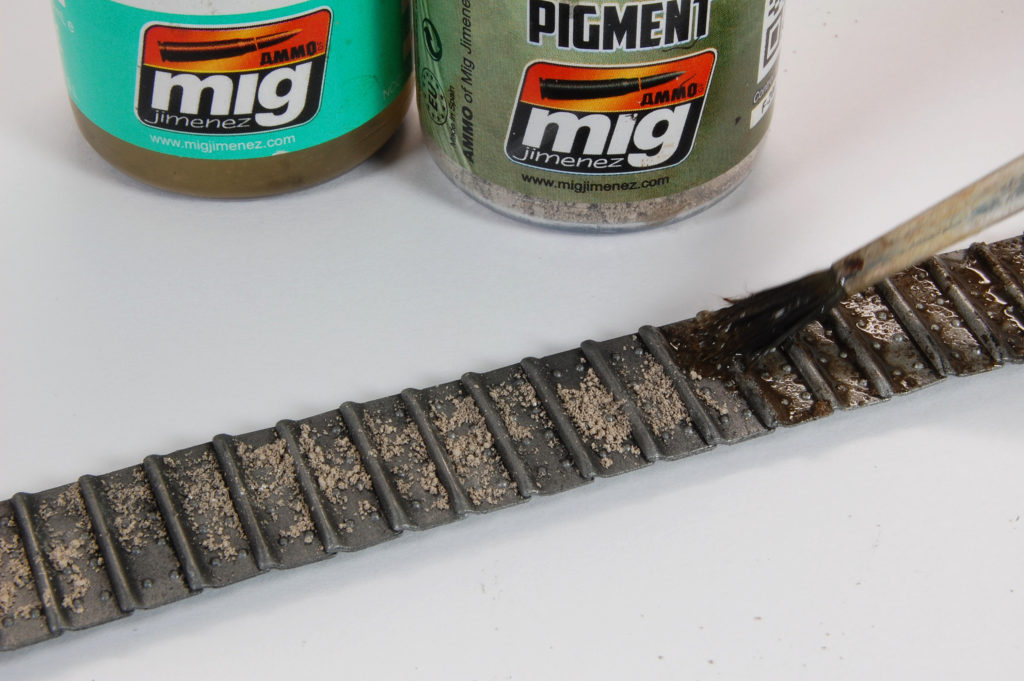
Now we’re getting there! As you can see the washes and light weathering have done a good job of unifying the color blotches, yet the underlying primer shading still has influence. The heavier washes and shadowing give weight and depth and provide the basis for the mud and dirt effects yet to be applied. Turning my attention to creating the caked-on mud and dirt that are so prevalent on these metal beasts I gave the new AMMO Splashes Effects a try. These effects come in great color choices, and a variety of viscosities; from a wash to a thick paste, that allow for all sorts of different textures to be applied. The foundation of the Mud effects is stippled onto the surfaces in the areas of heaviest accumulation. Next, pigments are dabbed into the moist surfaces. The combination of dry pigments and wet enamel effects create excellent and natural looking results. And finally the tracks were first given a primer of Black, and then Model Master Steel metallizer as the primary color. Pigments and enamel effects are generously applied (many layers).