
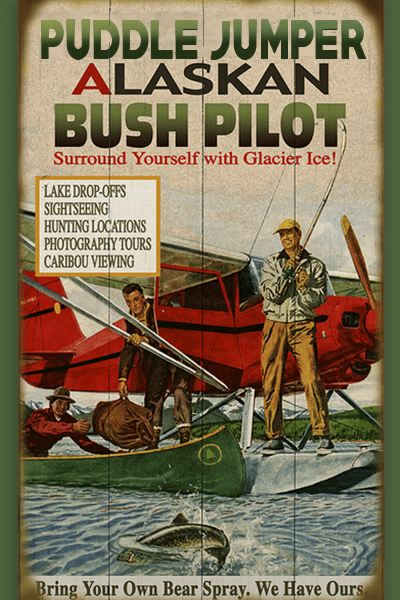
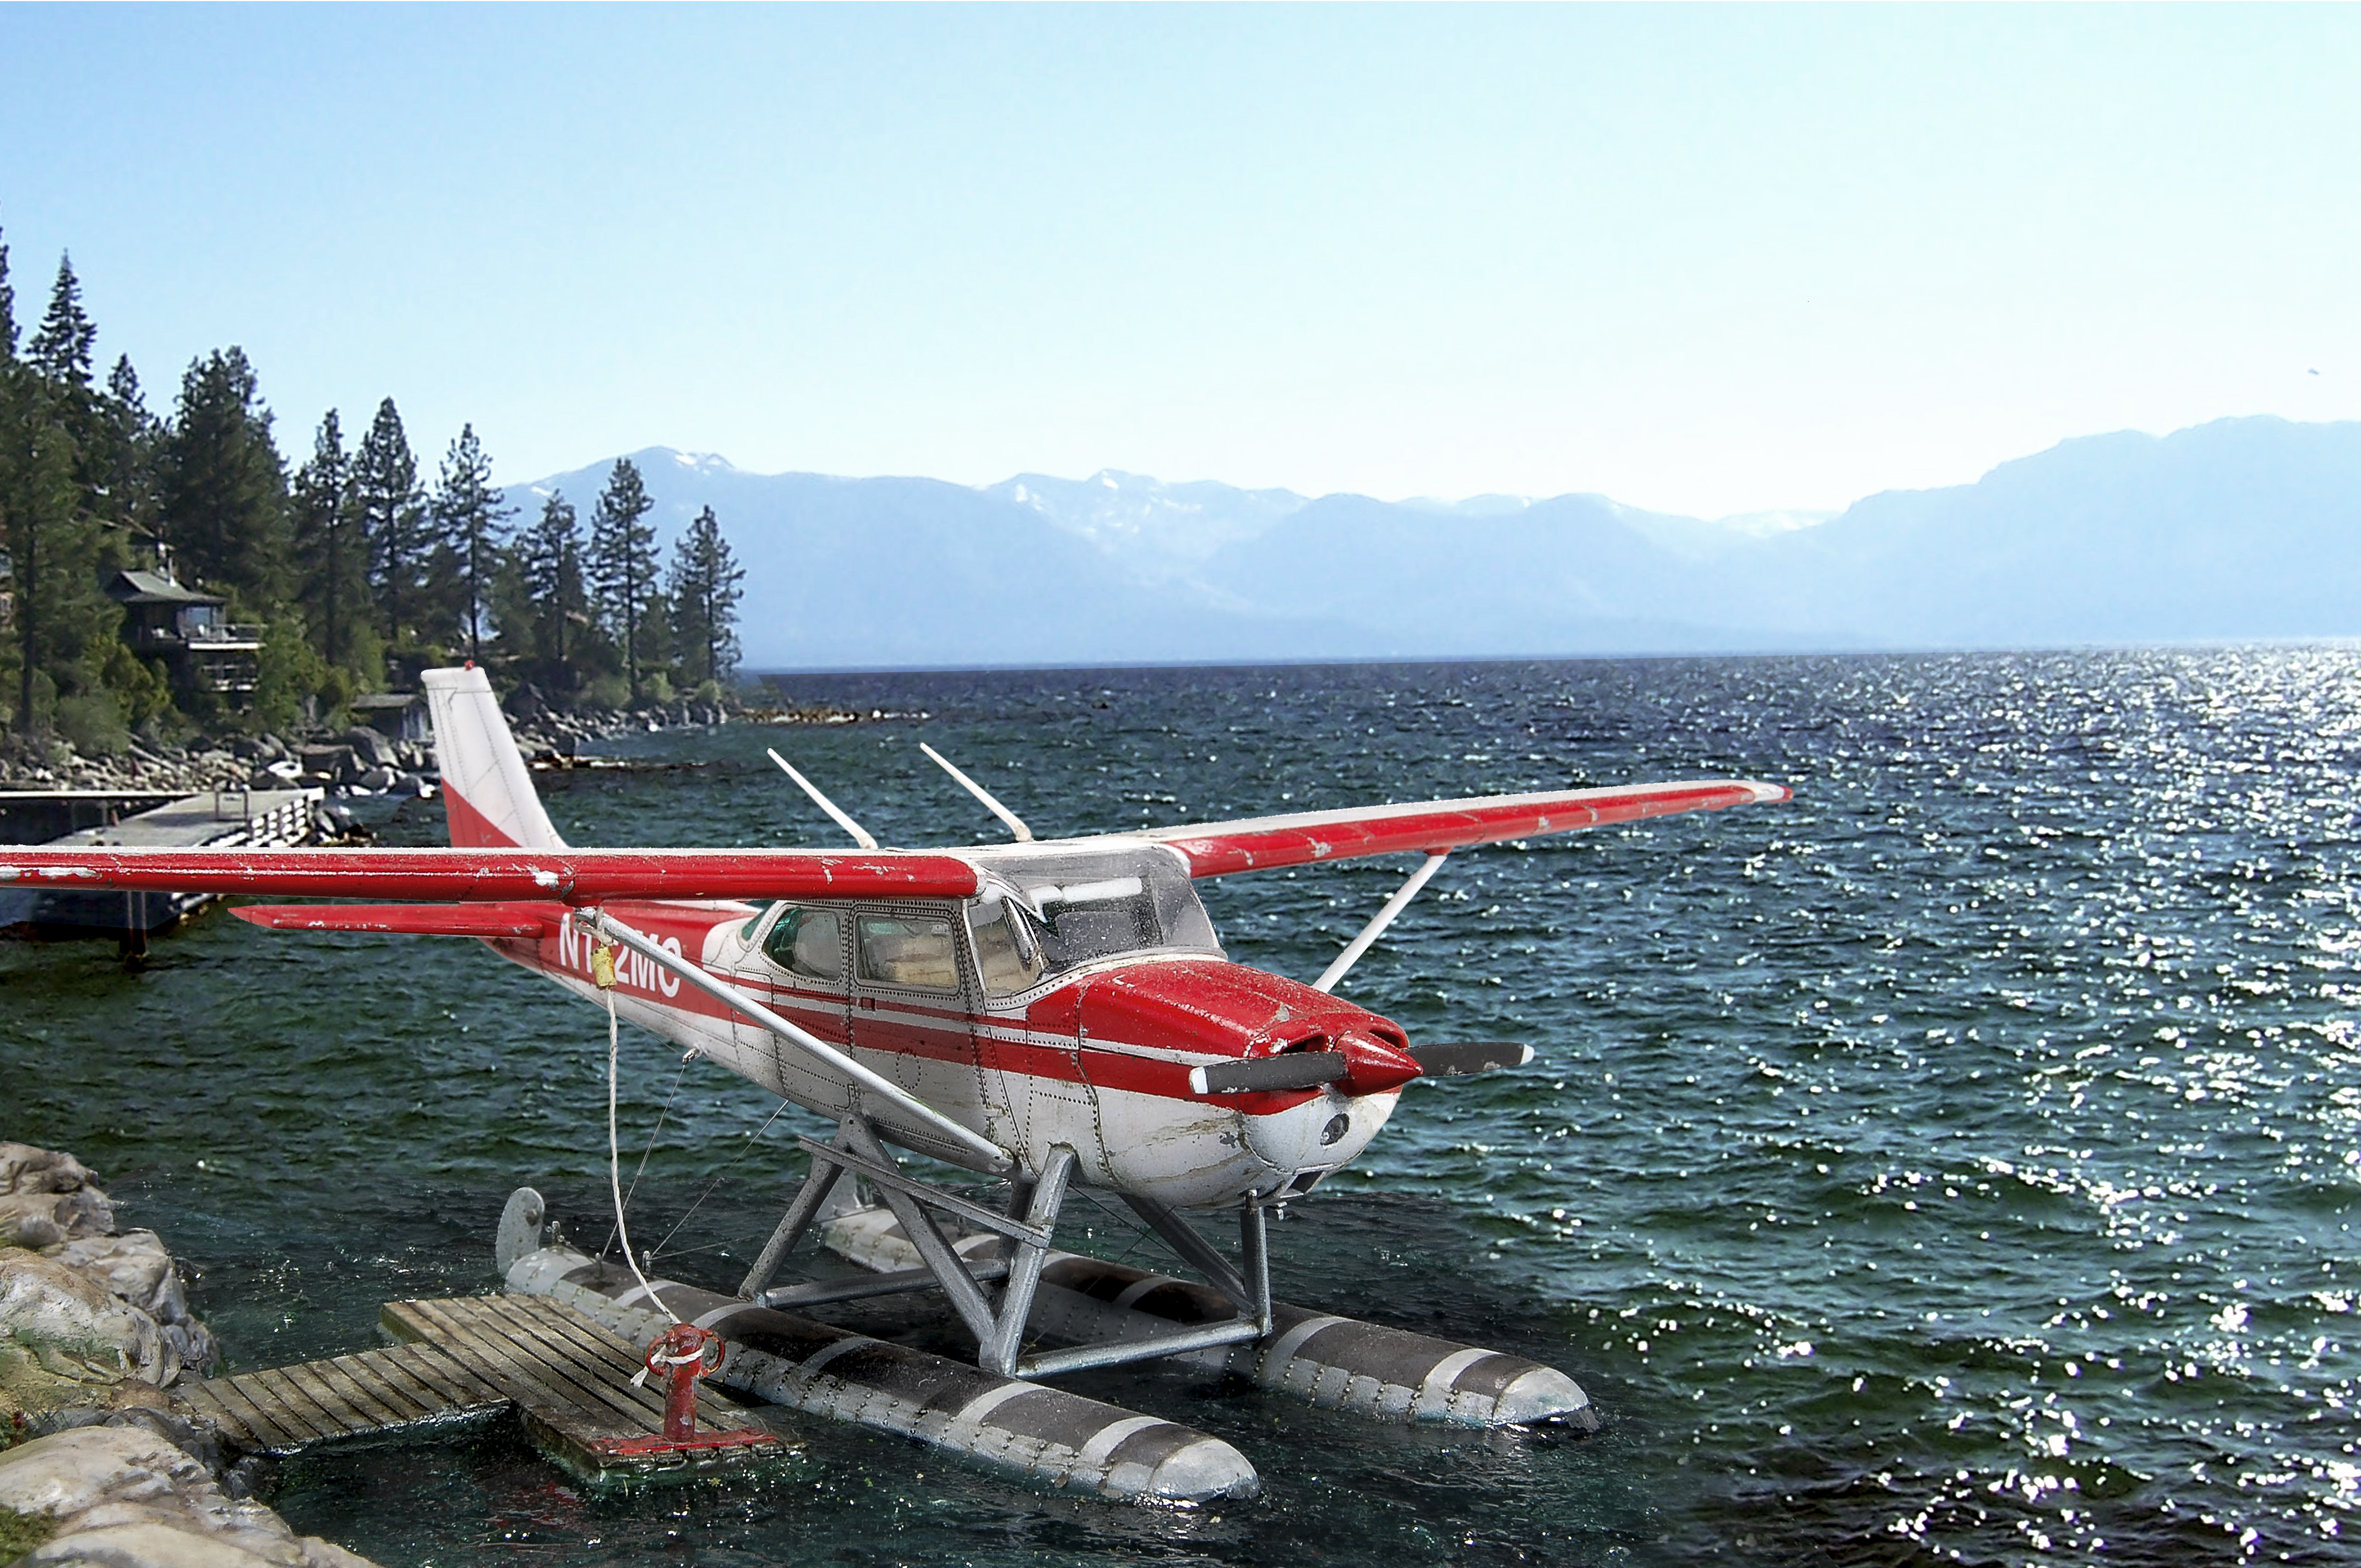
 The echo of a buzzing engine reverberates off of the steep mountain slopes while a small plane begins a quick descent towards a small, sparkling wilderness lake below. A muffled thump and a splash announce the craft’s touchdown on the cold, crystal clear Alaskan waters. The Puddle Jumper has arrived signaling another day’s adventure. Whether you are making a small puddle, a stream or a deep clear water lake, using a two-part urethane resin can be a useful option when creating water effects. In this article, we will see how to combine urethane resin along with some easily available water making products to make a clear water lake.
Building and painting aircraft is a bit outside my usual zone. Building and painting civilian aircraft, especially a seaplane is, really outside my zone. But, I gotta say I was pretty excited for the challenge. Not only would the model subject be new and exciting, but creating a watery scene would certainly be a fun adventure.
come fly with me
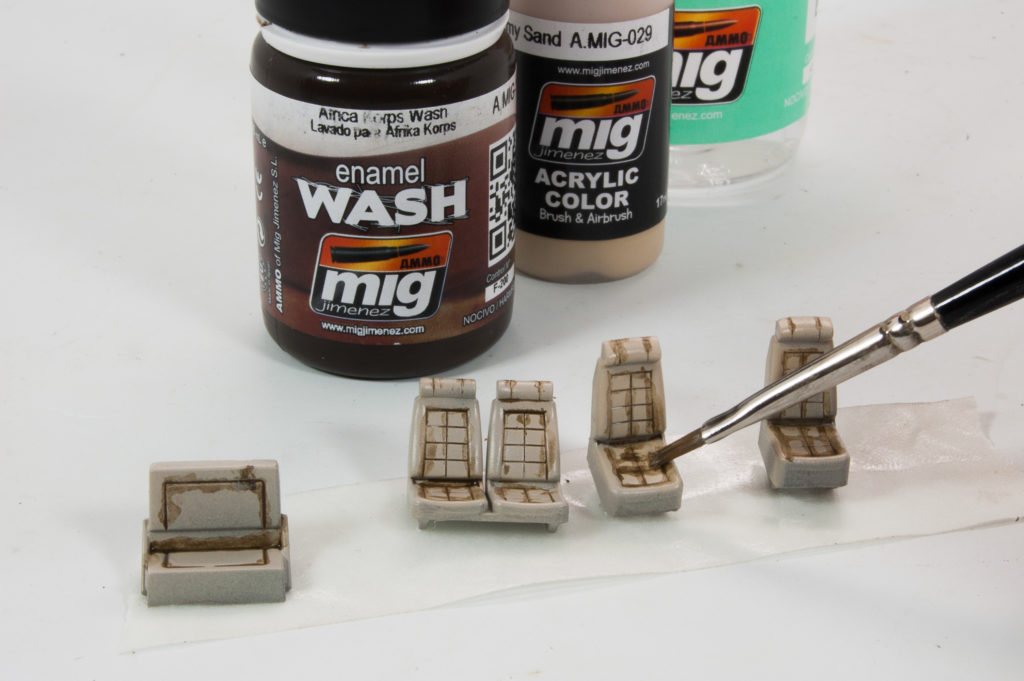
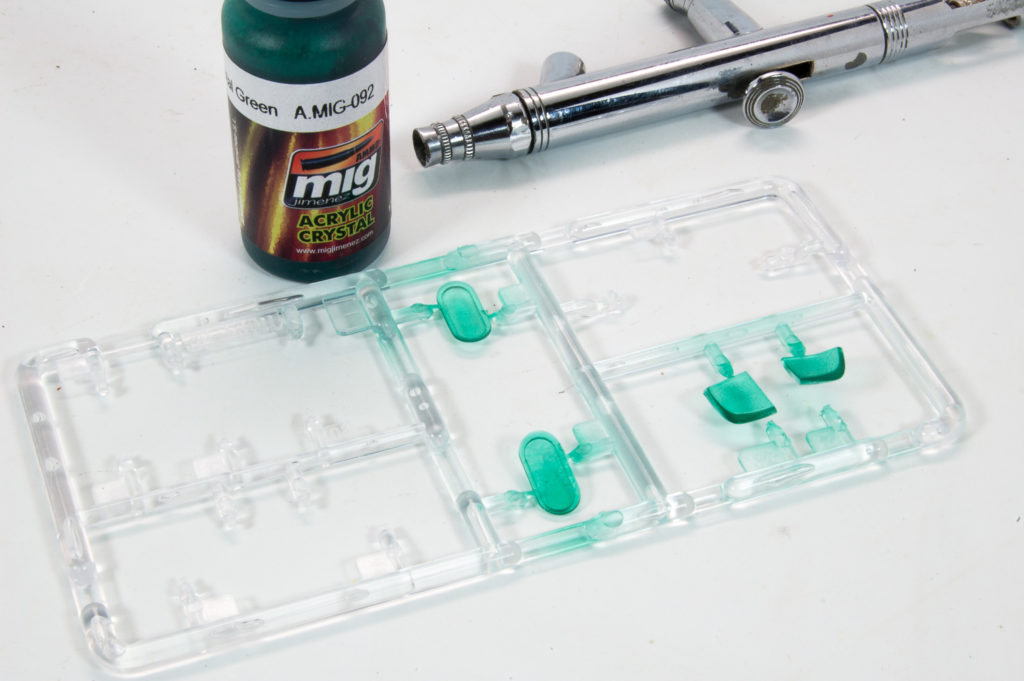
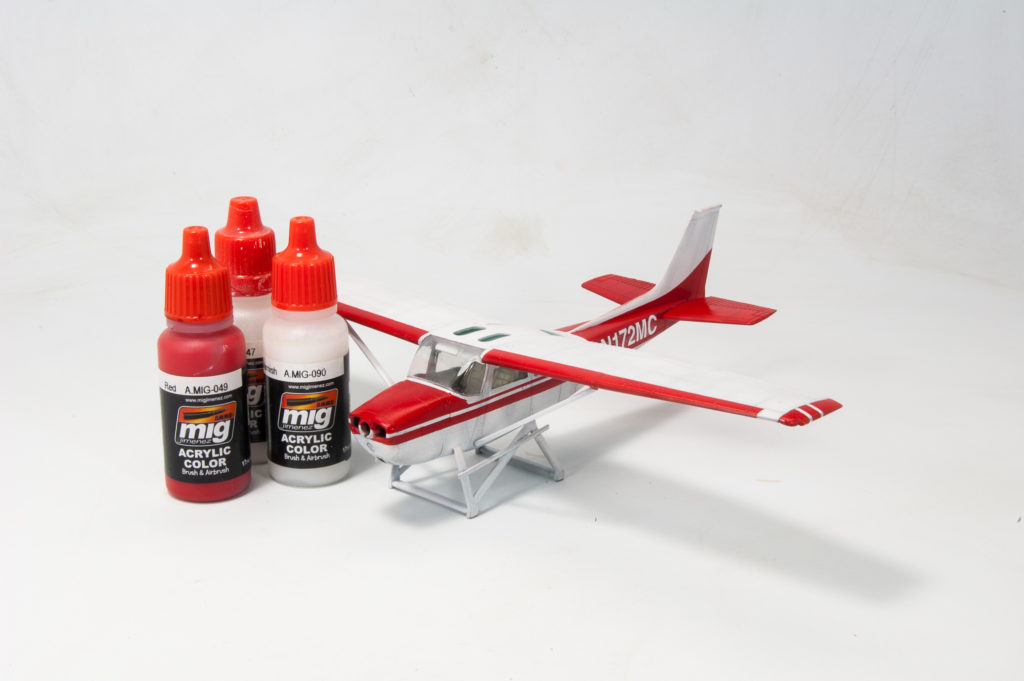
The build starts with the Cessna, specifically, the interior of the is prepared and painted in a light tan tone using AMMO acrylic paints. The seats are given a quick wash using Africa Korps Wash; the lighter brown color works perfectly with the tan colored seats. AMMO Crystal Colors Green is used to tint the overhead and rear cabin windows.

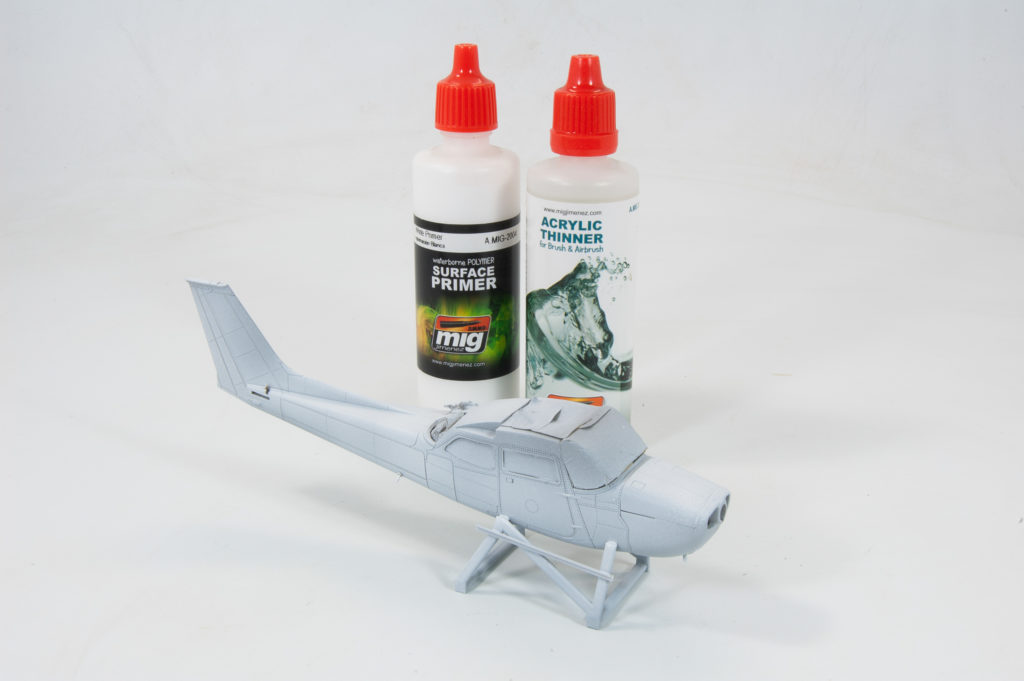
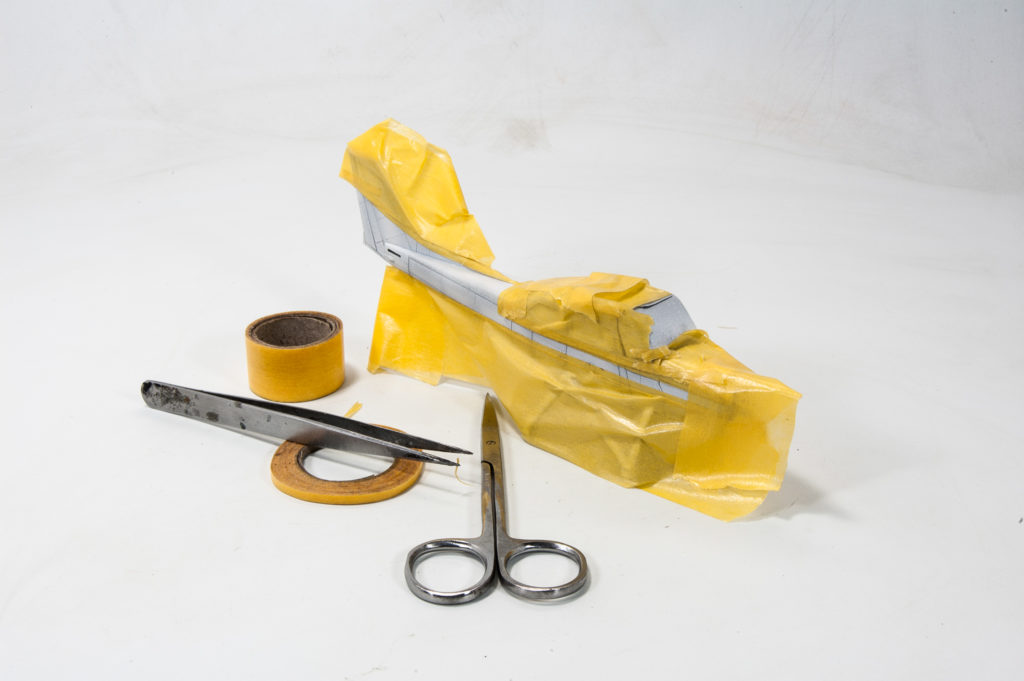
Once I was finished with the interior the model was given an overall coating of white colored surface primer in preparation for painting. A light overspray using AMMO acrylic white paint then followed the primer layer. I can probably count on one hand the number of times that I’ve needed to mask for painting – I guess that’s one of the benefits of being an armor guy. Deep breath, here goes – the strips are masked off in preparation for the red accent colors. This is a tense time for me as I wonder if the masking is doing what I hoped – or is it making a mess of things? The tape is removed, revealing a nice pattern with clean, crisp lines. What a relief!

Water, water everywhere
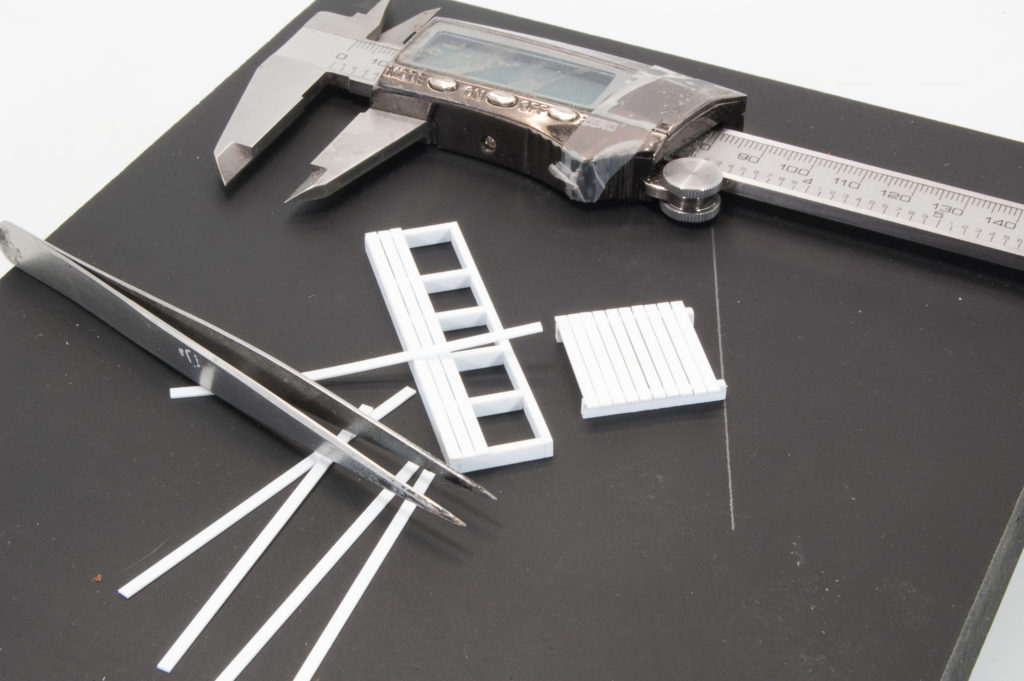
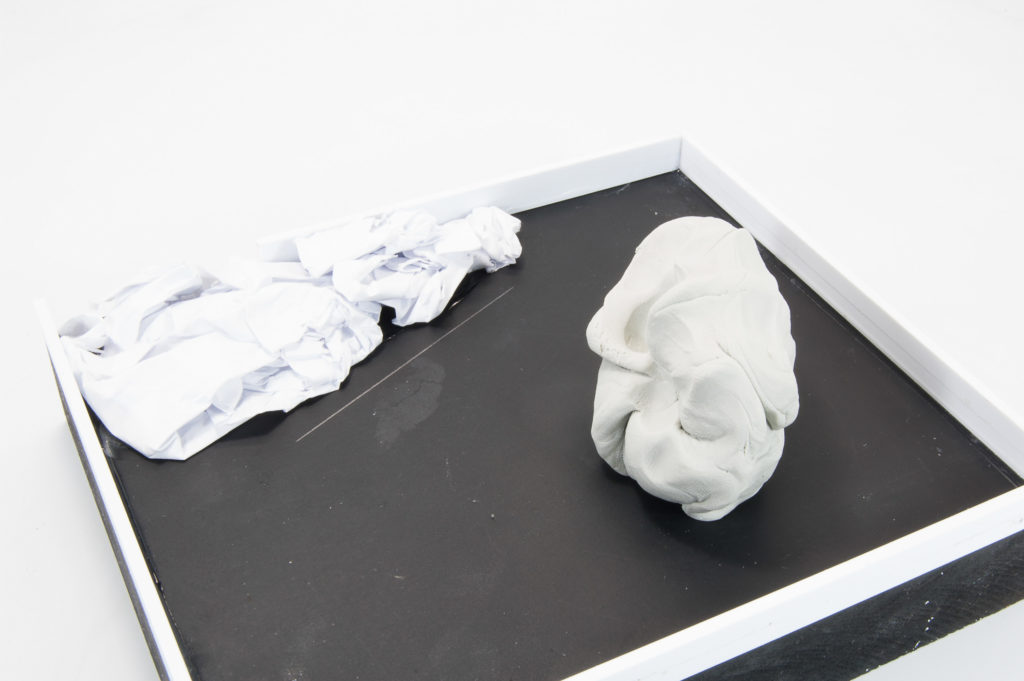
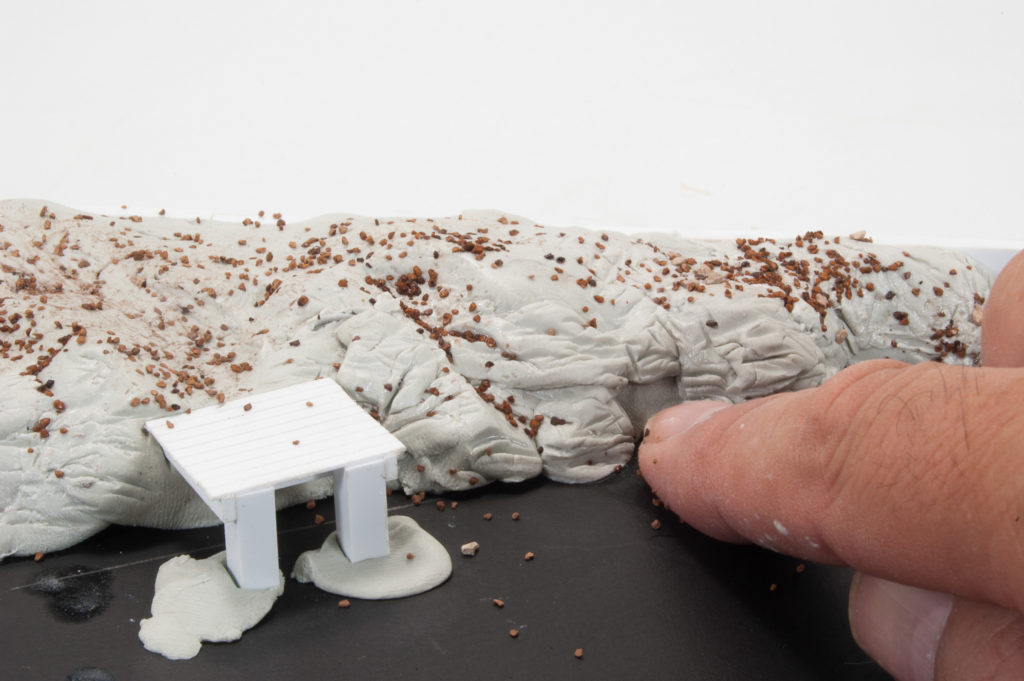
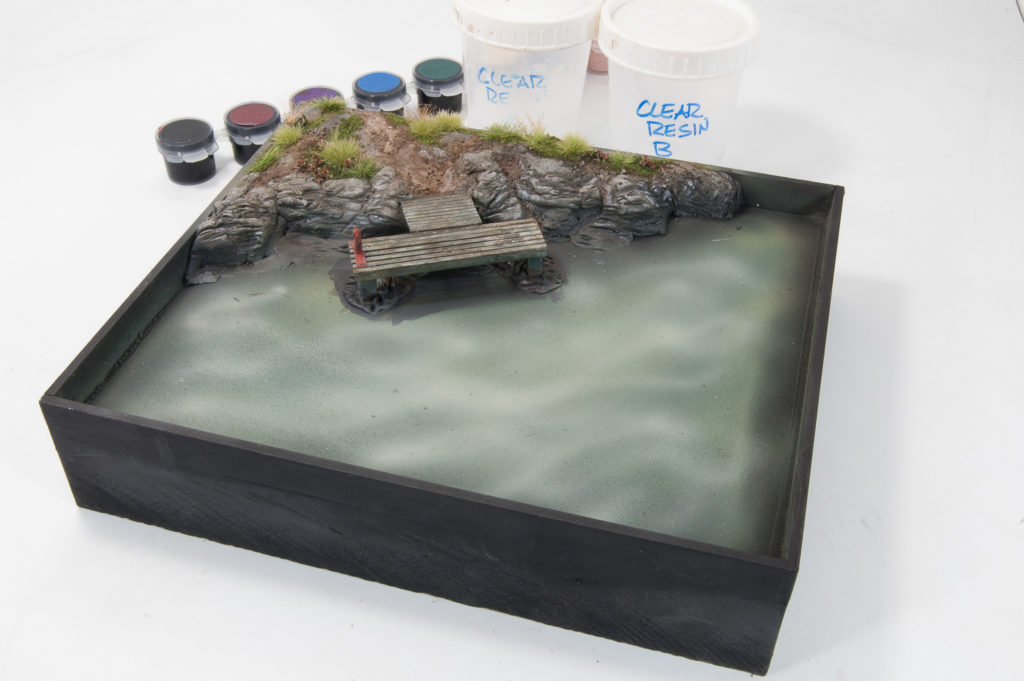
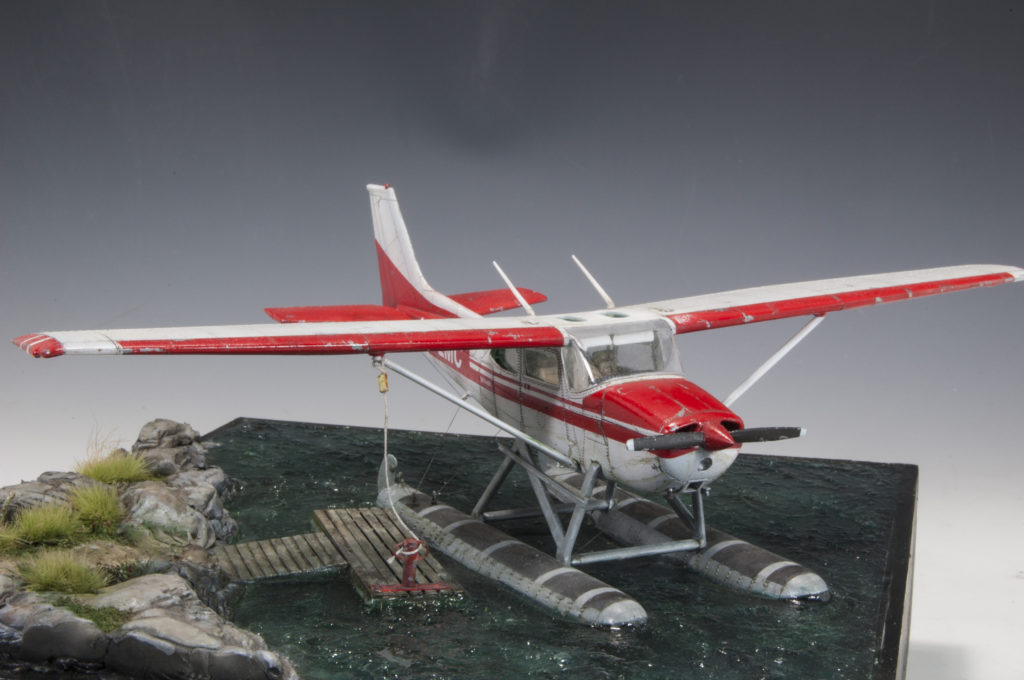
 Now for the real show; making the watery base. I begin by preparing a square base from cut pieces of board painted black. I decide that my scene will have a small dock along the shoreline that is constructed from strips of plastic. A reservoir is created on top of the base from strips of plastic. Later, I will pour urethane resin into this area to create the water. Two-part apoxie sculpt putty kneaded together and pressed along one edge to for the beginning of the shoreline. The rocky shoreline is created by simply pressing my fingernails into putty while it is still workable; creating ridges and cracks. Railroad ballast is also pressed into the surfaces to give a little extra texture. The dock ramp is also aligned and affixed in place. A quick test-fit see how everything is shaping up. At this stage, it looks pretty good to me. Later, however, once I added the water effects I felt that the shore needed more height so more rocks were added. I also decided to face the plane in the opposite direction.
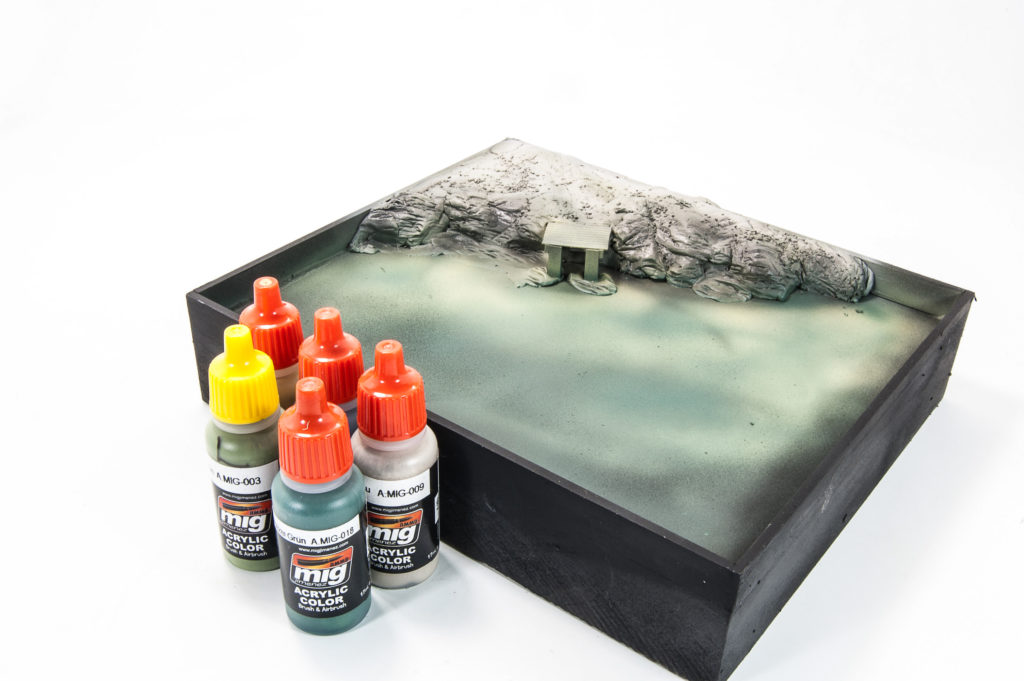
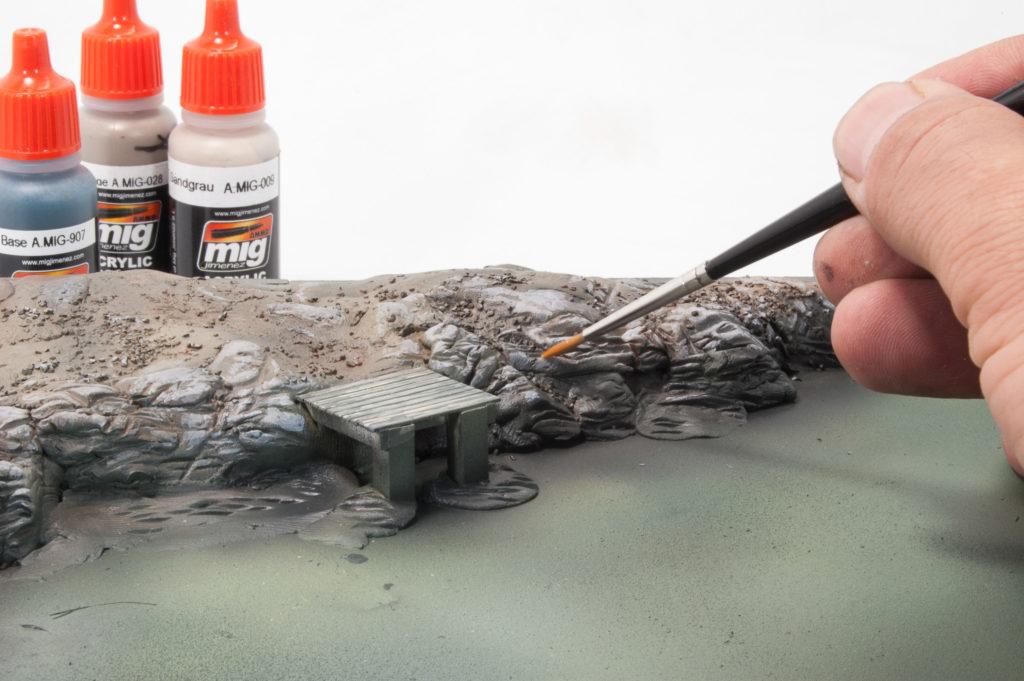
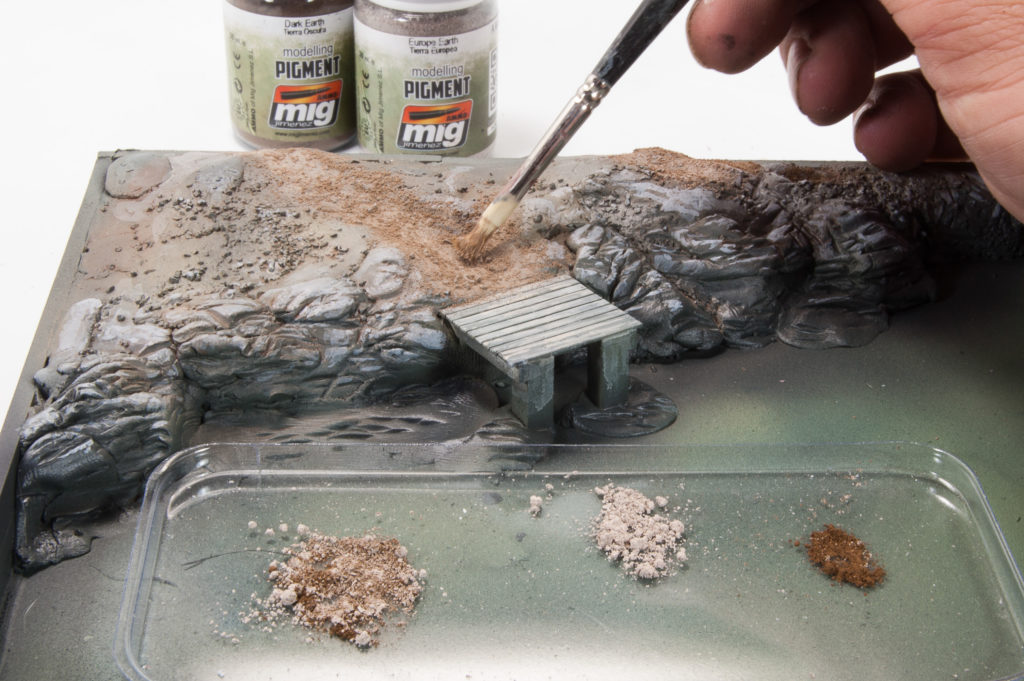
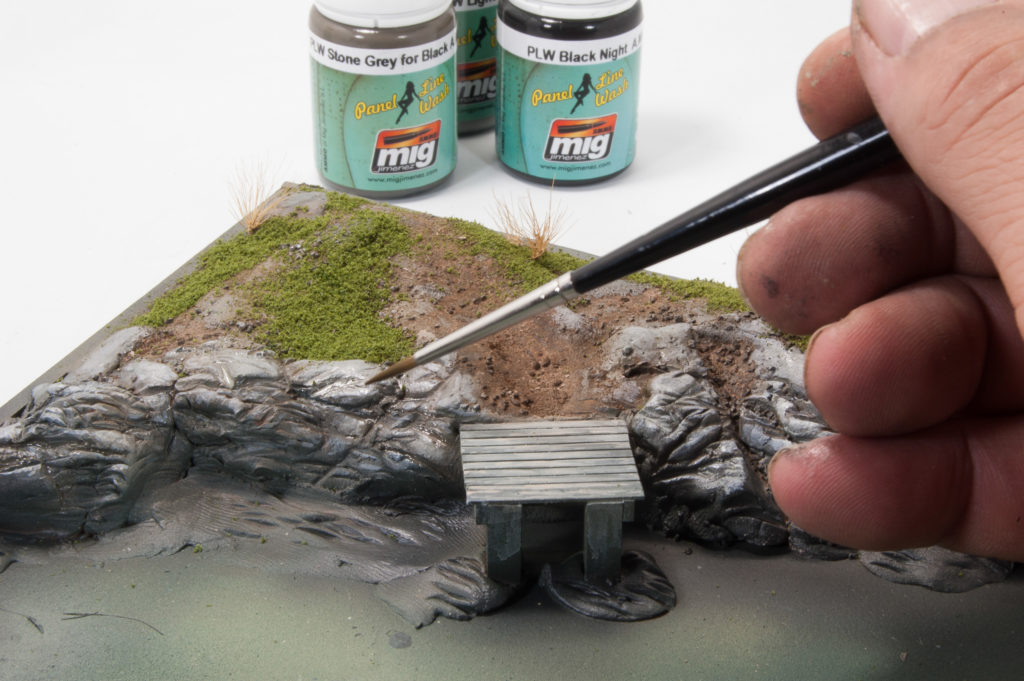
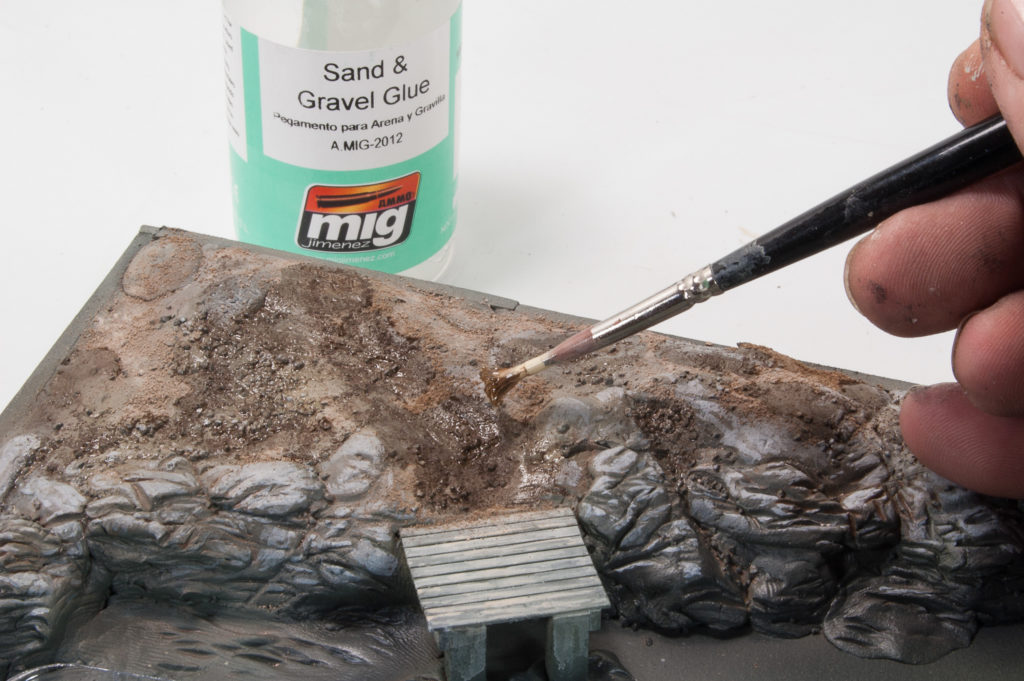
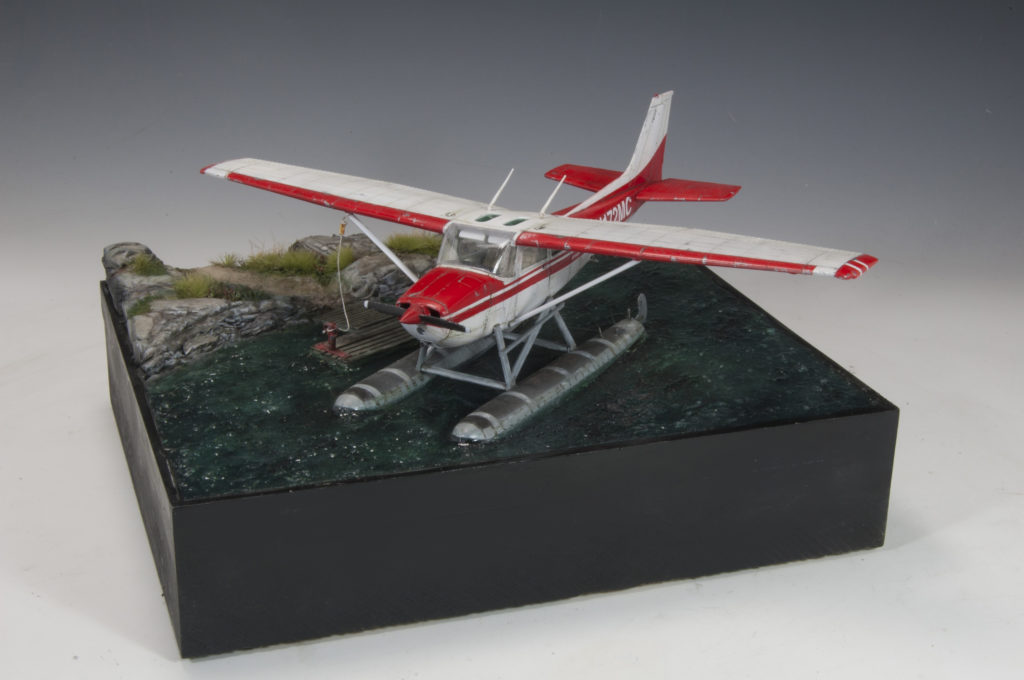
The first color layers are applied to the base; primarily blues and greens into the water area with grey and tan colors to the shoreline. The details and highlights are painted onto the rocks using a variety of grey and brown acrylic colors. The trick in making blobs of clay to look like rocks is simply a matter of highlights and shadows so as to bring out the textures within the rocks. The small path leading to the water’s edge is brushed with layers of AMMO pigments to establish the exposed earth colors, permanently fixed using AMMO Sand and Gravel glue. The brush is loaded with the liquid and drops are allowed to flow and spread-out over the area.
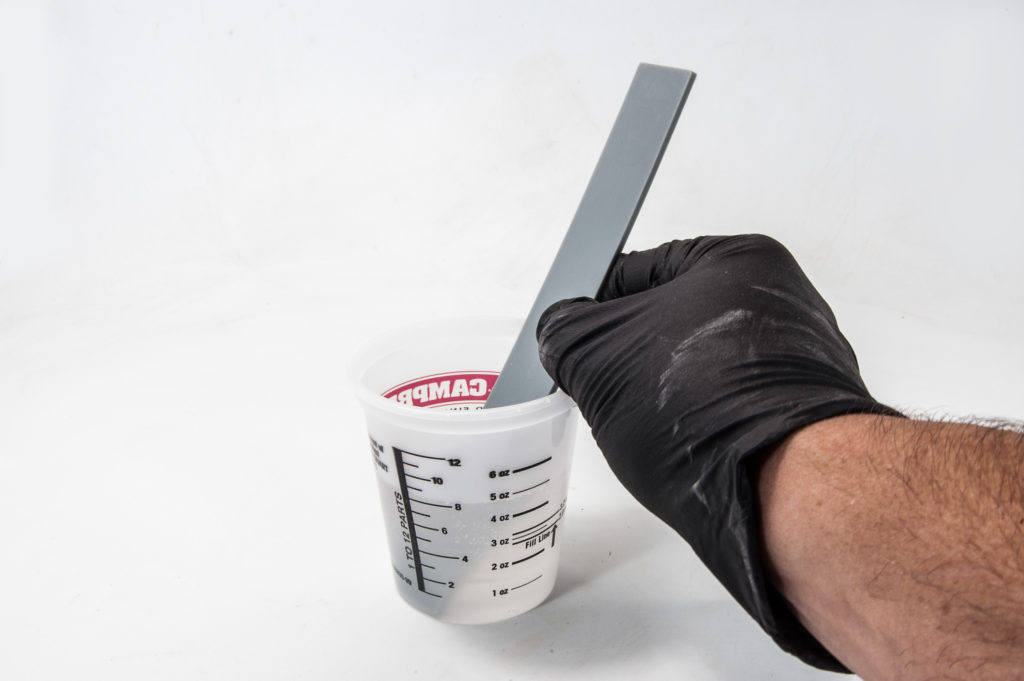
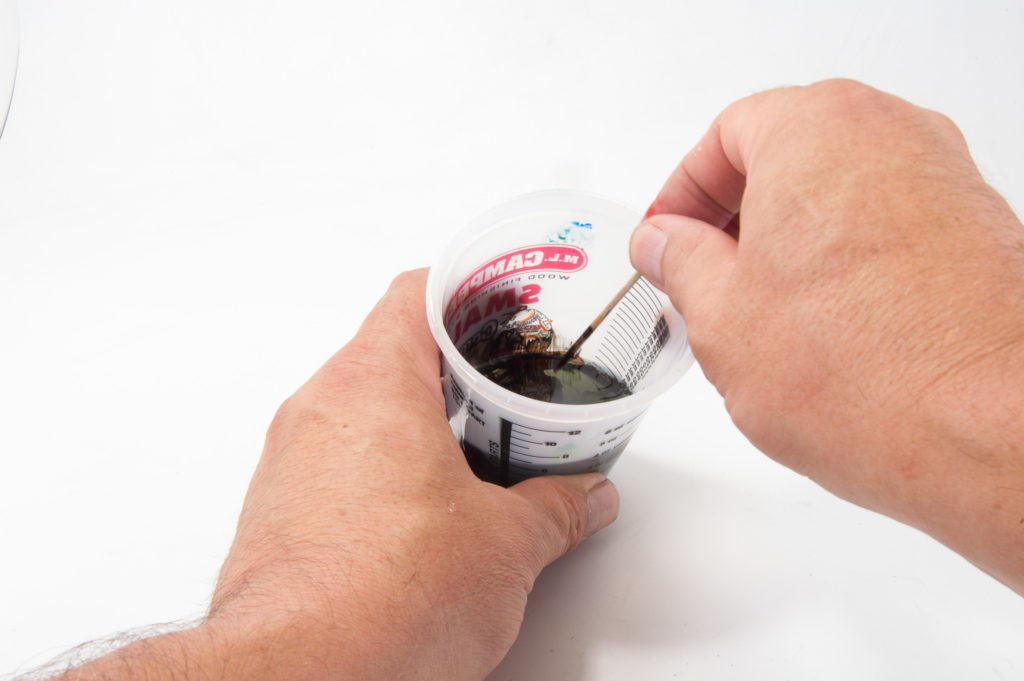
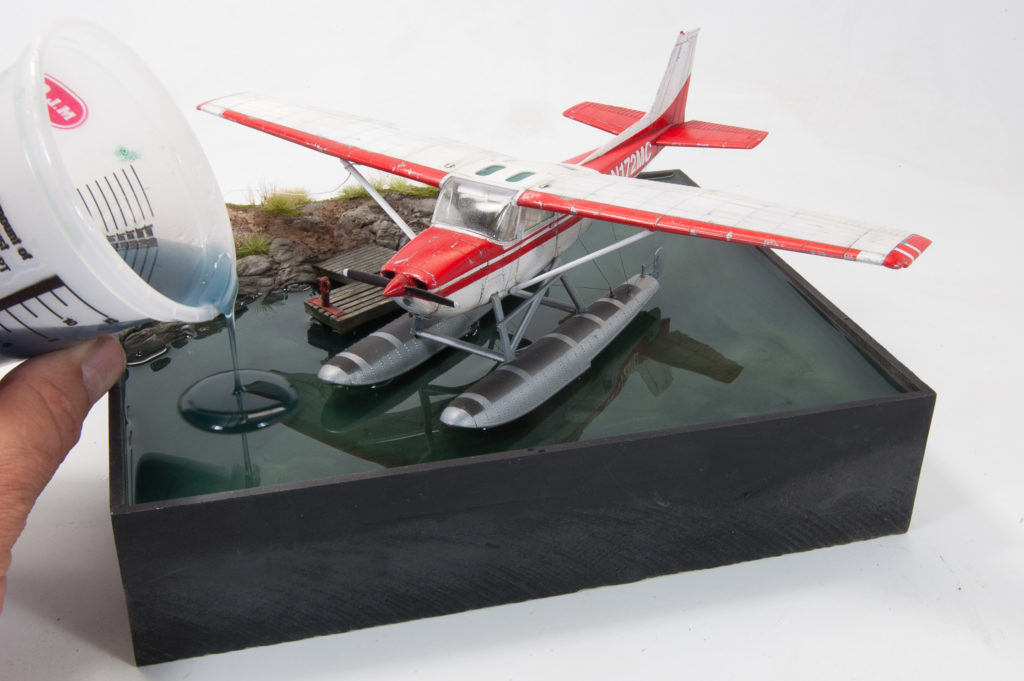
The water is created using a two-part, clear urethane resin product. Although the brand of material I am using is an industrial use product, many similar type products are available and can be easily found at hobby and craft stores. The resin is a “water clear” product, however many tinting colors are available and shown in the small pots. The A & B portions of the resin are combined into a cup according to instructions, for best results, it is suggested that the resin is poured in multiple layers of approximately ¼” in depth. To increase the illusion of depth I chose to pour the initial layer clear – that is 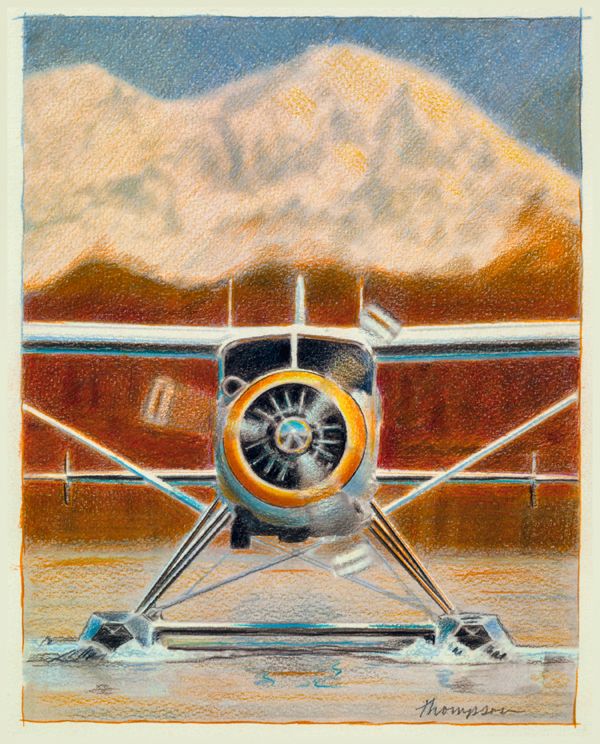 without tinting – to allow the viewer to see further “into” the water. Additional layers of resin are tinted to a blue/green color. The type of tints that I am using is very powerful and only a small dot of color from the tip of a cocktail stick is enough to affect this entire cup. Although it looks very dark in this photo, the color is actually very transparent.
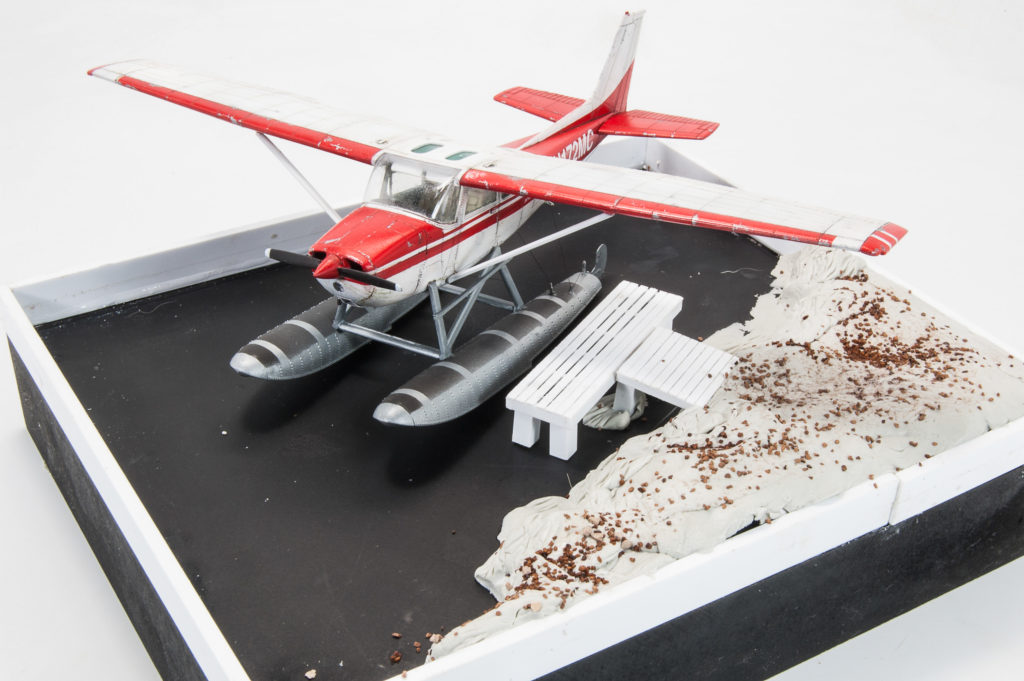
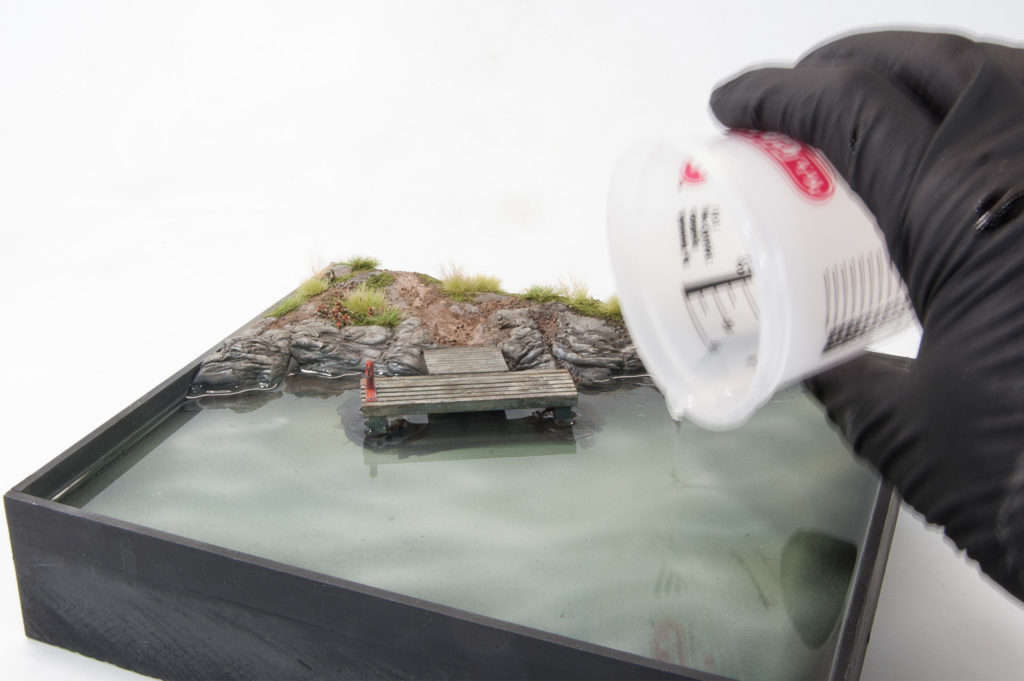
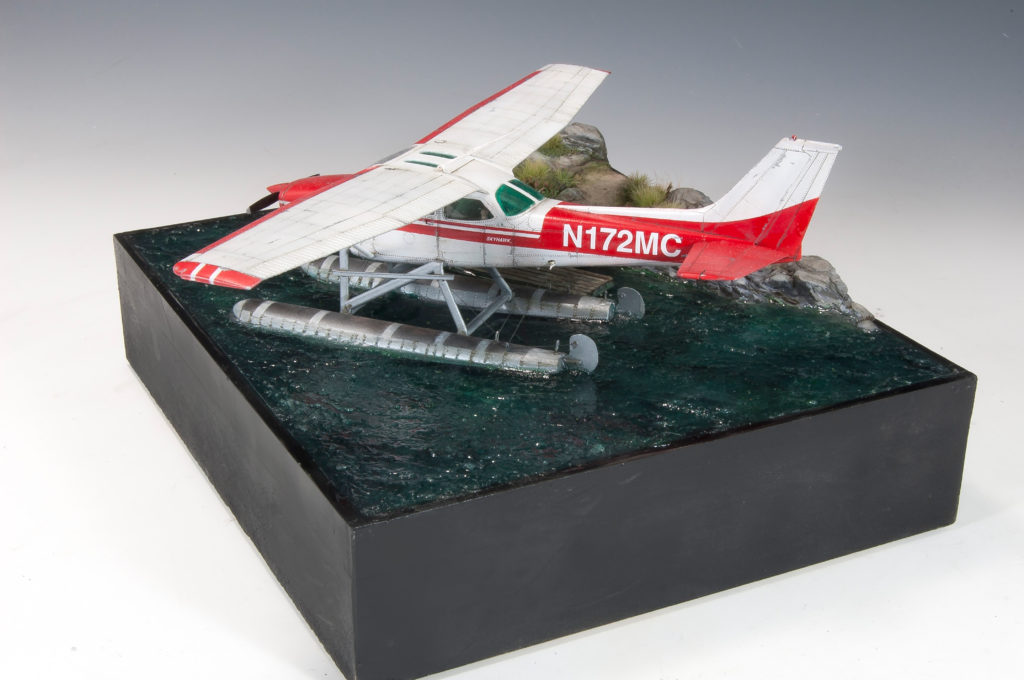
This particular type of resin has a working time of approximately 5 minutes before it begins to become a solid. I patiently wait for the proper moment when the resin has set, but still slightly soft, to press the airplane into the water. This layer of resin is allowed to cure for approximately 30 minutes. Another layer of tinted resin is mixed and poured over the surface to increase the depth and partially submerge the pontoons. At this point, the water can be finished if you want to portray calm waters….

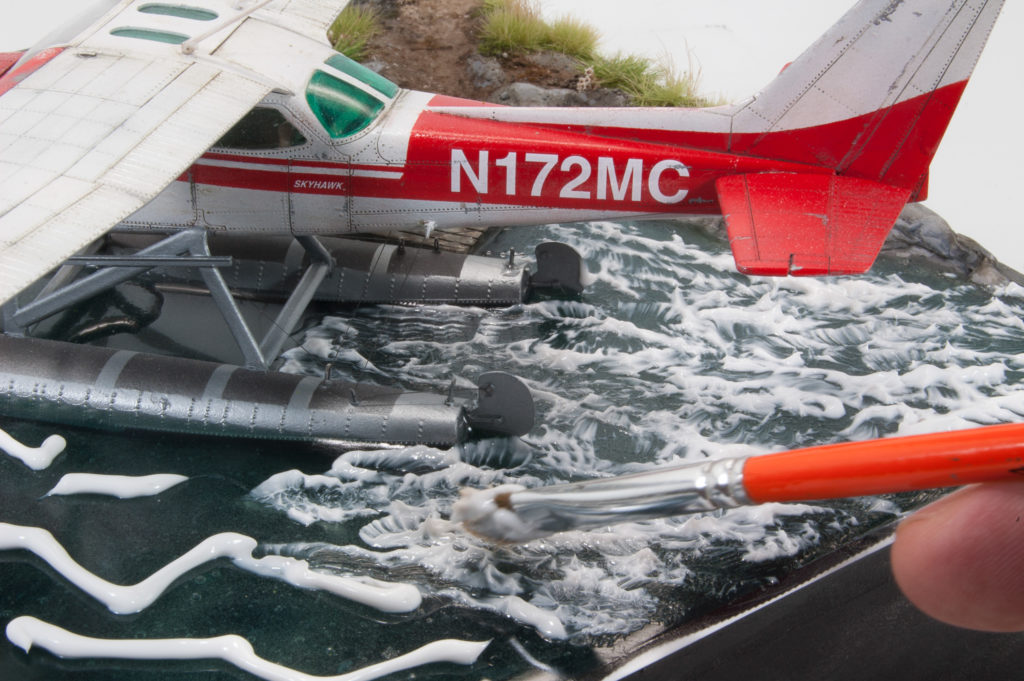
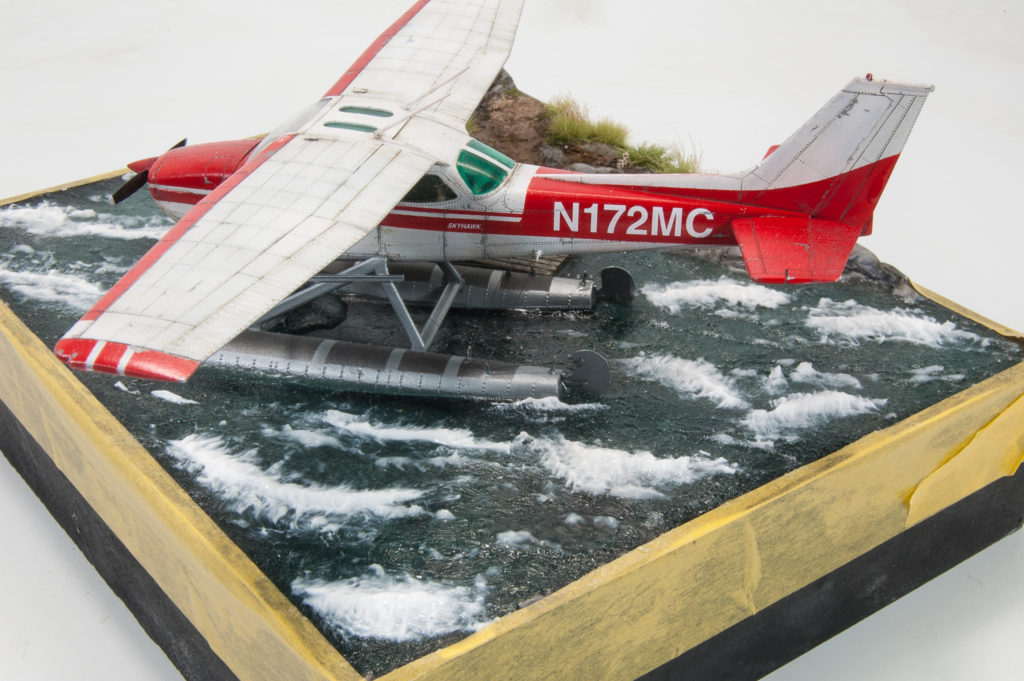

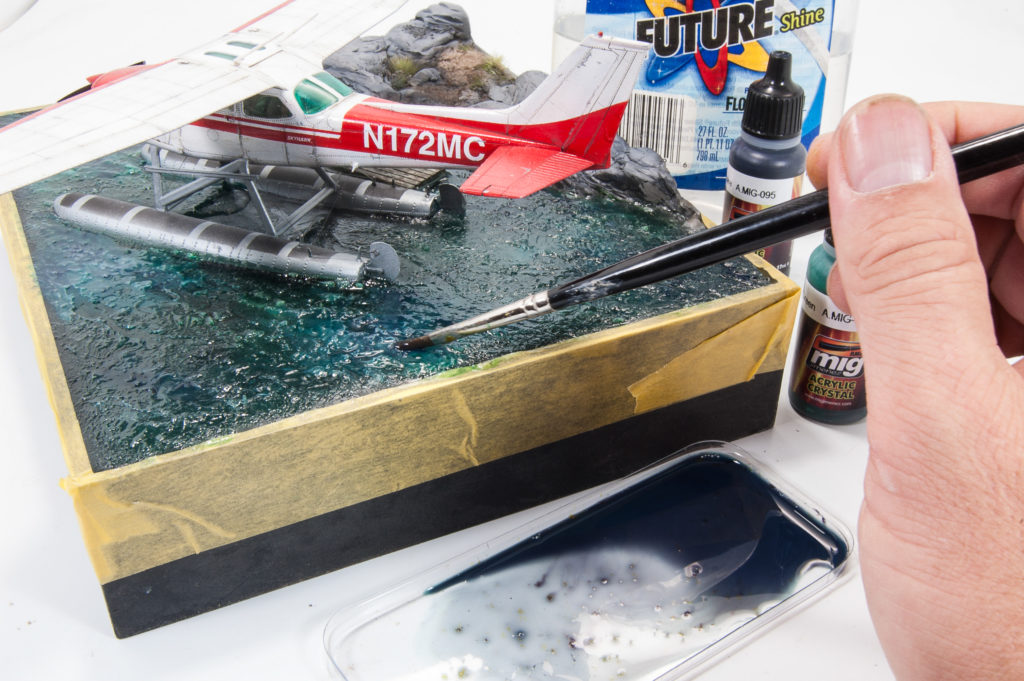
However, I wanted to show some small turbulence on the surface of the water. To create small waves and ripples I applied Woodland Scenic Water Effects. The Water Effects was squirted over the surface in a wavy pattern and then stippled and spread over the entire surface using a soft brush. Although this product appears white when it is applied, it dries clear in about 1-2 hours depending upon your environmental conditions. Although the resin and the Water Effects were both clear products, I could still see some differences in texture between the two materials. As a final step, I mixed a small bit of AMMO Clear Colors into Future floor polish and then applied a generous layer over the entire surface of the water. Once dry, the result is a unified, glossy sheen.

![]()